3D website with NextJS and Spline
Building a 3D website with NextJS and Spline
This blog post will guide you through creating a 3D website with NextJS and Spline.
First, open an empty project folder named spine3d-website in Antigravity IDE to start building our 3D website application.
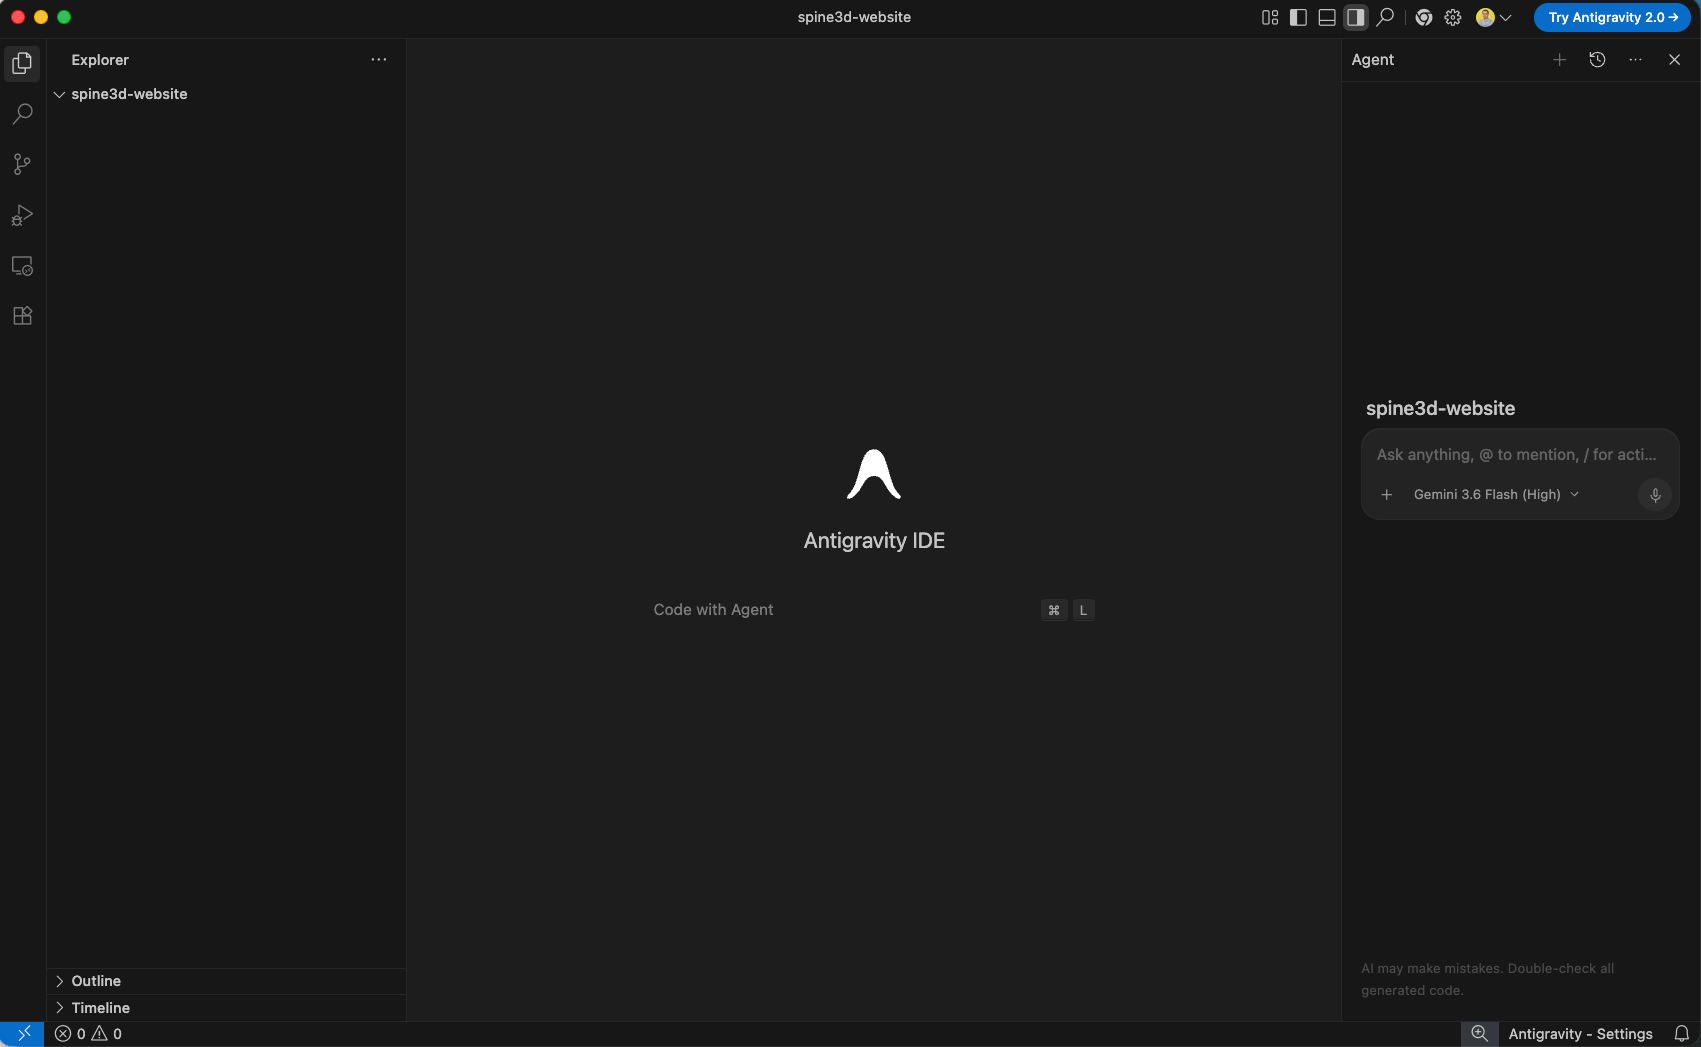
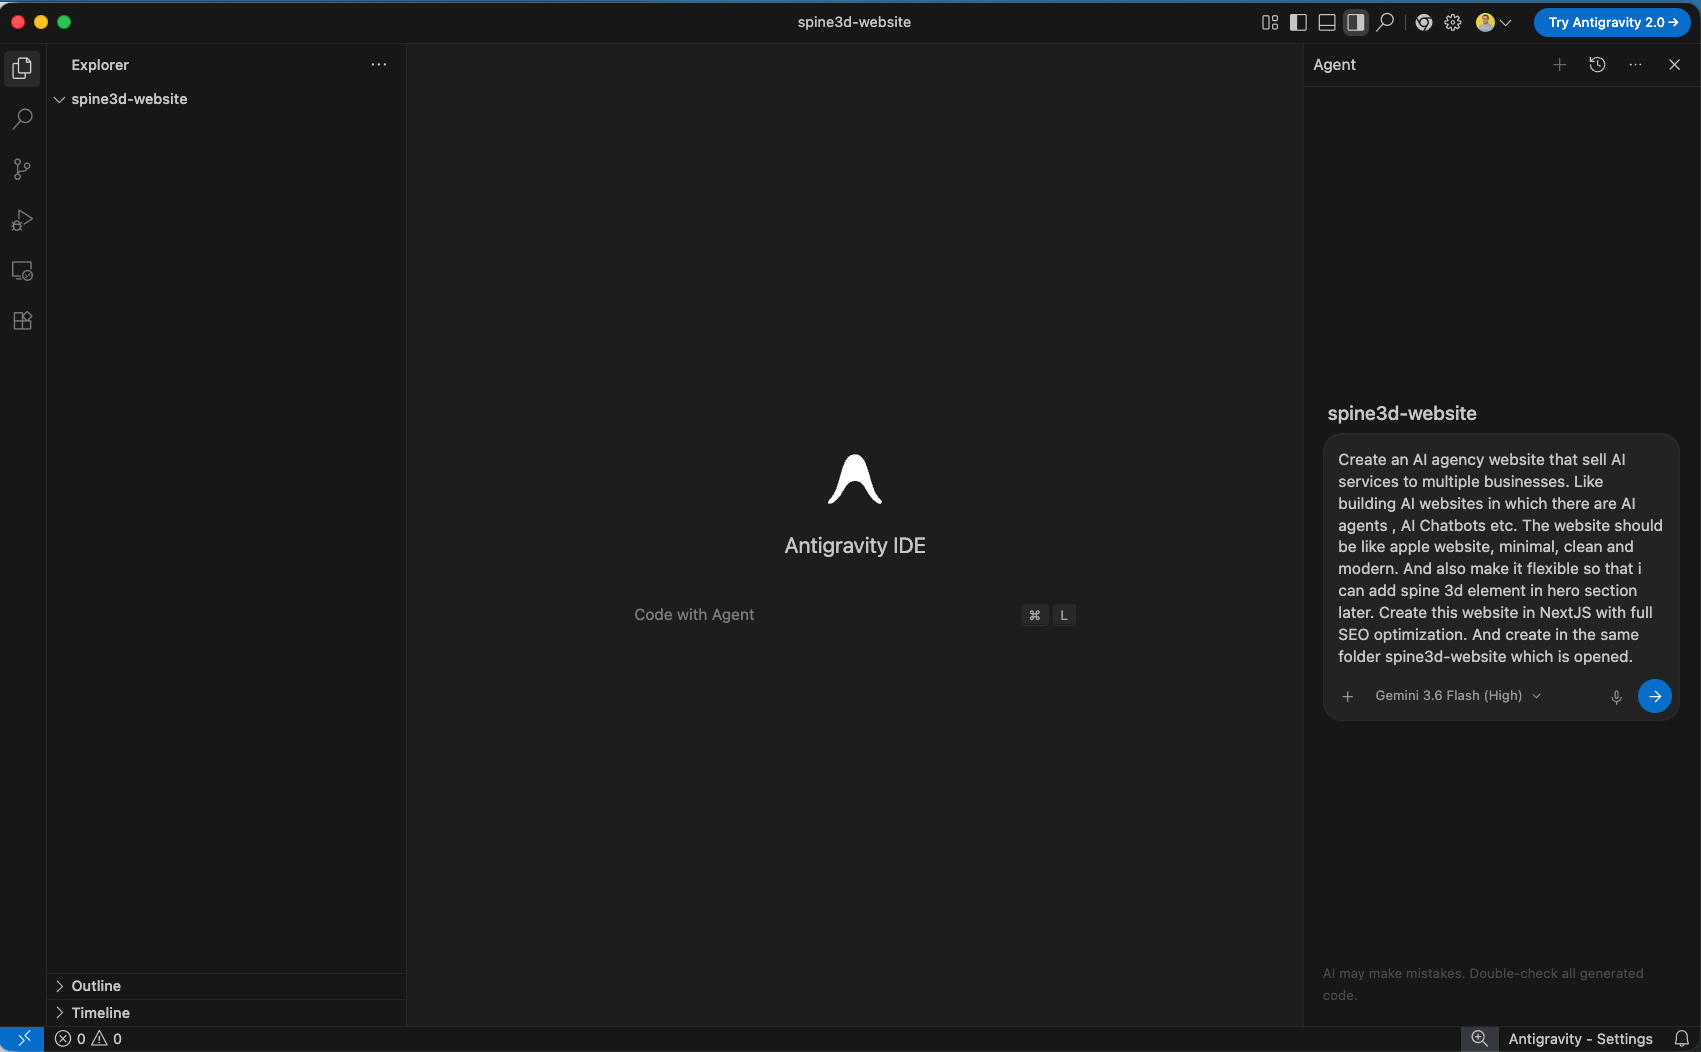
Next, prompt the AI agent with clear requirements to create a Next.js website for an AI agency selling services like AI agents and chatbots, emphasizing a clean, minimal Apple-like aesthetic with full SEO optimization and flexibility for adding 3D Spline elements.
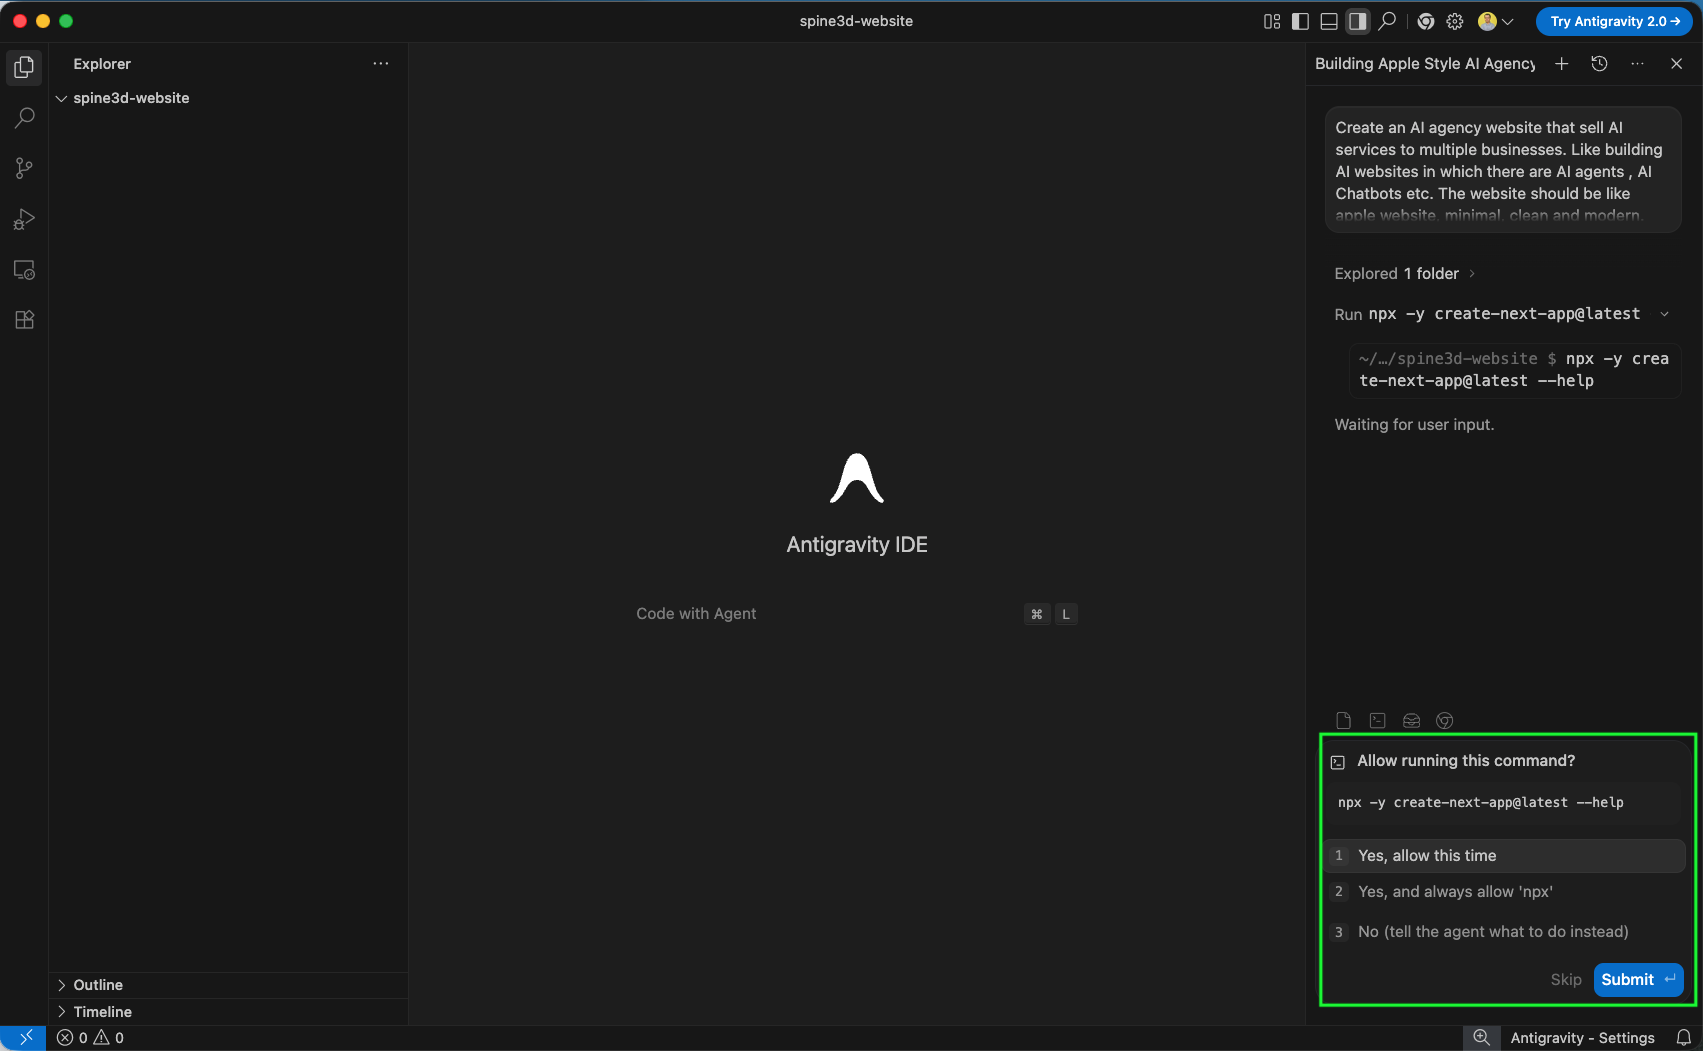
The agent will begins setting up the Next.js foundation and asks for permission many times. Accept all permission by clicking Submit.
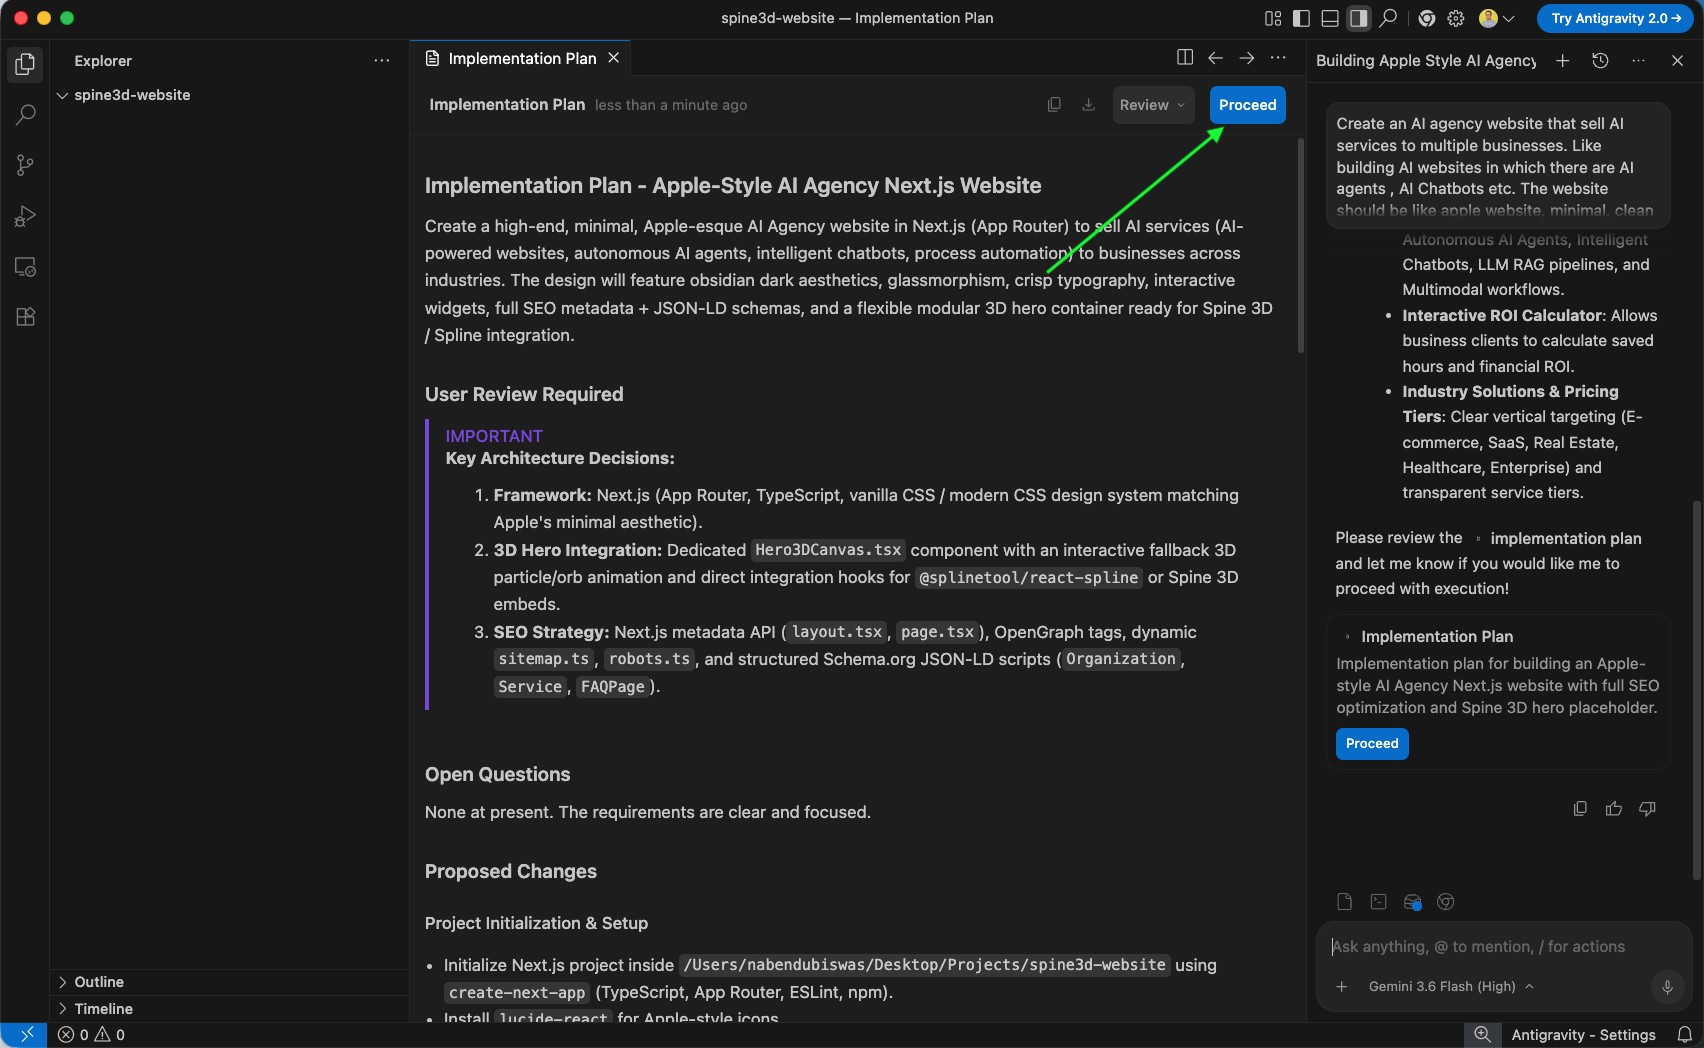
The agent generates a comprehensive Implementation Plan covering architecture, 3D Hero integration (Hero3DCanvas.tsx), and SEO strategies. Review the proposed steps and click Proceed to start execution.
Once approved, the background initialization task creates the project structure (app/, public/, next.config.ts, package.json, etc.) inside the root directory.
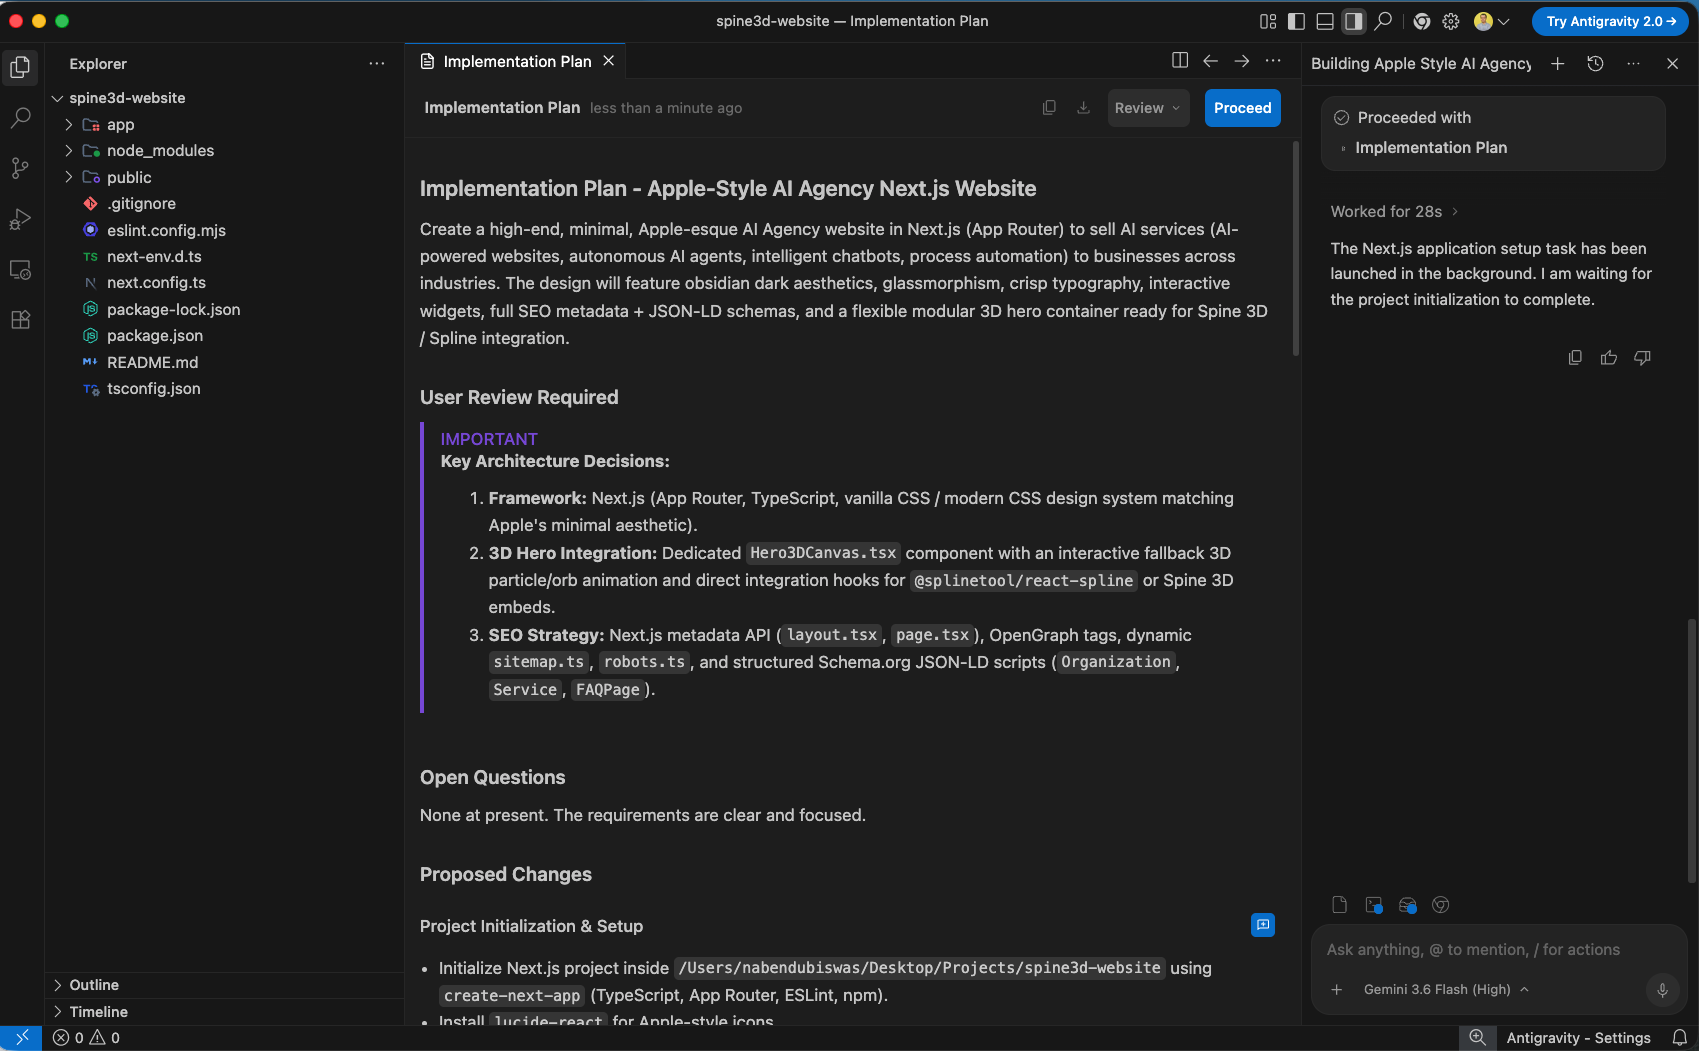
You can customize agent security permissions by clicking Antigravity - Settings in the bottom status bar to view security modes (Full access, Sandboxed, Strict) and command auto-execution controls.
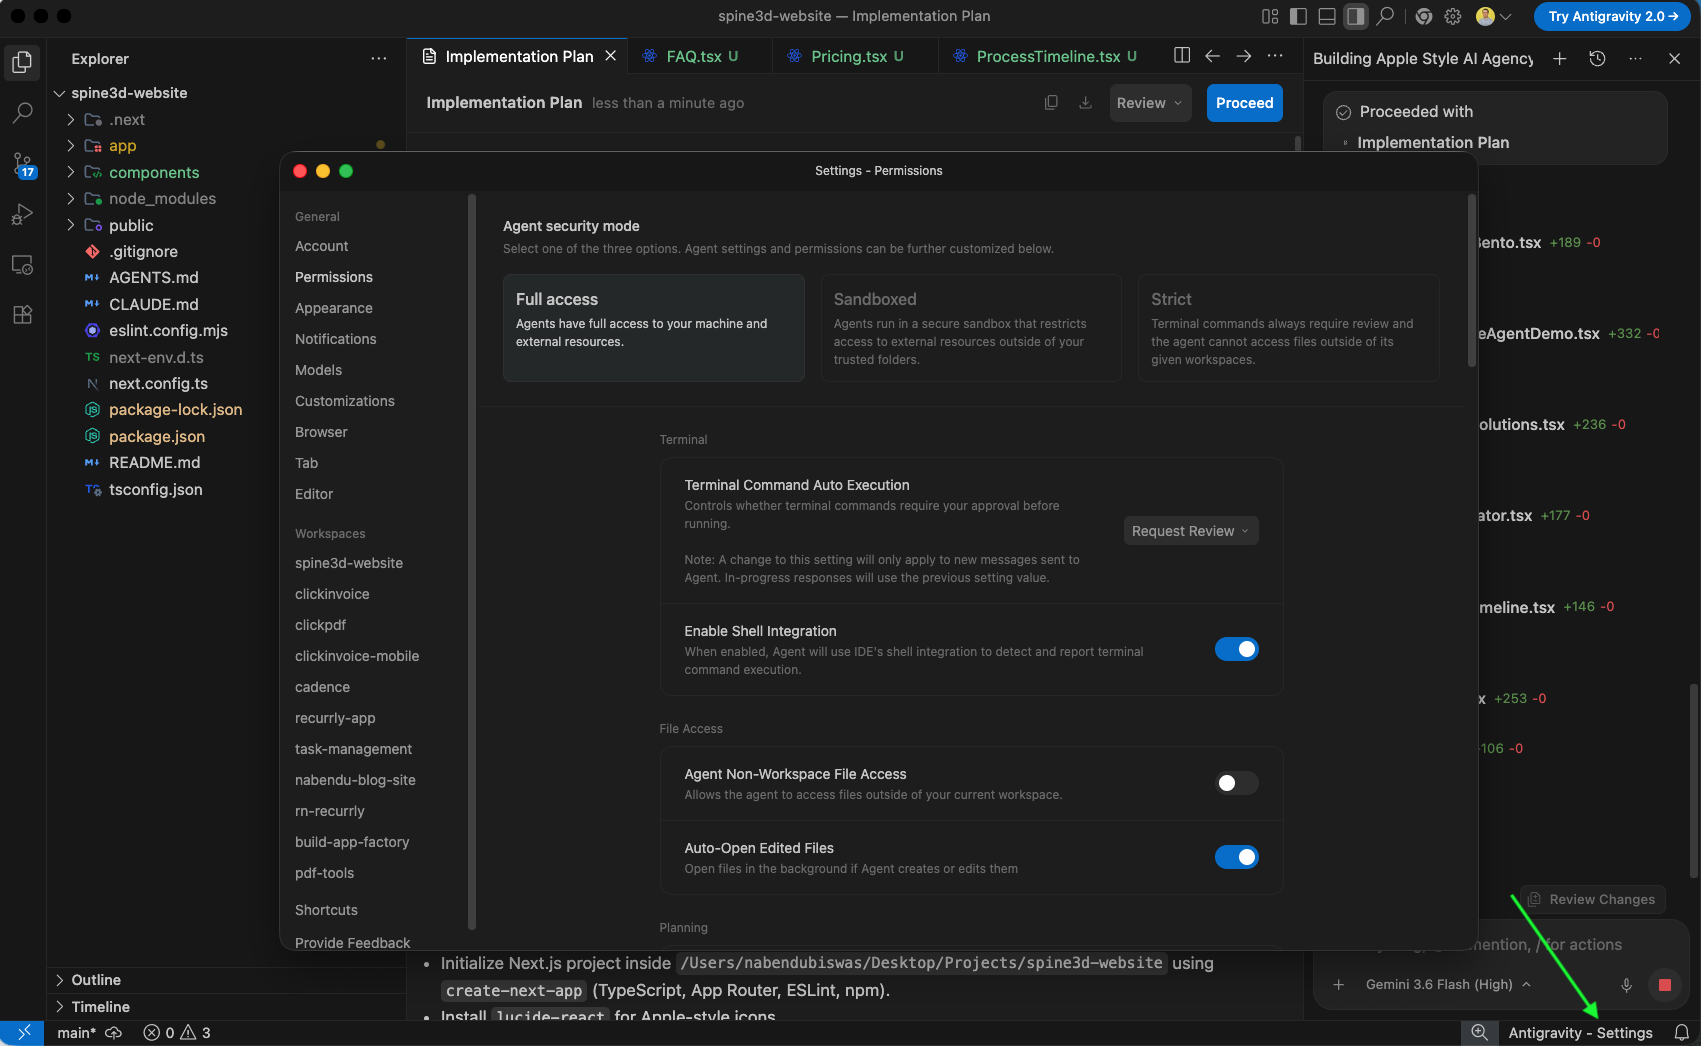
After building all components , the agent presents generated and modified files. Click Accept all to approve and save the codebase.
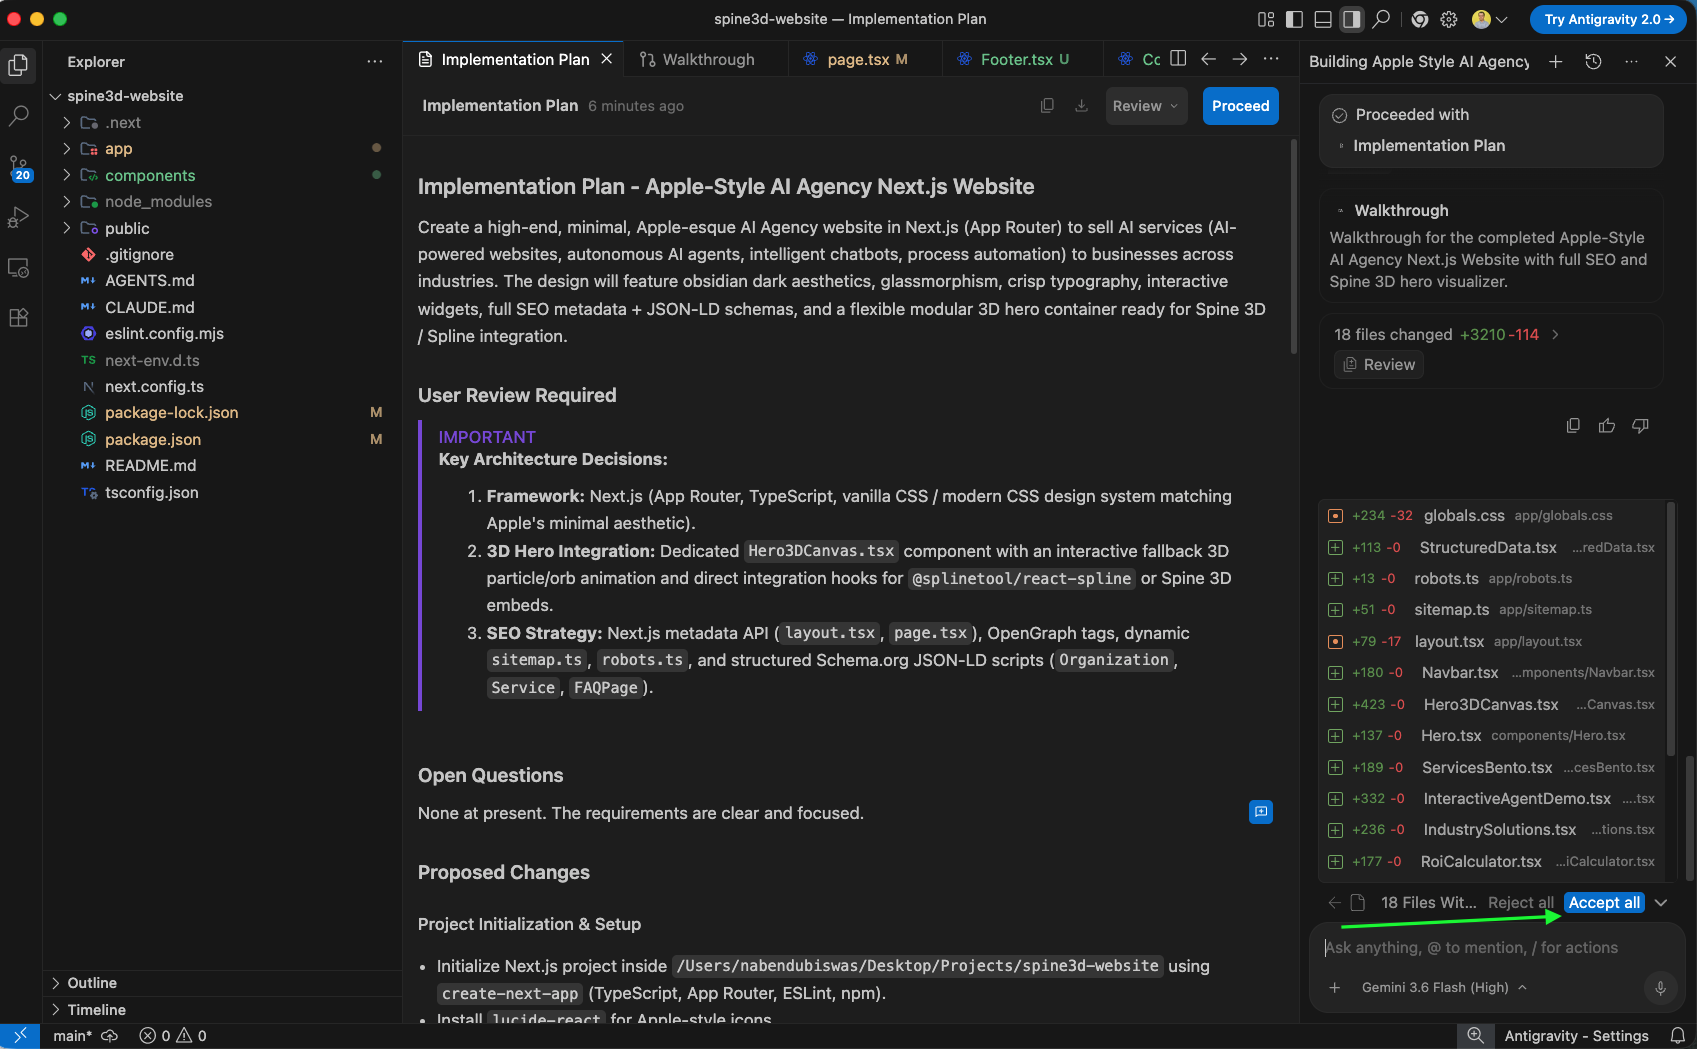
The agent generates a comprehensive Walkthrough artifact detailing architectural design choices and Spline 3D integration steps, confirming the site is ready to launch via npm run dev.
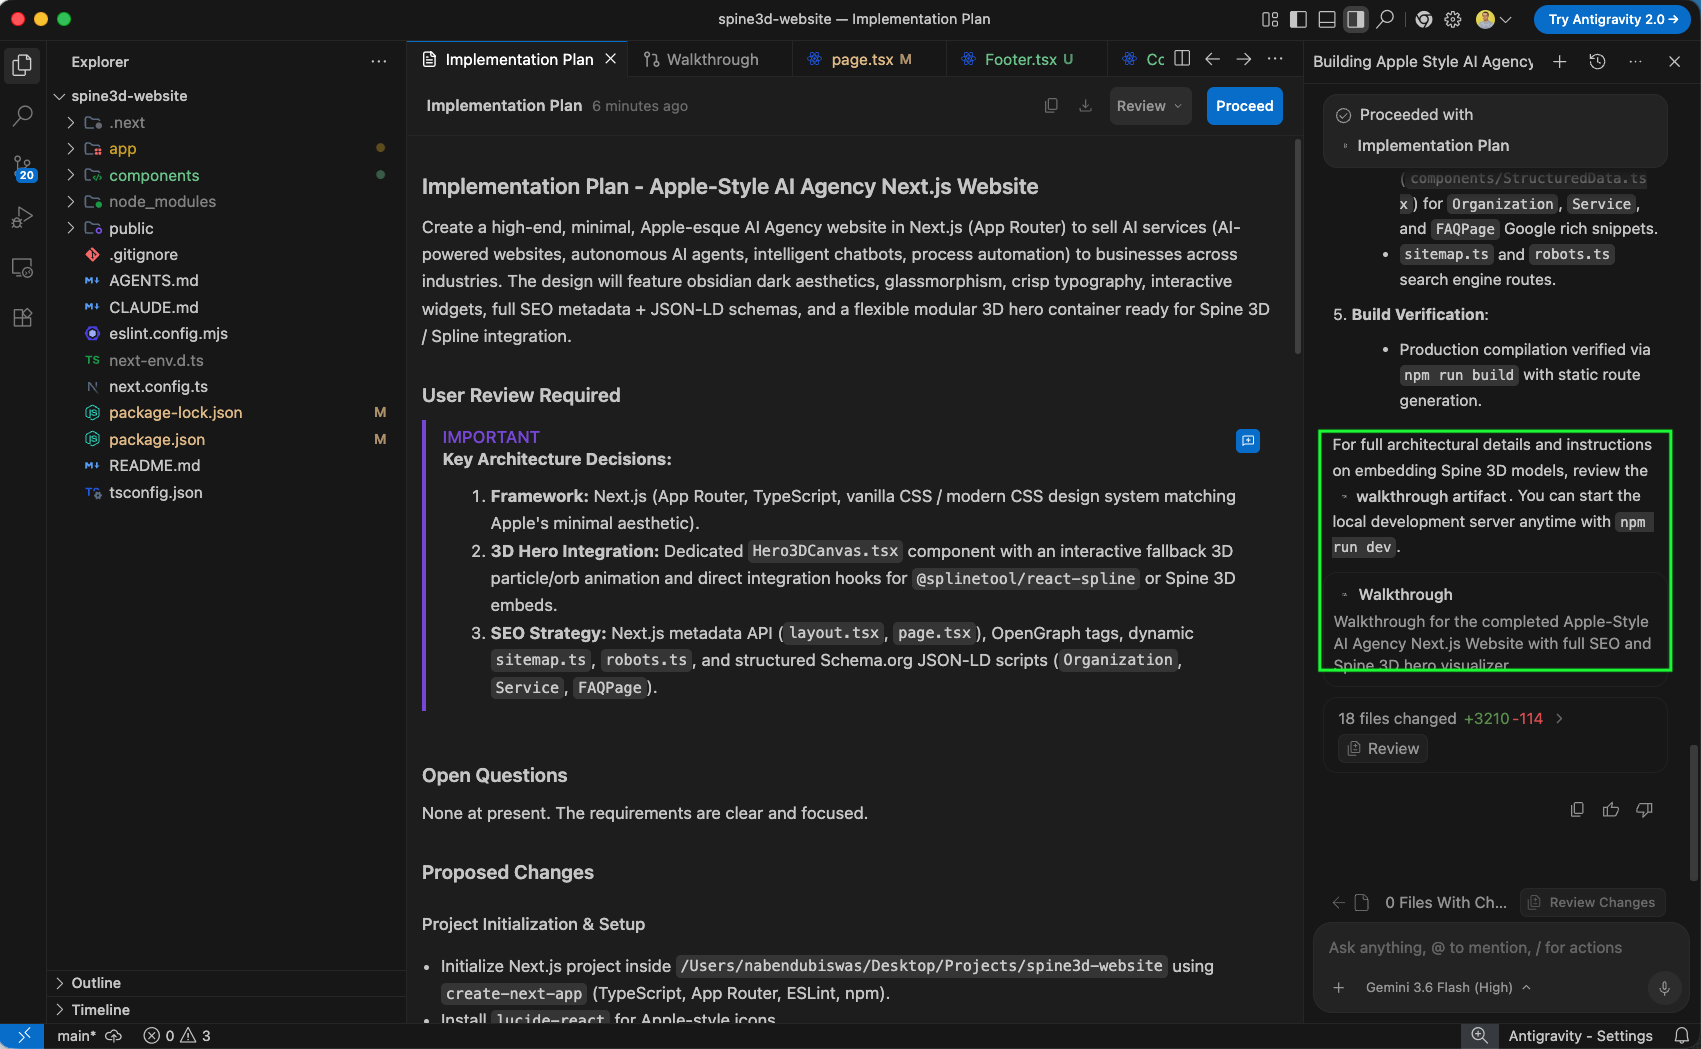
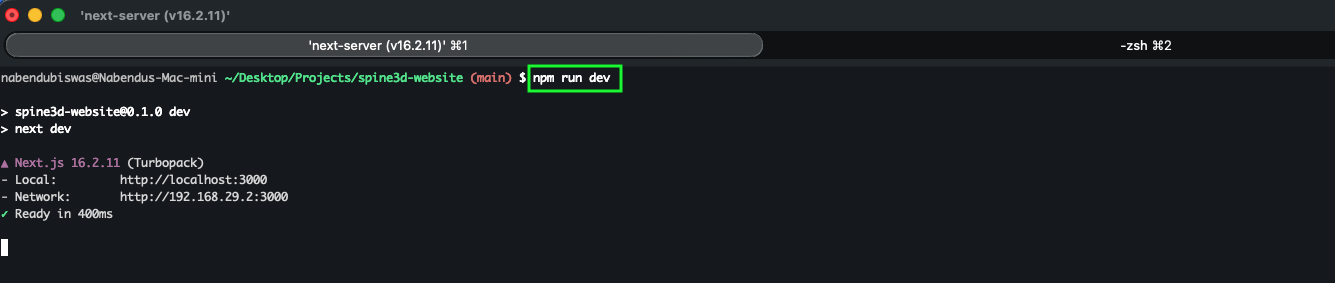
Run npm run dev in the terminal to launch the Next.js development server with Turbopack on http://localhost:3000.
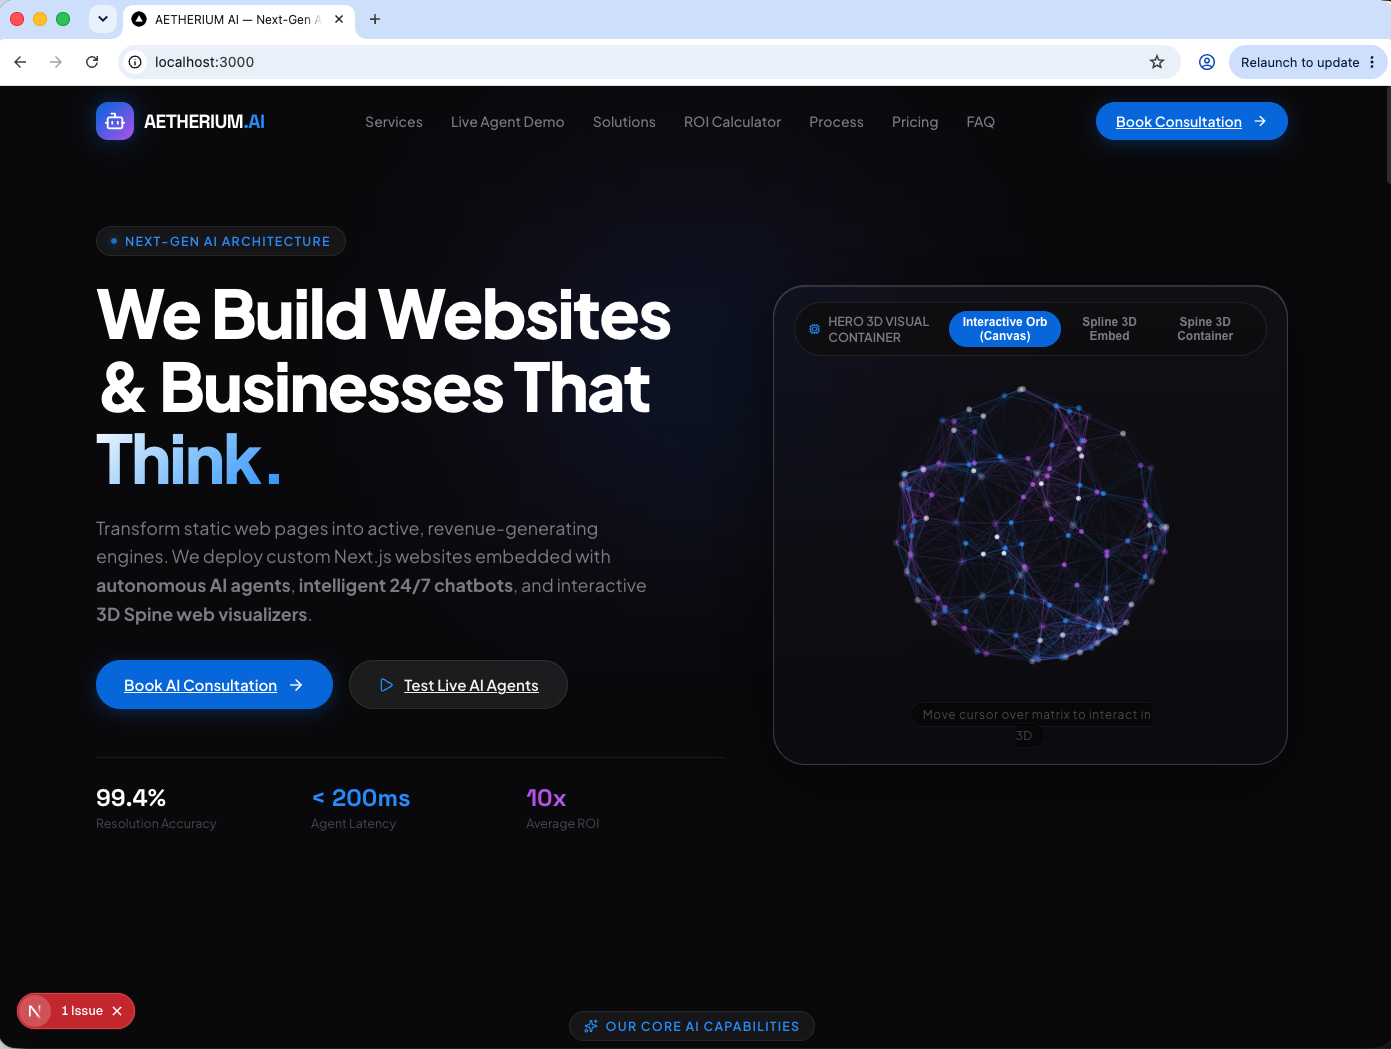
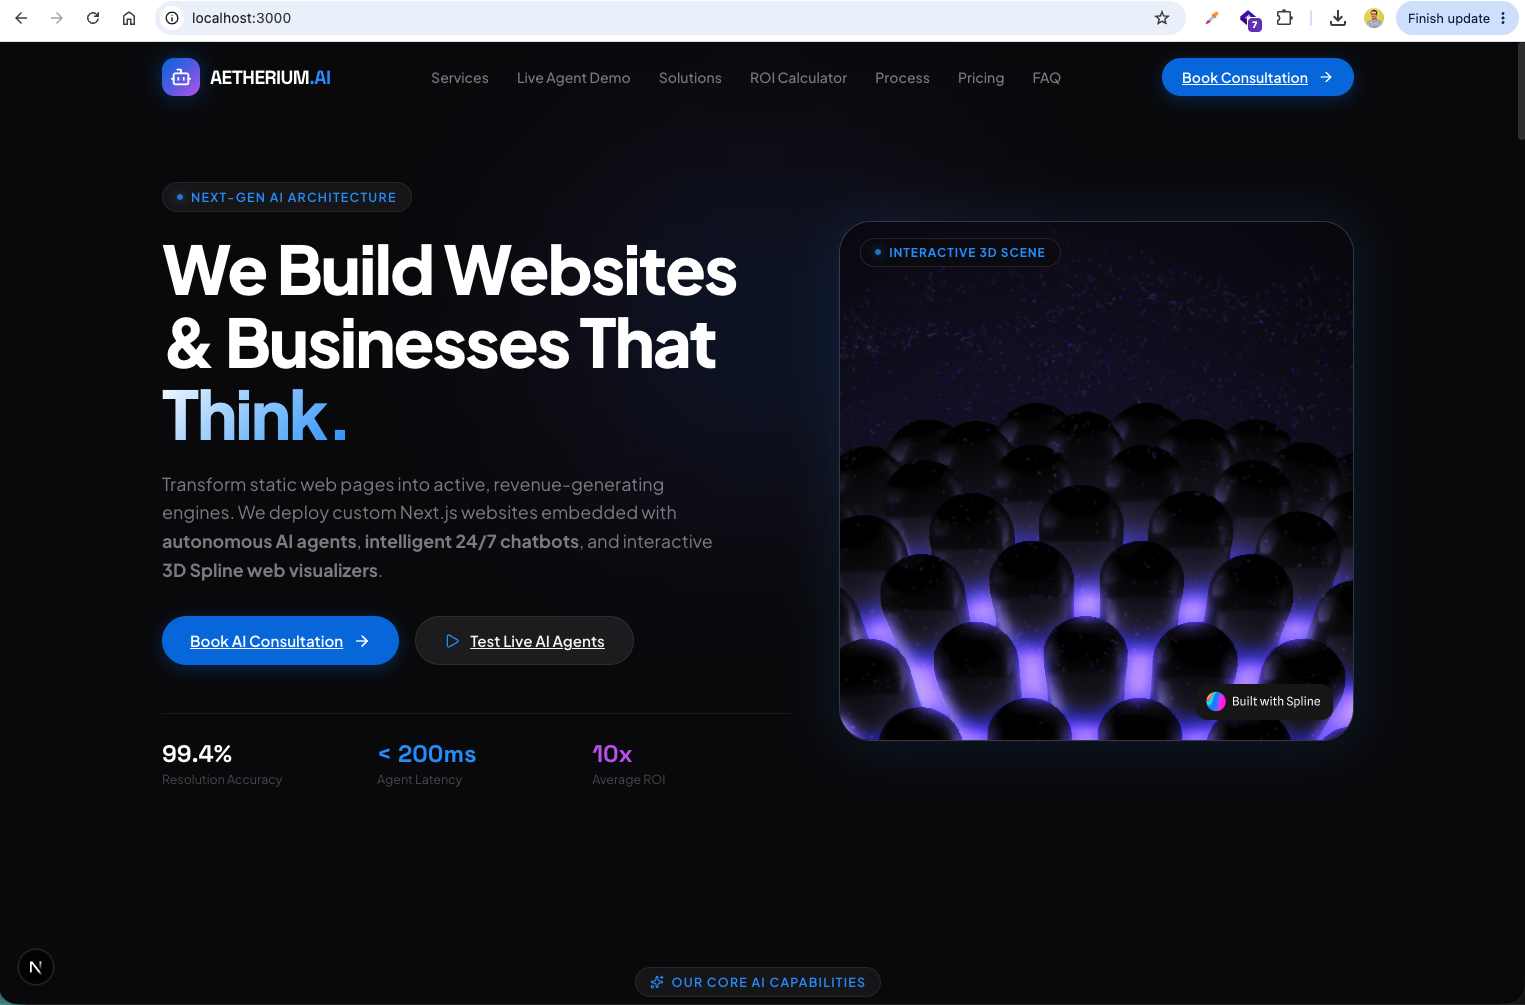
Navigating to http://localhost:3000 reveals the completed AETHERIUM.AI website featuring a minimal dark aesthetic, interactive 3D Hero container with canvas particle orb visualizer, navigation links, and full Spline 3D integration support.
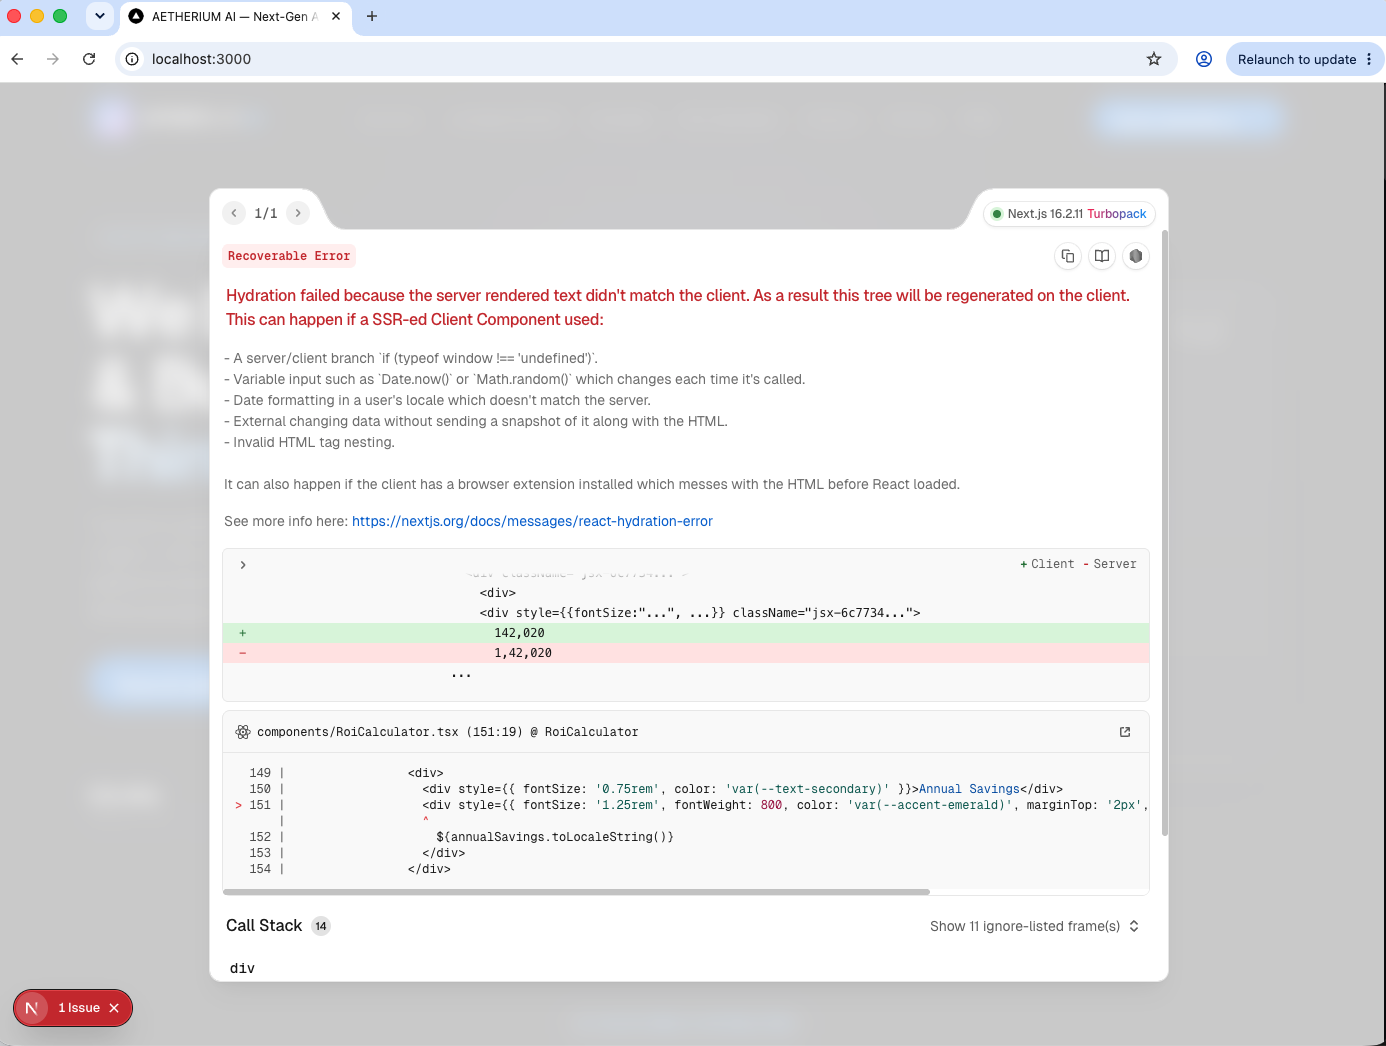
Testing the interactive widgets reveals a React hydration mismatch error in components/RoiCalculator.tsx, caused by annualSavings.toLocaleString() formatting numbers differently on the server versus client.
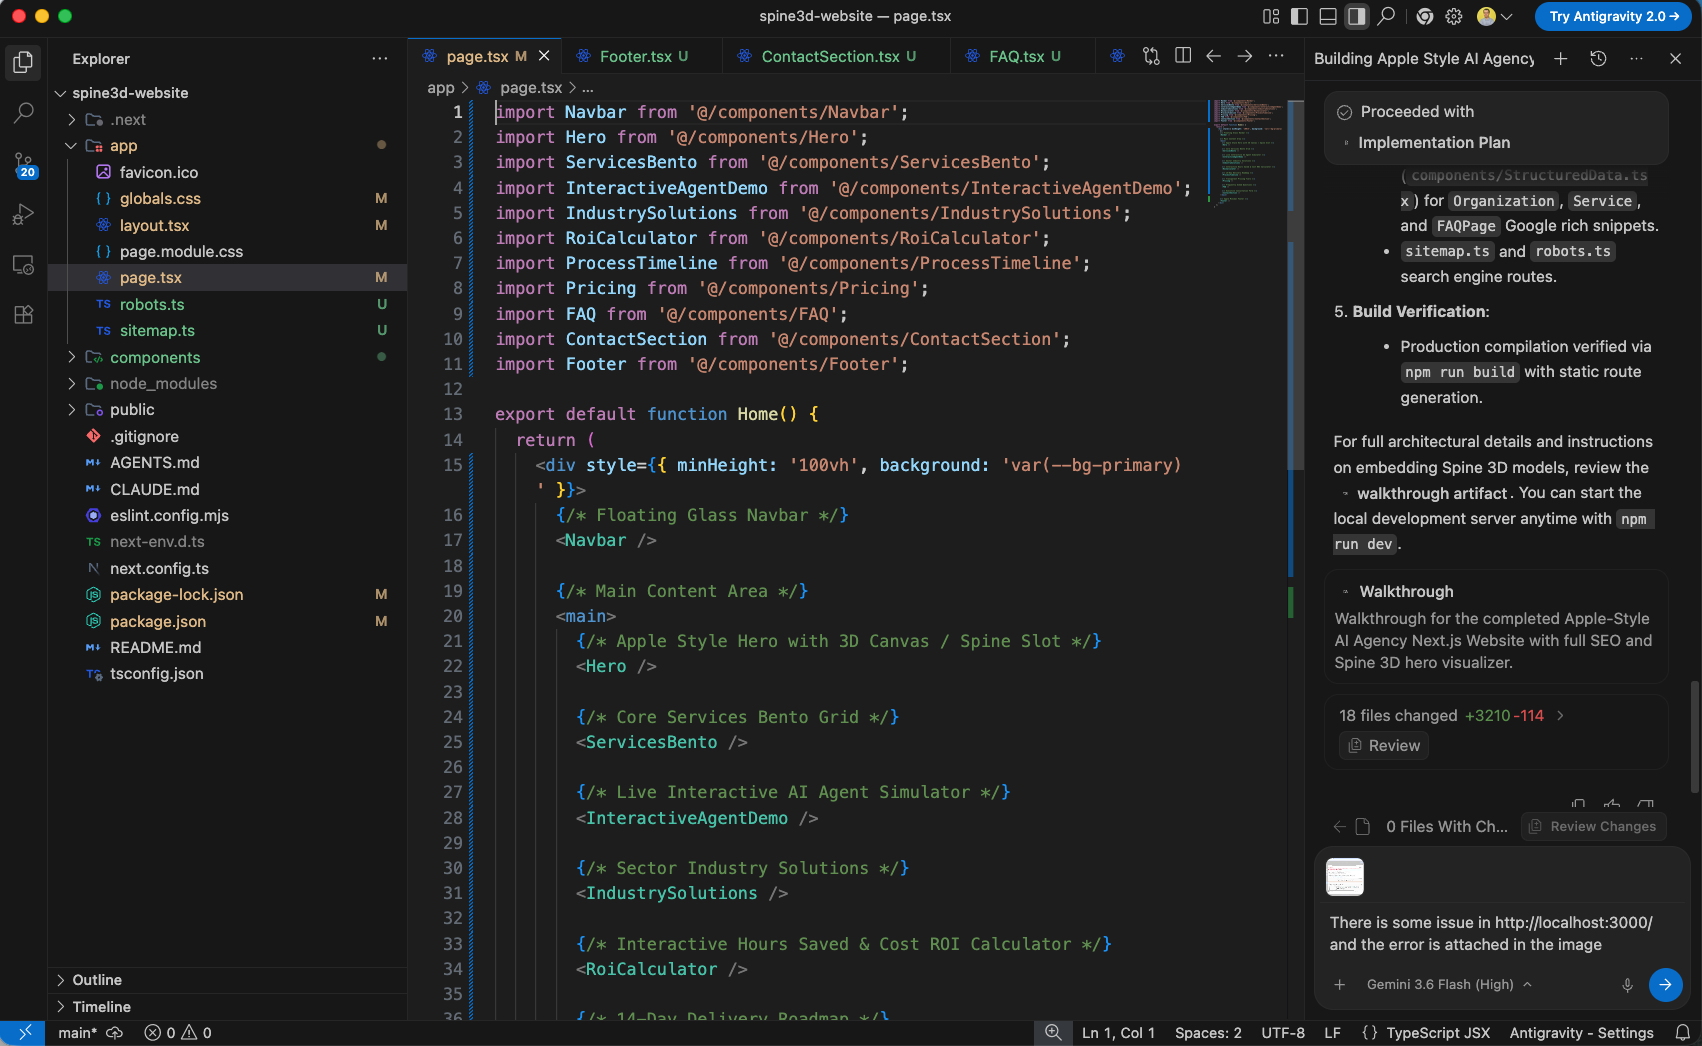
To fix this, attach a screenshot of the error to the AI Agent chat panel with the prompt: 'There is some issue in http://localhost:3000/ and the error is attached in the image'.
After the agent resolves the hydration issue, refreshing http://localhost:3000 loads the web page cleanly with zero errors.
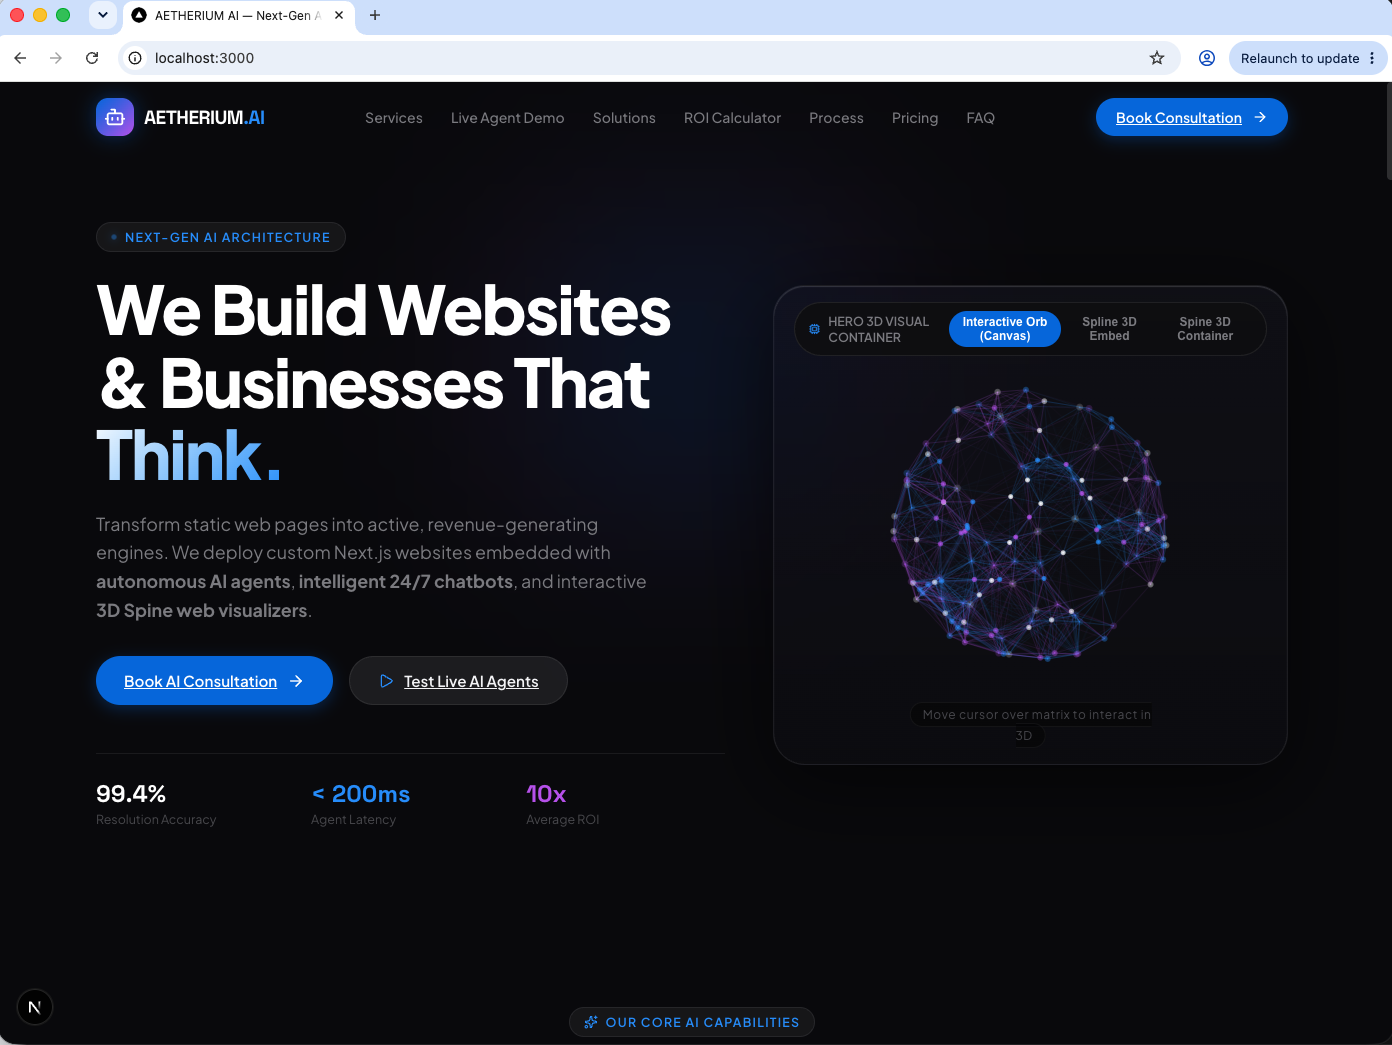
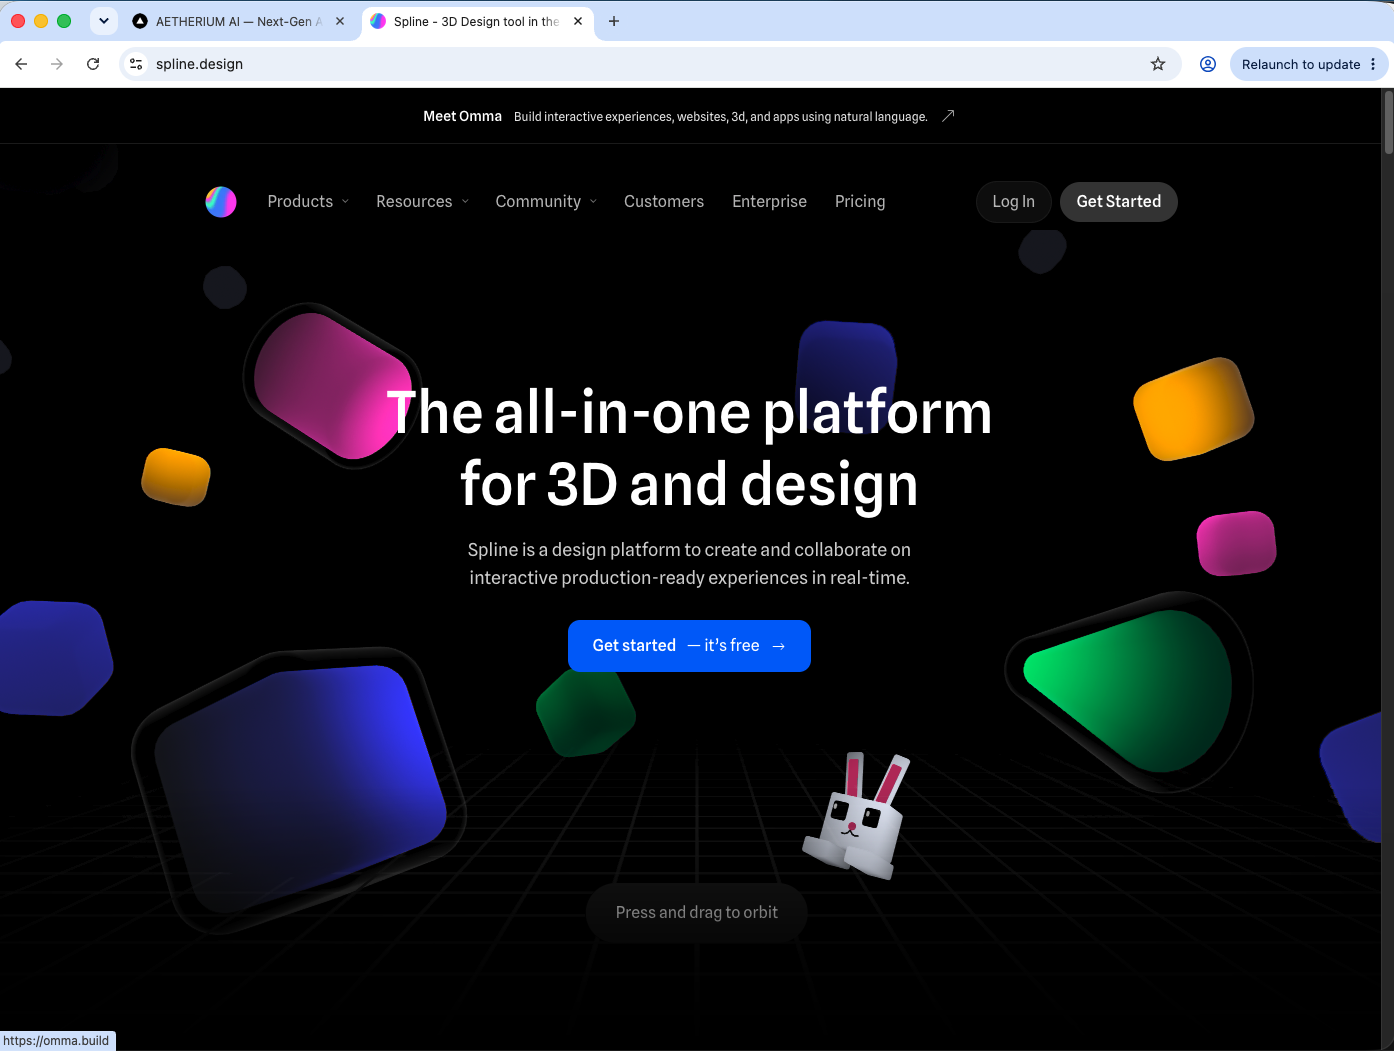
Now, visit spline.design to find a production 3D model asset for our website's hero section.
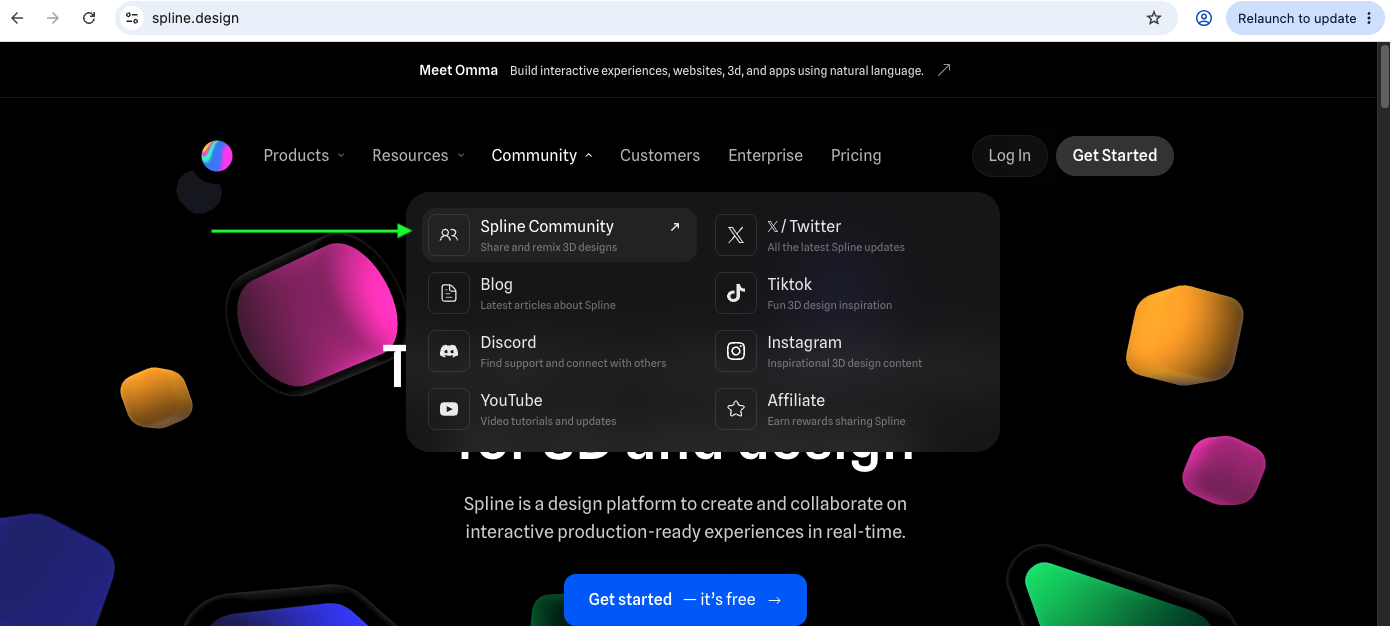
In the Spline top navigation menu, hover over Community and click Spline Community to explore public 3D design templates.
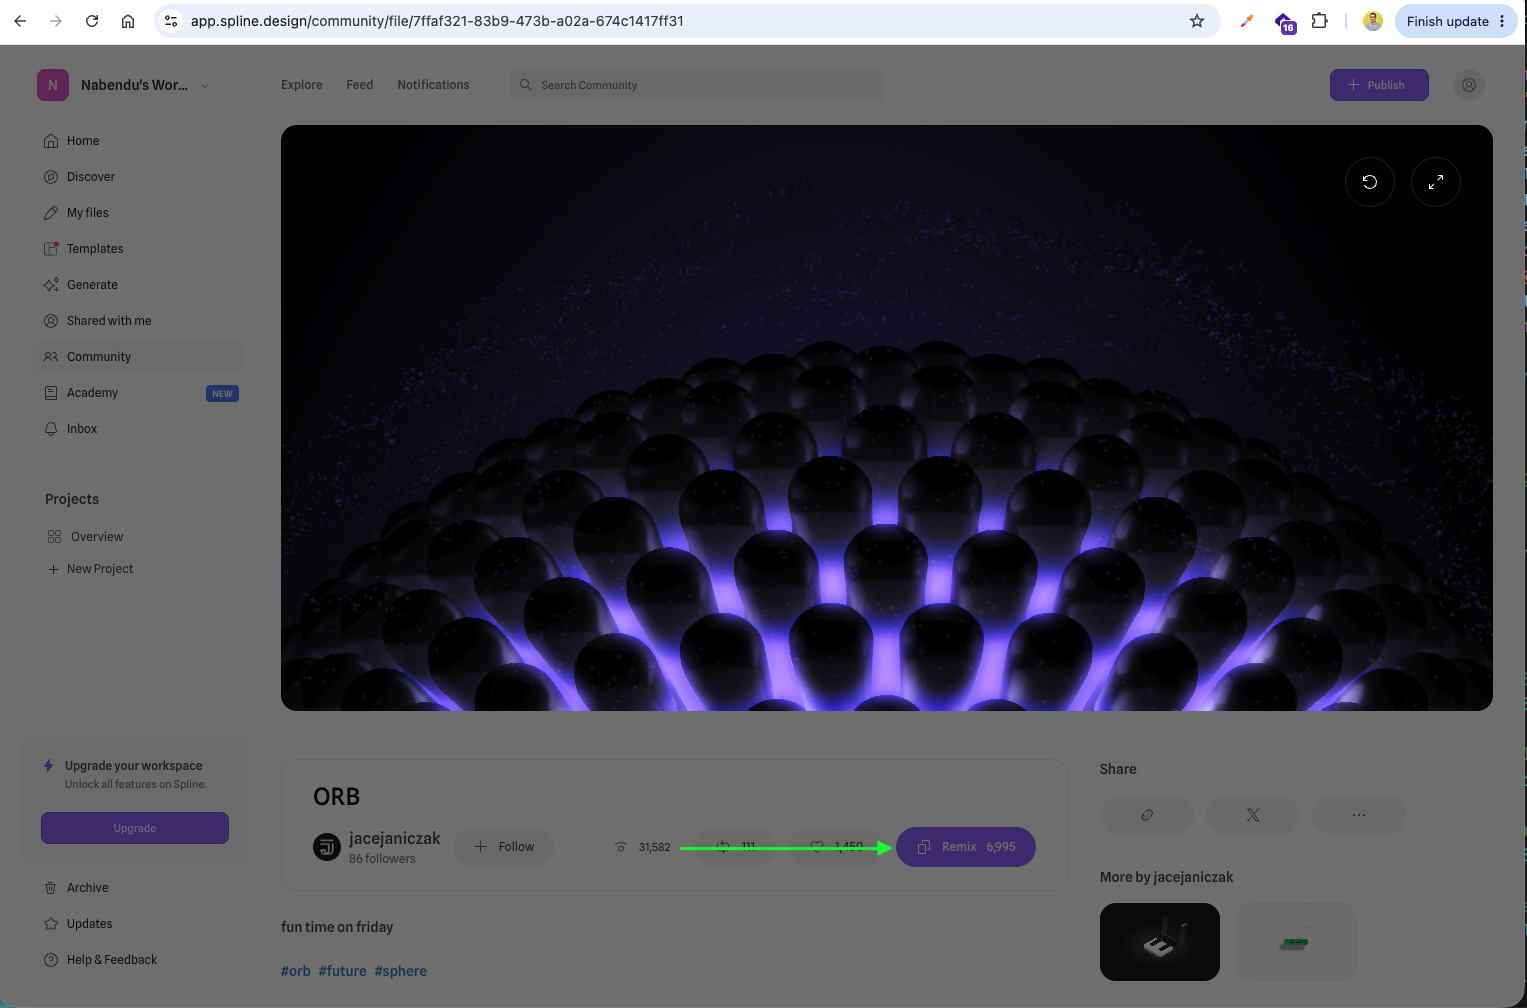
Search for a 3D scene like the ORB model by jacejaniczak in the community library, then click Remix to clone it to your Spline workspace.
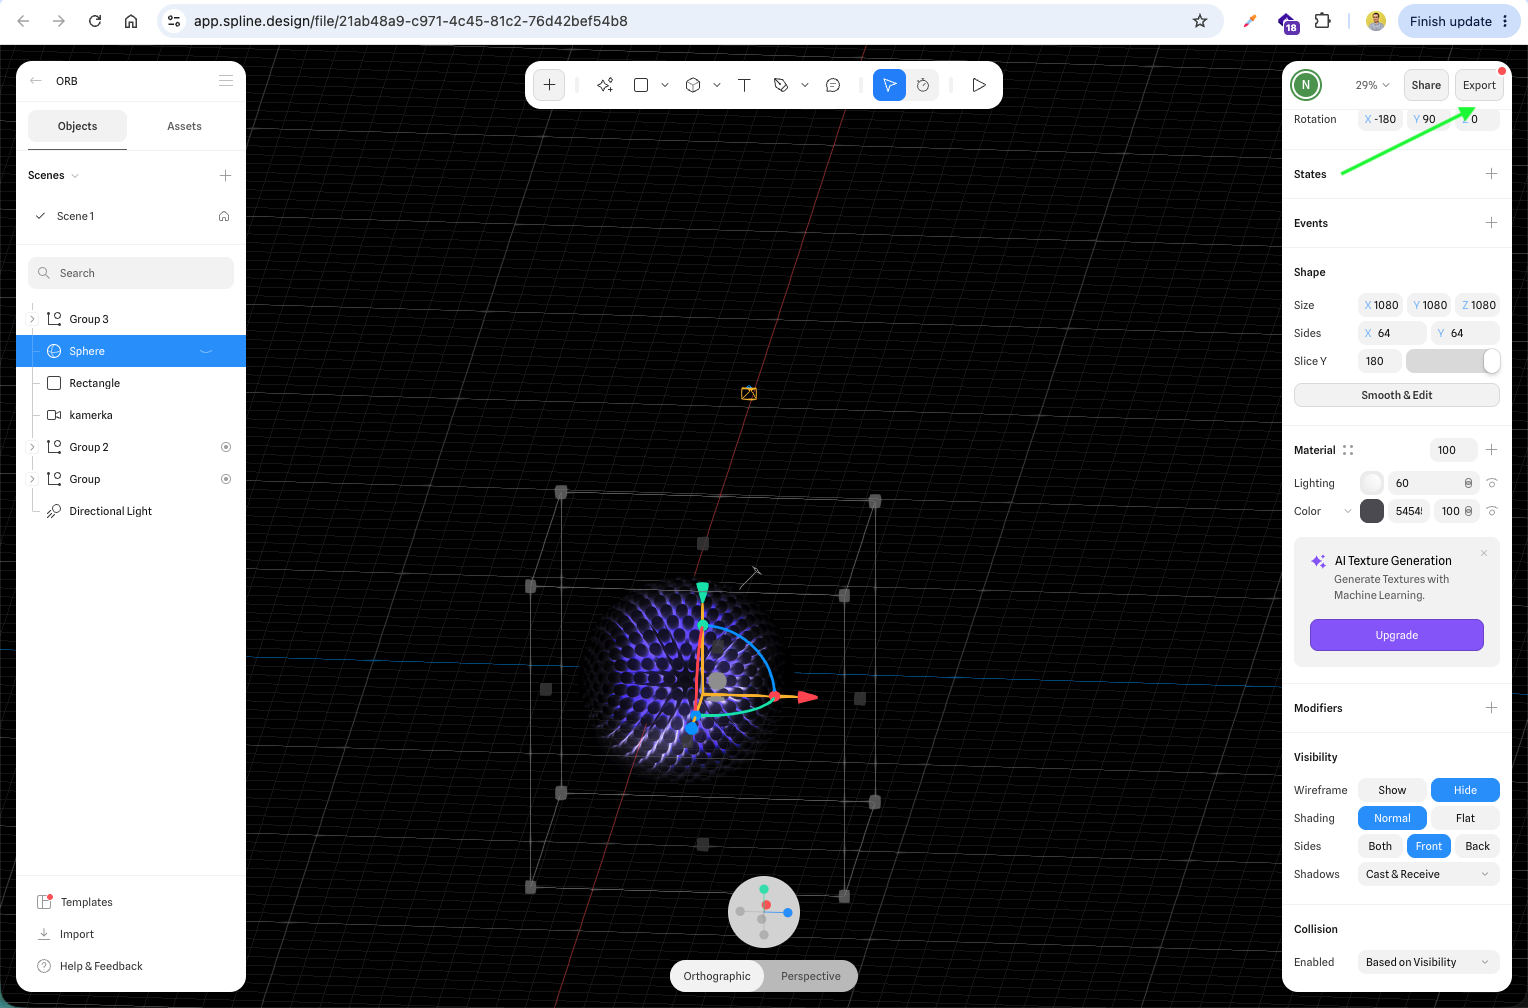
Once the scene opens in the Spline Editor, customize any 3D materials or lighting as needed, then click Export in the upper right toolbar.
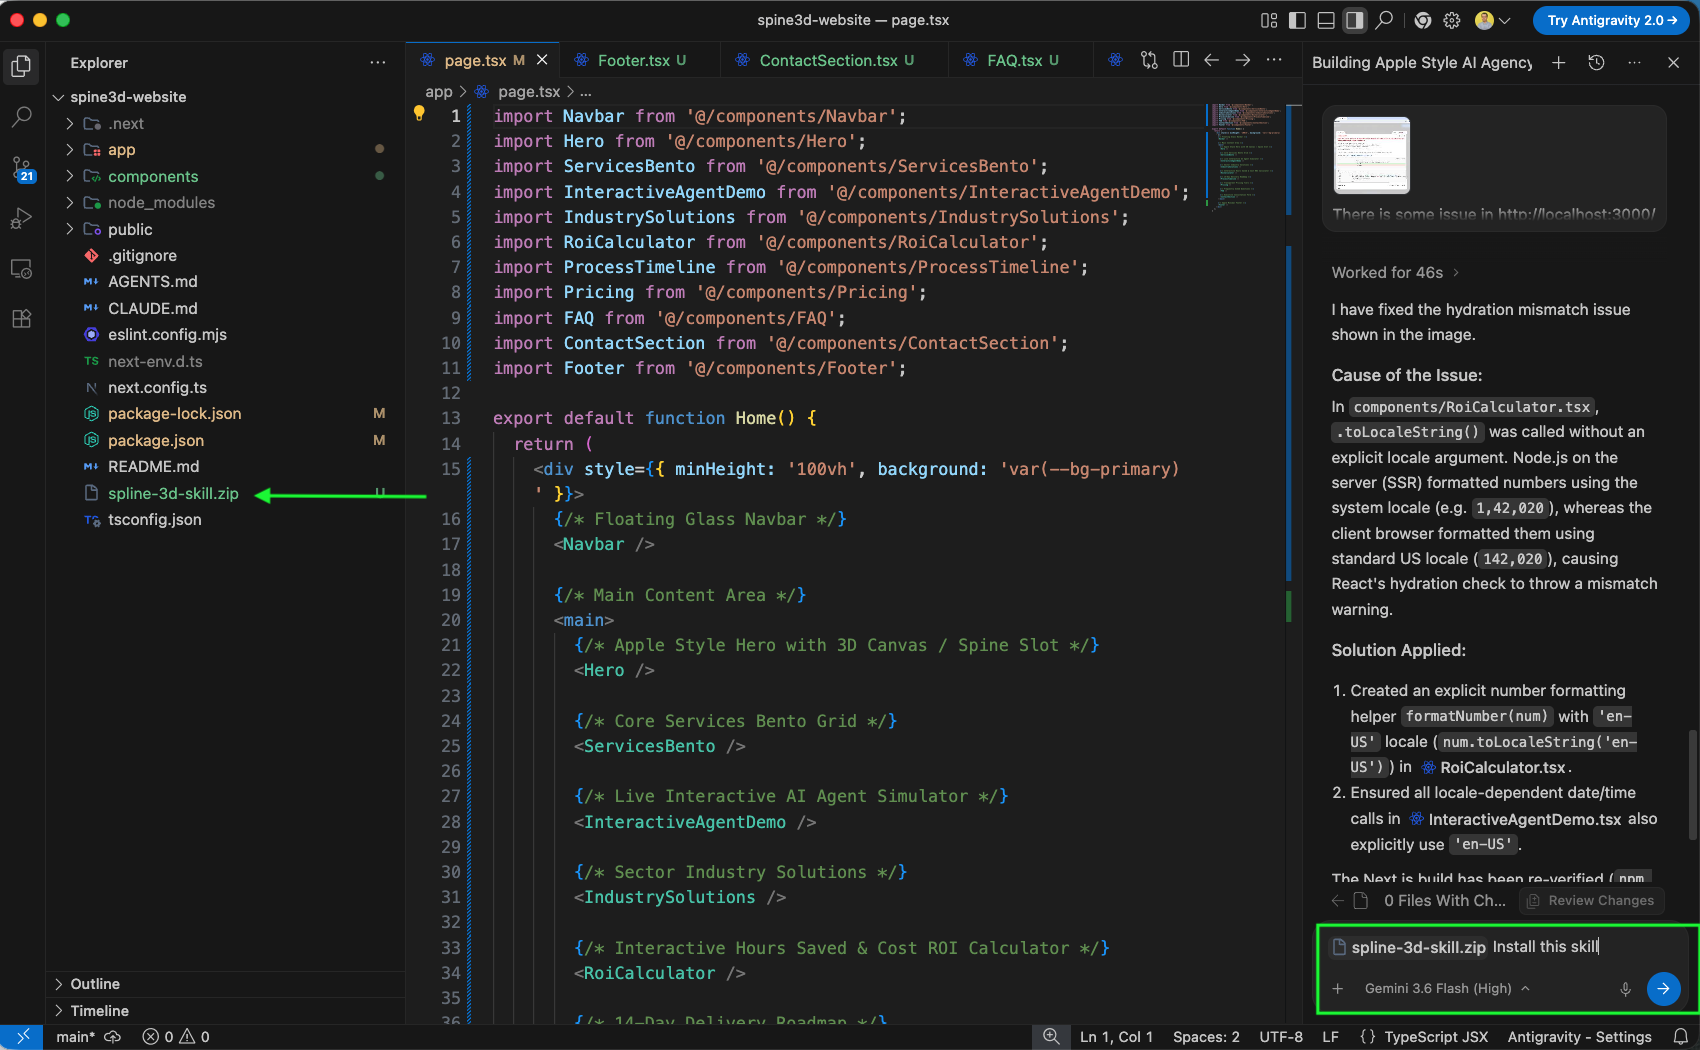
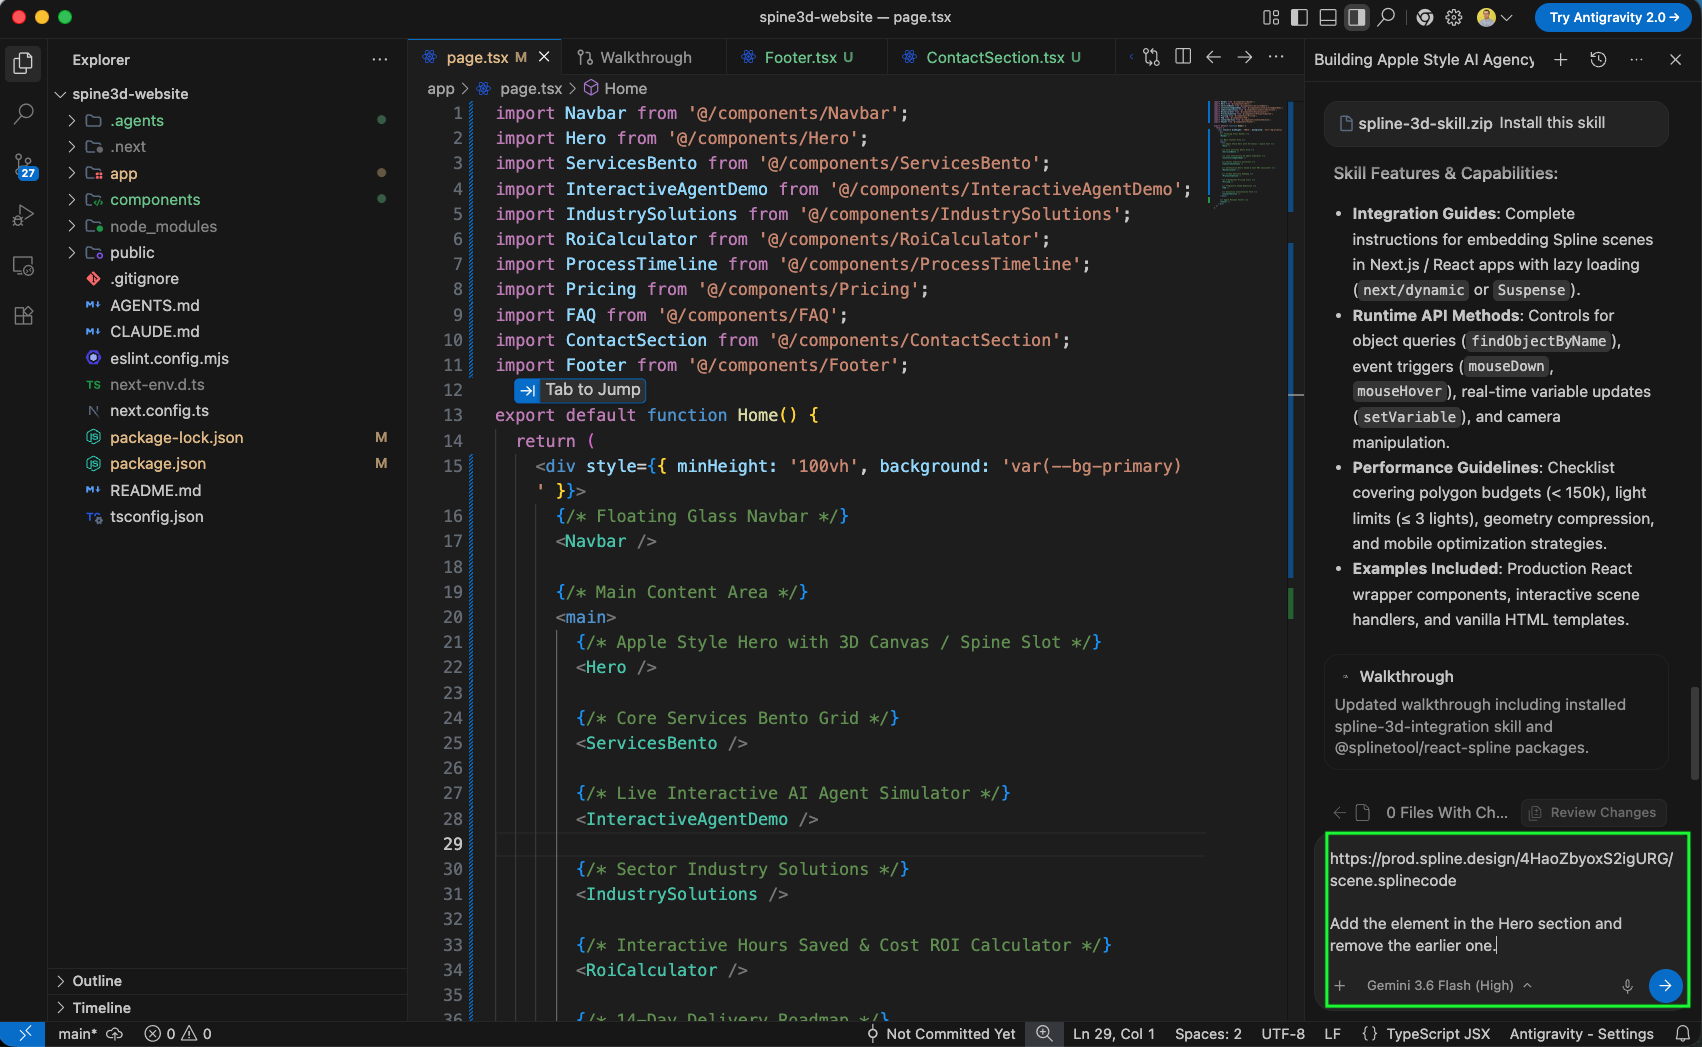
To add advanced Spline 3D capabilities to the agent, drag spline-3d-skill.zip into your project directory and send the prompt: 'spline-3d-skill.zip Install this skill'.
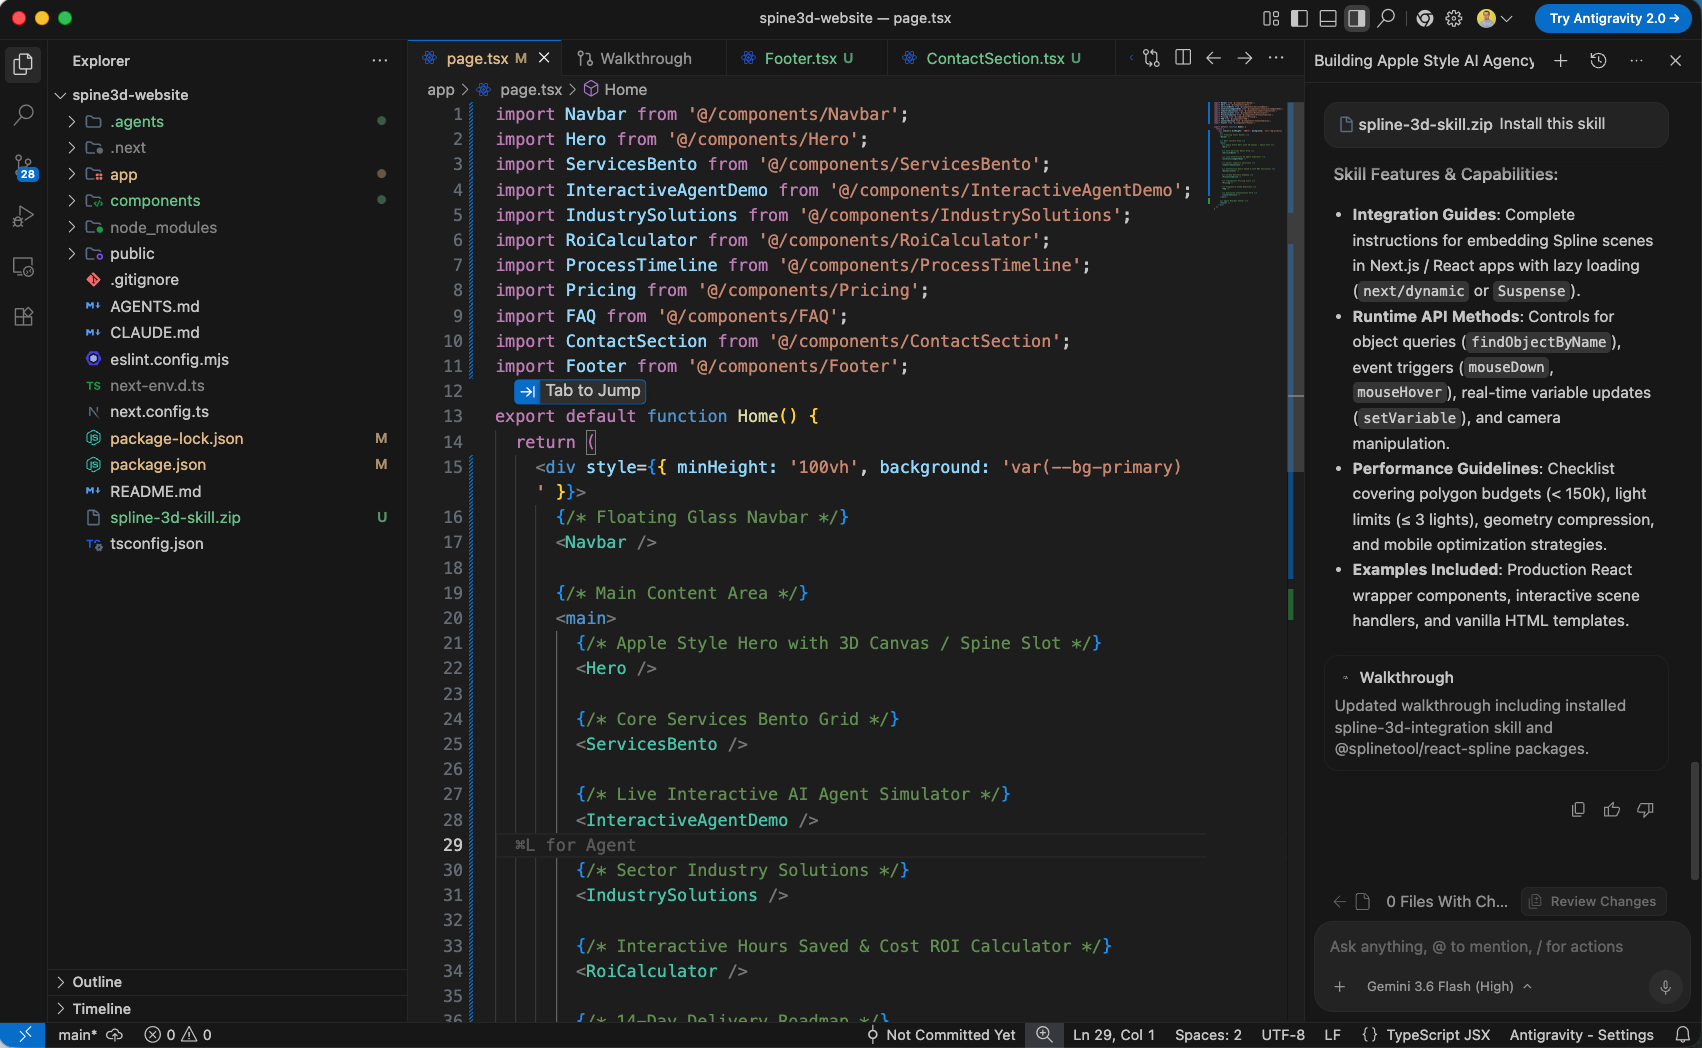
The AI agent unpacks the skill into .agents/skills/spline-3d-integration, equipping itself with knowledge for @splinetool/react-spline runtime API methods, event triggers, and performance optimizations.
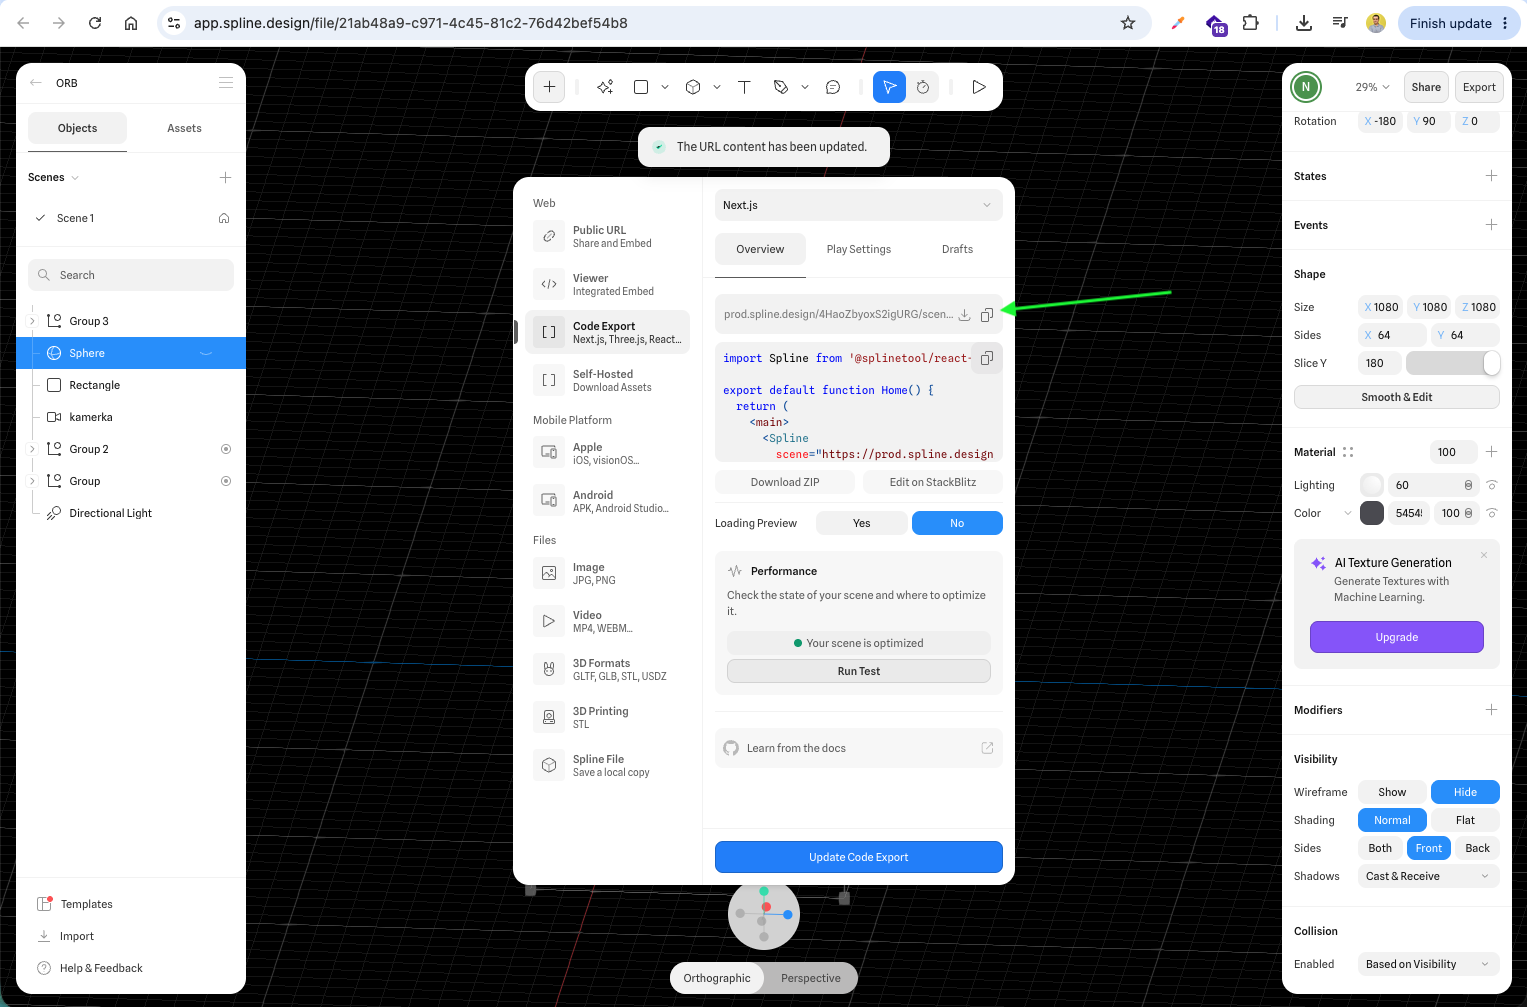
In the Spline Export modal under Code Export -> Next.js, copy the exported scene URL.
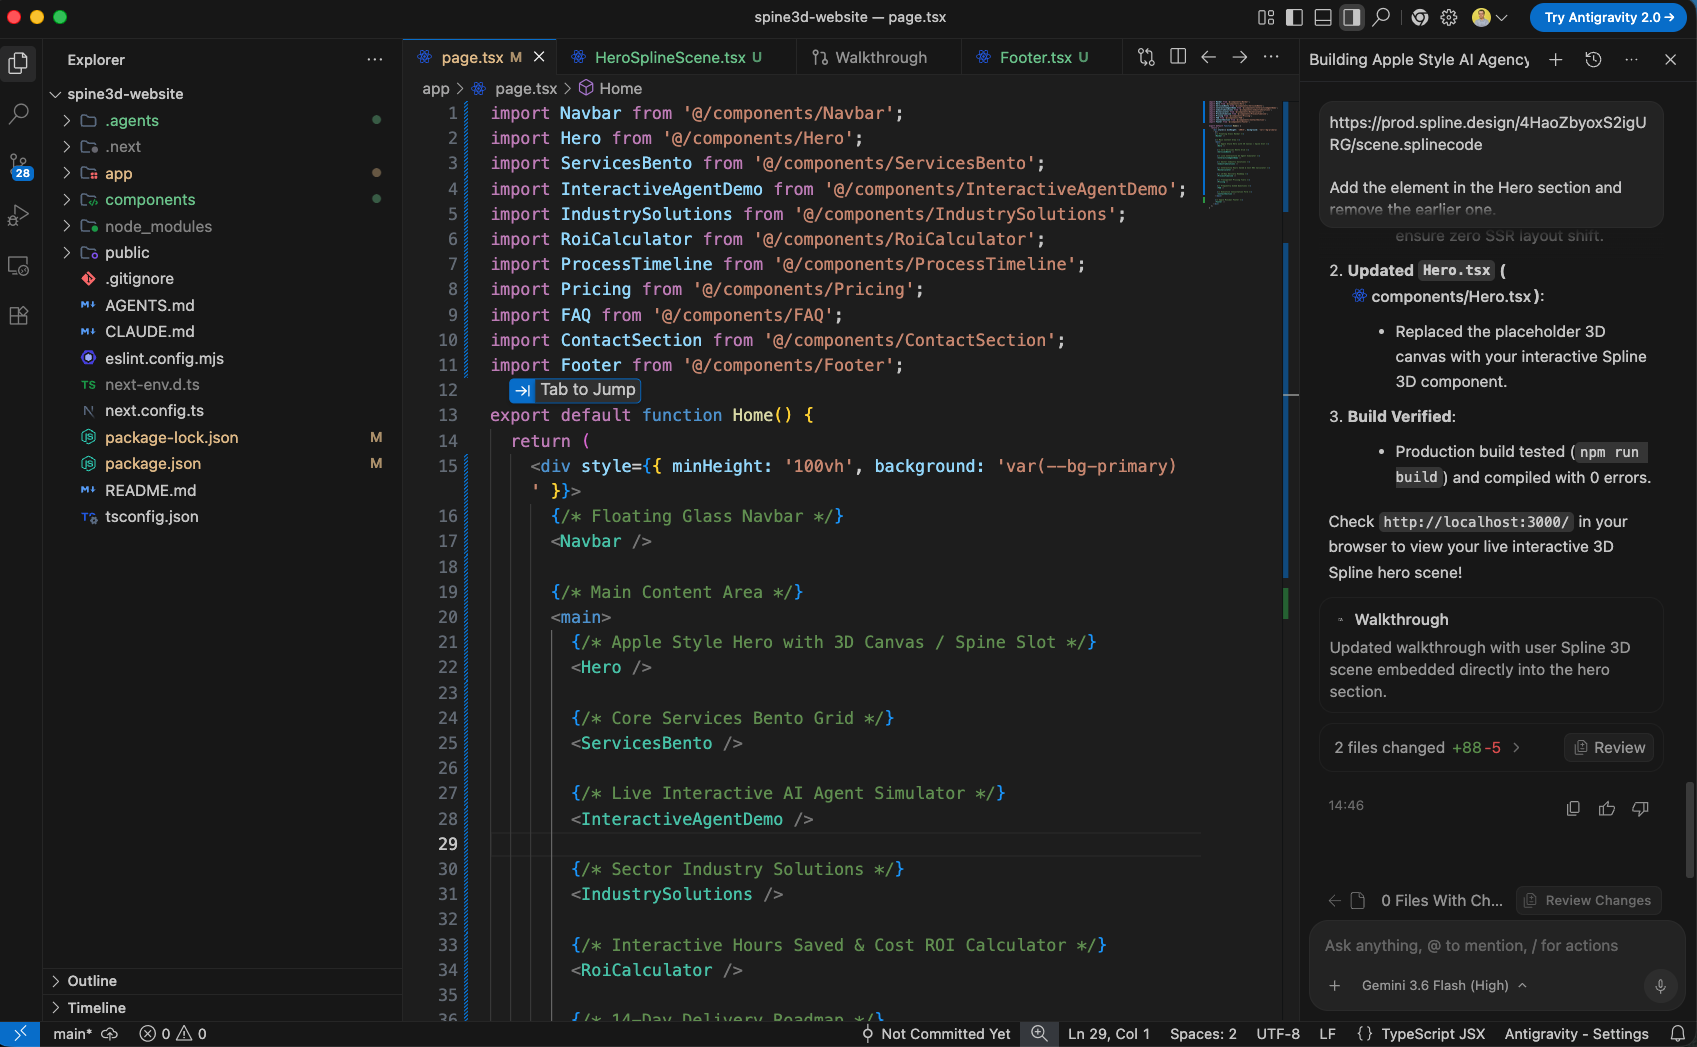
Paste the Spline URL into the AI Agent chat with the prompt: 'Add the element in the Hero section and remove the earlier one.'
The agent creates HeroSplineScene.tsx using @splinetool/react-spline lazy loading, updates Hero.tsx to embed the 3D scene, and verifies compilation.
Refreshing http://localhost:3000 renders the live interactive Spline 3D ORB scene seamlessly integrated into the hero section.
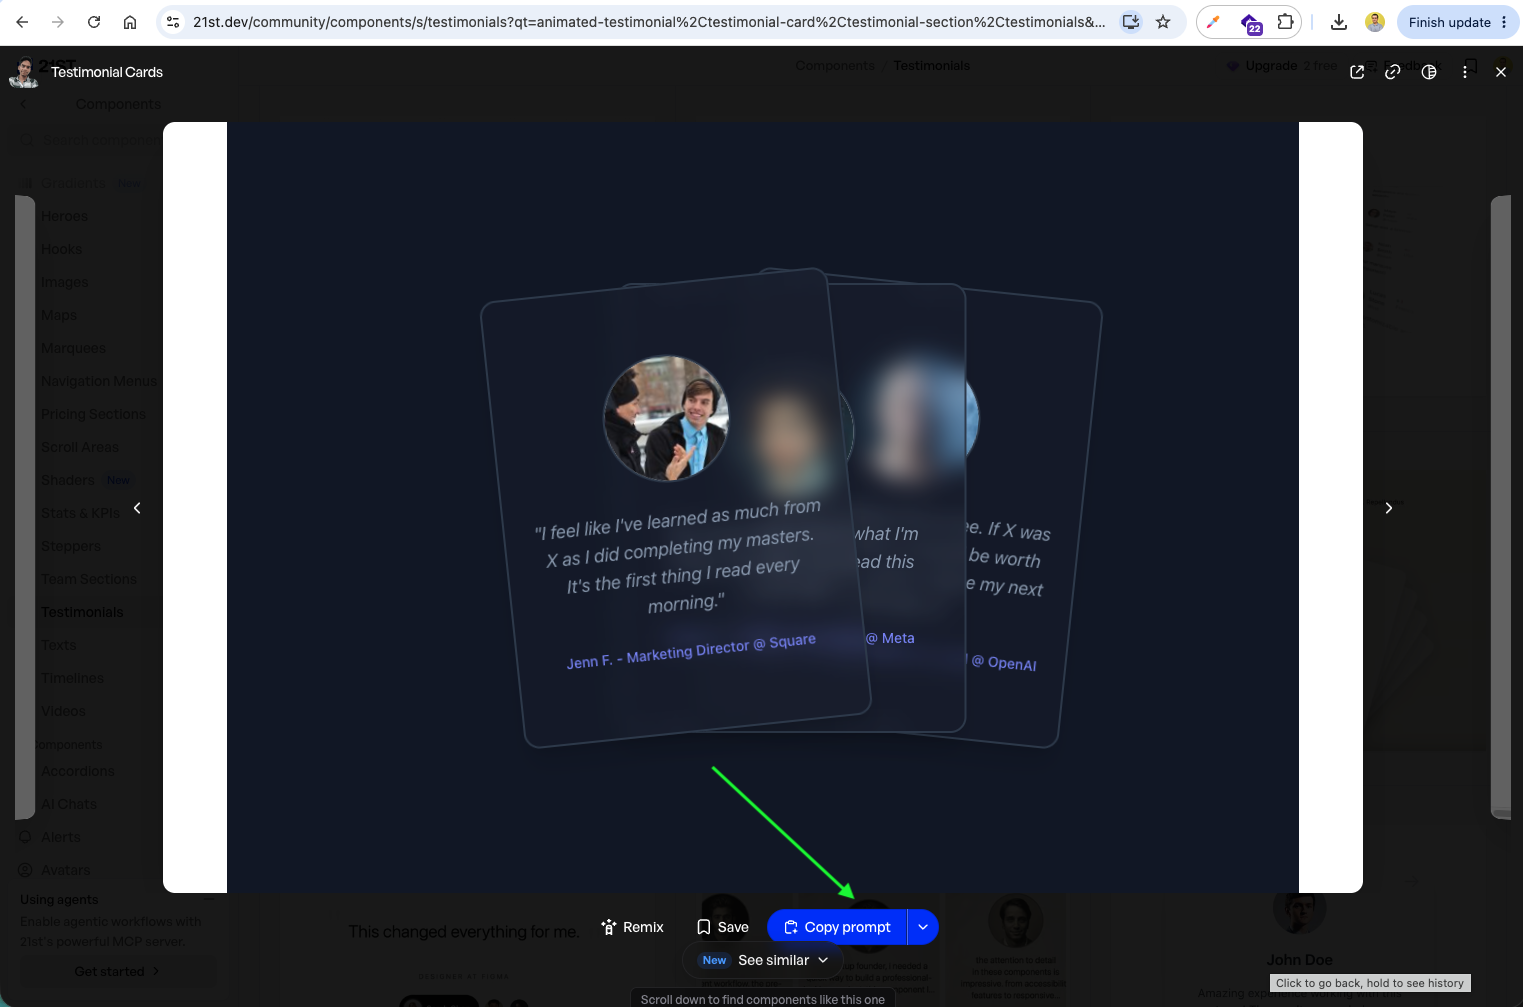
To further enhance the UI, navigate to 21st.dev and browse the Testimonials section to find animated client review components.
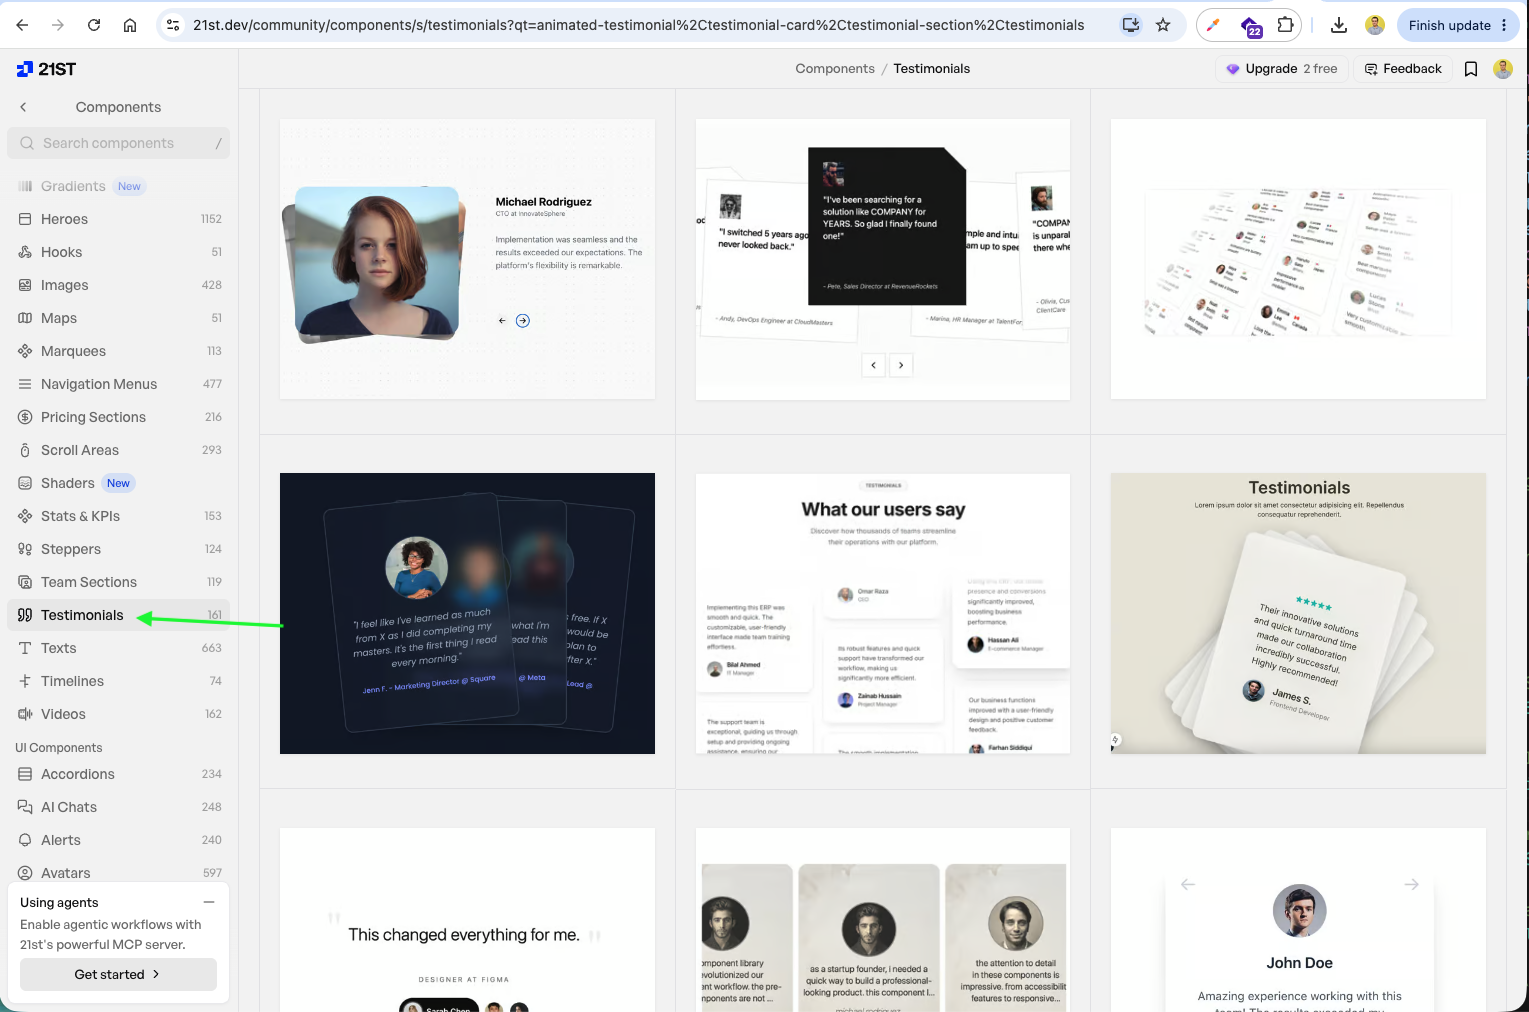
Click on the Testimonial Cards component modal and click Copy prompt at the bottom of the screen.
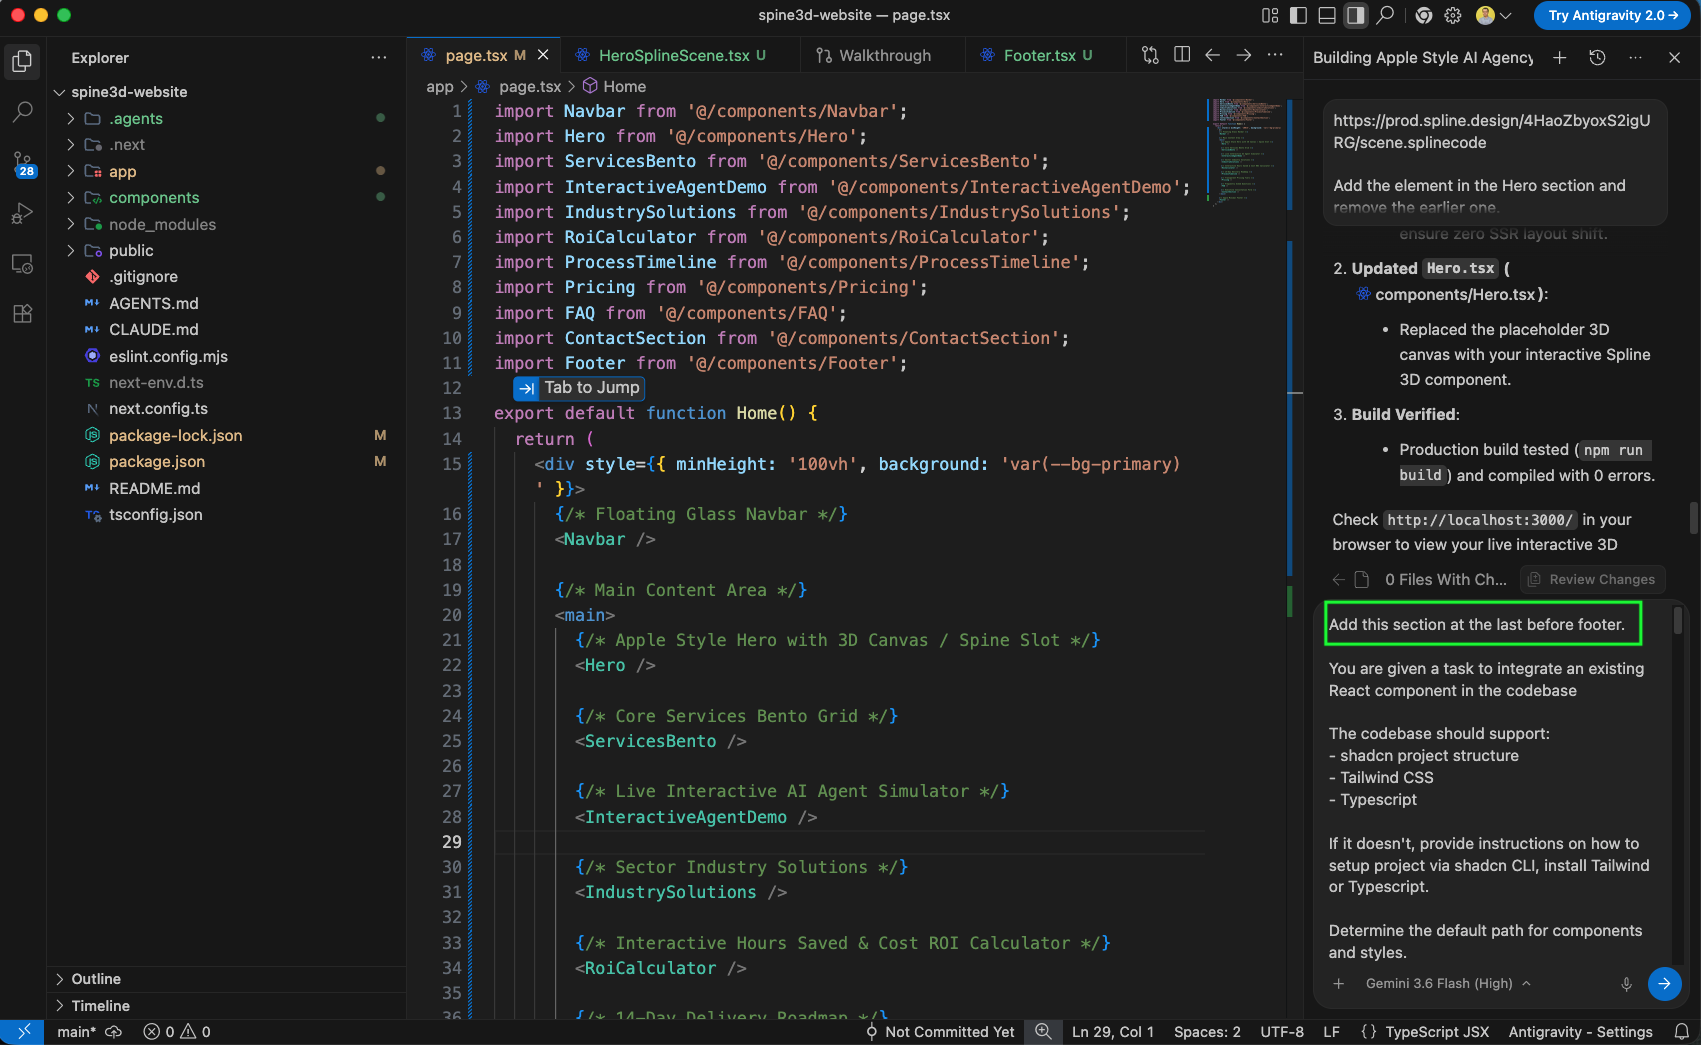
In the Agent prompt panel, paste the copied prompt structure and add the instruction: 'Add this section at the last before footer.'
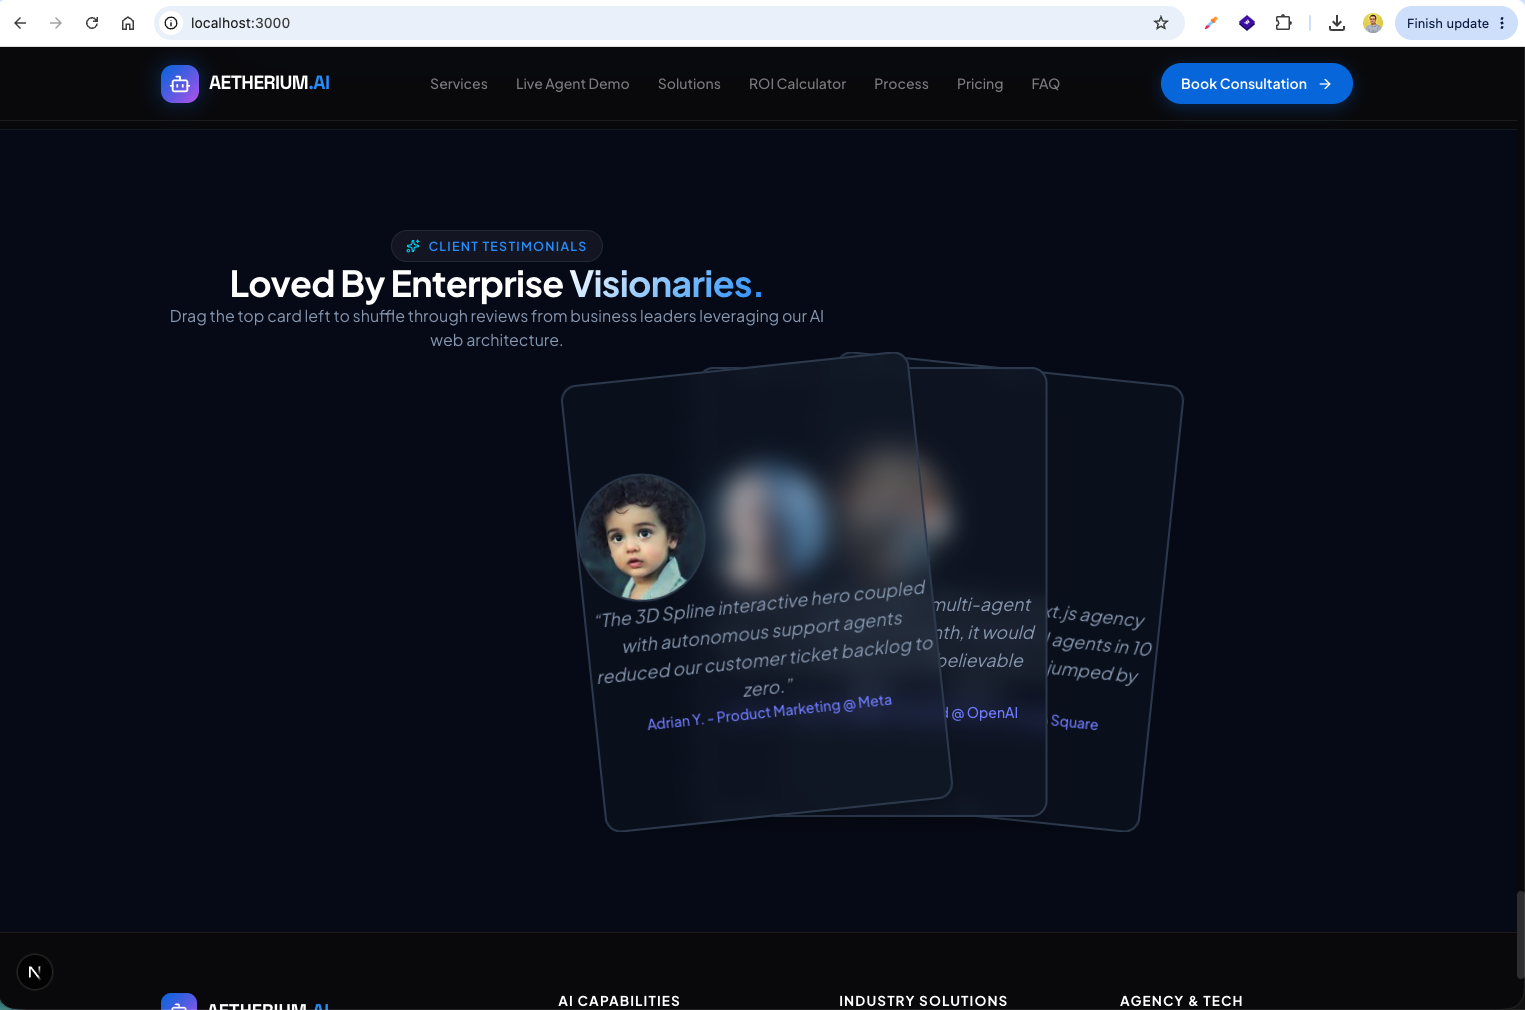
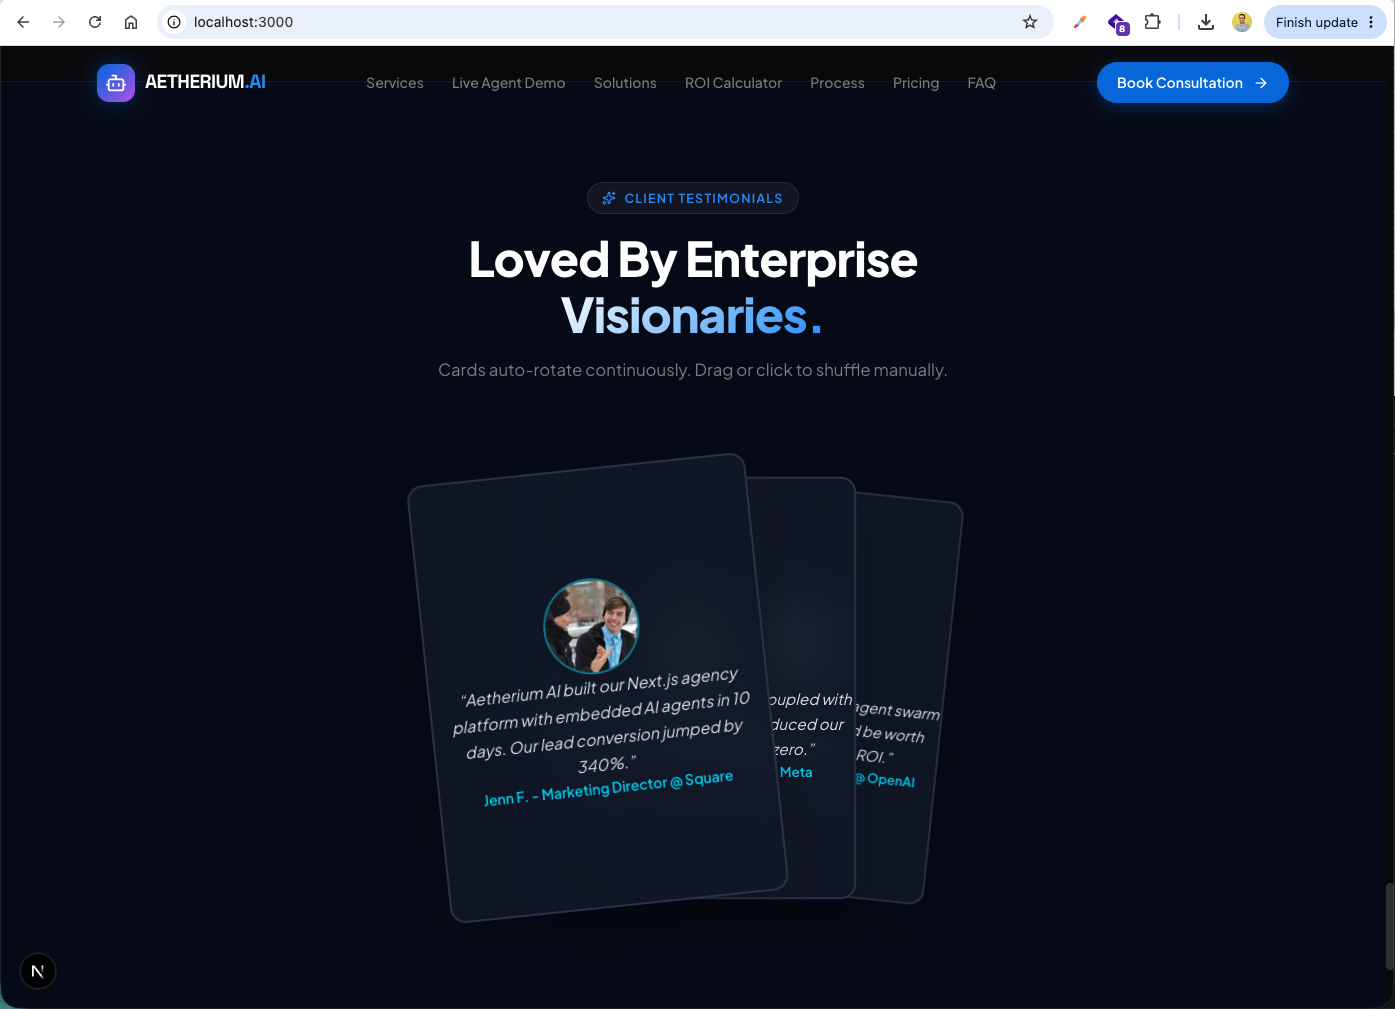
Once built, the Client Testimonials stacked deck component renders smoothly on the site right above the footer section.
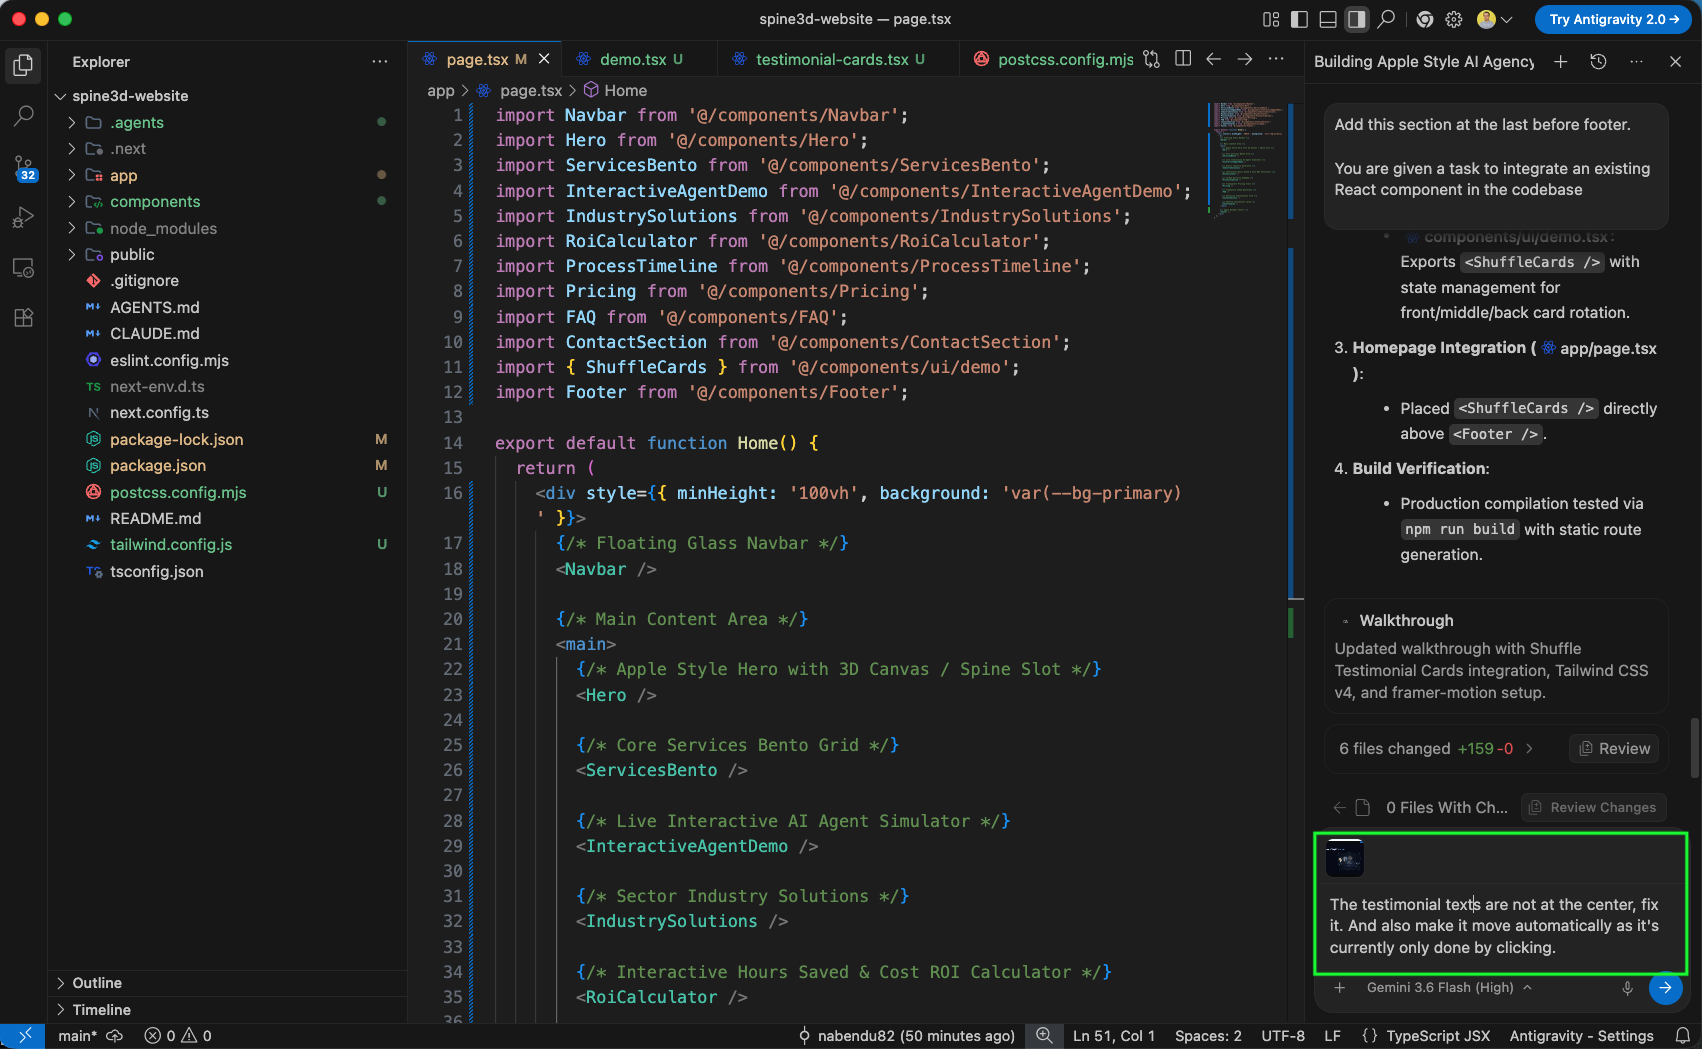
To refine the component, prompt the agent: 'The testimonial texts are not at the center, fix it. And also make it move automatically as it's currently only done by clicking.'
The updated Testimonials section now features centered review copy and automatic card rotation, completing our modern 3D Next.js website!
You can find the code here. And also spline-3d-skill.zip here