React Router v5 with a Project
React
We will now learn about React Router by implementing it in the project, we had created earlier. We will create it over the code of the earlier part and you can find it here
Now, we are learning to create routes using react router v5, but recently v6 came out and it have got massive changes. We will look into v6 in a separate post.
We will start where we left and will add react router v5 in the earlier project by the below command.
npm i react-router-dom@5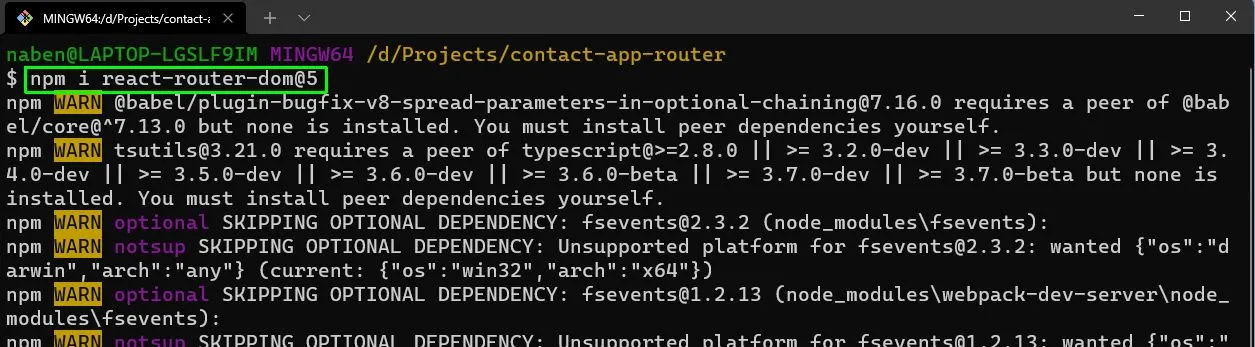
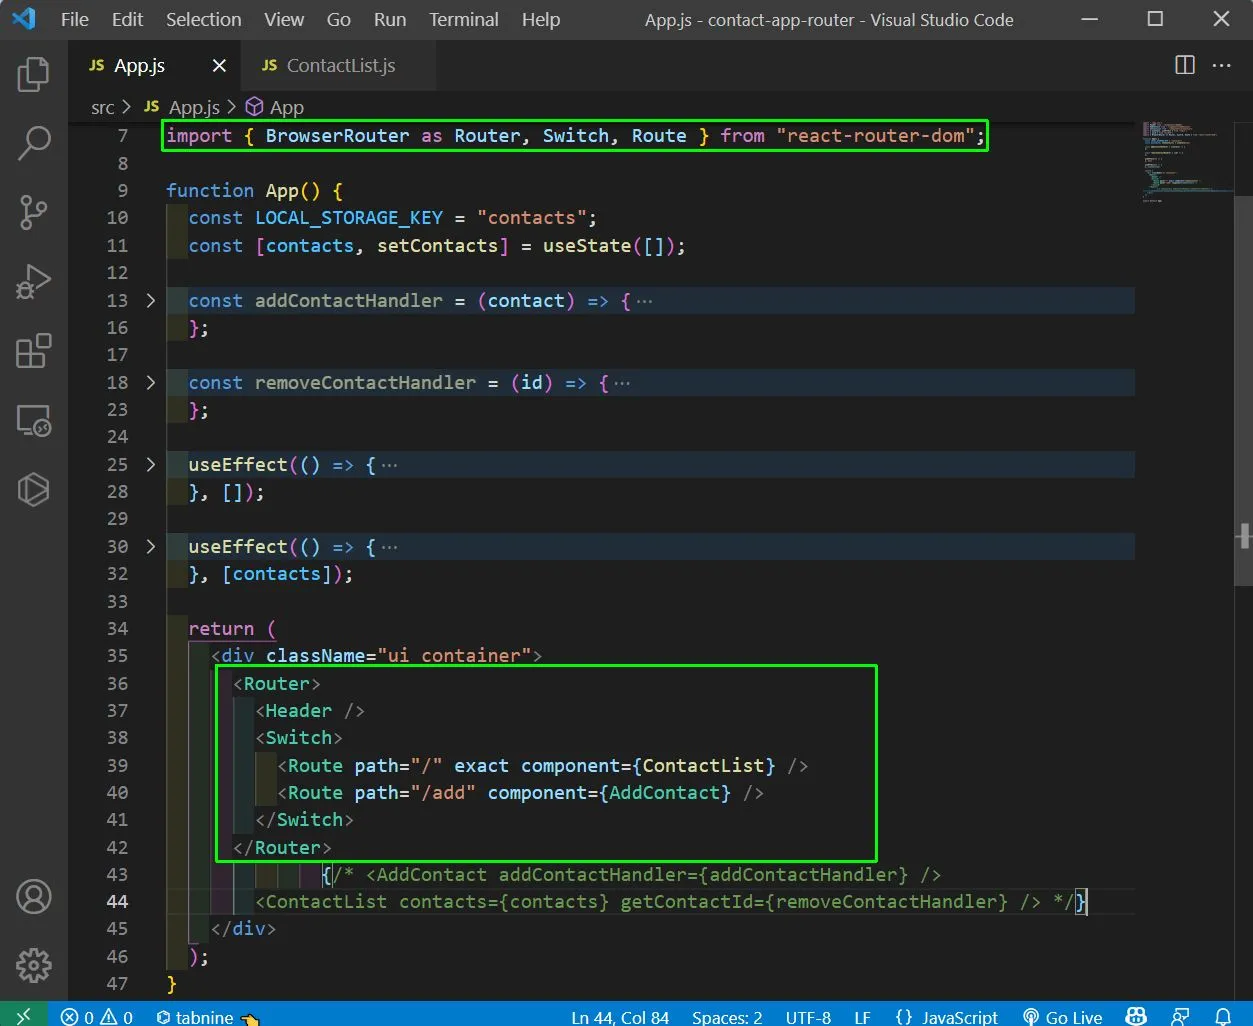
Now, to add Router in our project we need to import BrowserRouter, Switch and Route first from react-router-dom in App.js first. After that inside our return statement, we are wrapping everything with Router and then wrapping the two components of ContactList and AddContact with Switch. We are keeping the Header component outside it, since we want to show it always.
In the Route we are showing the components. Notice the / for ContactList component also contain the word exact, which is required.
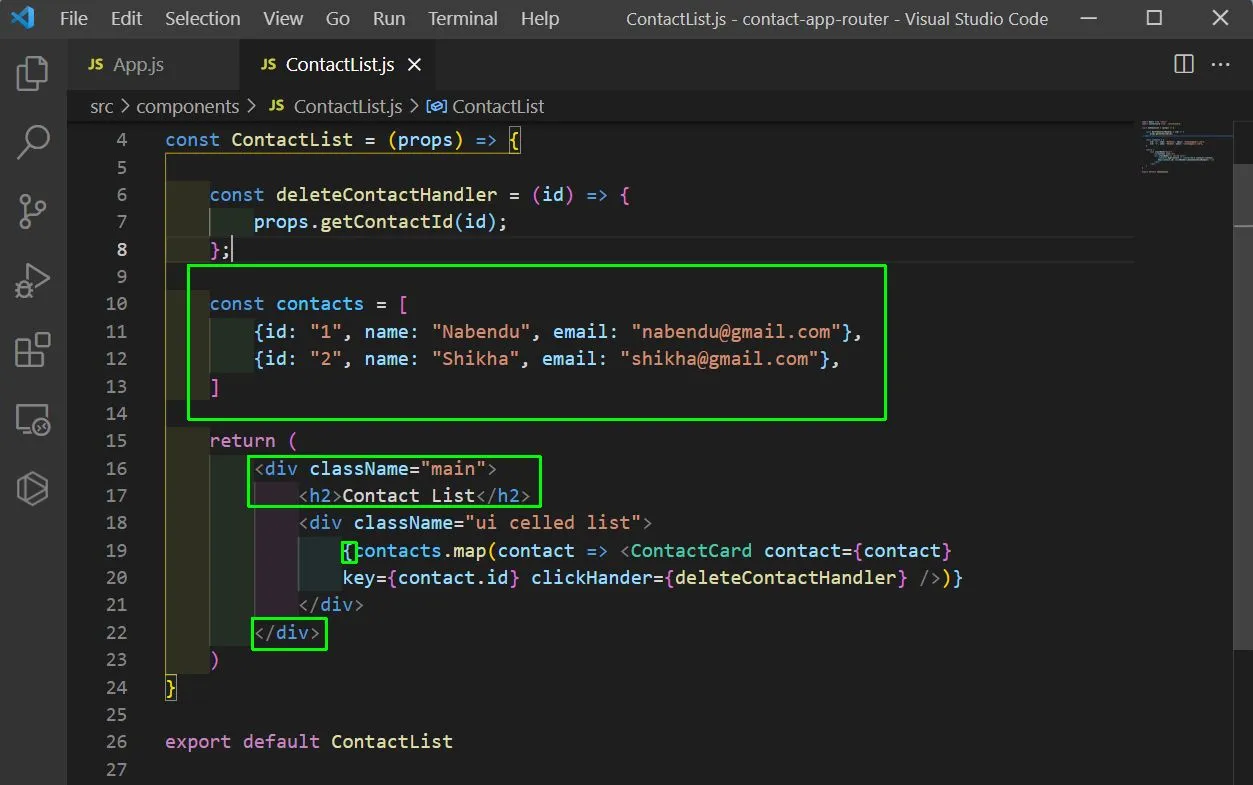
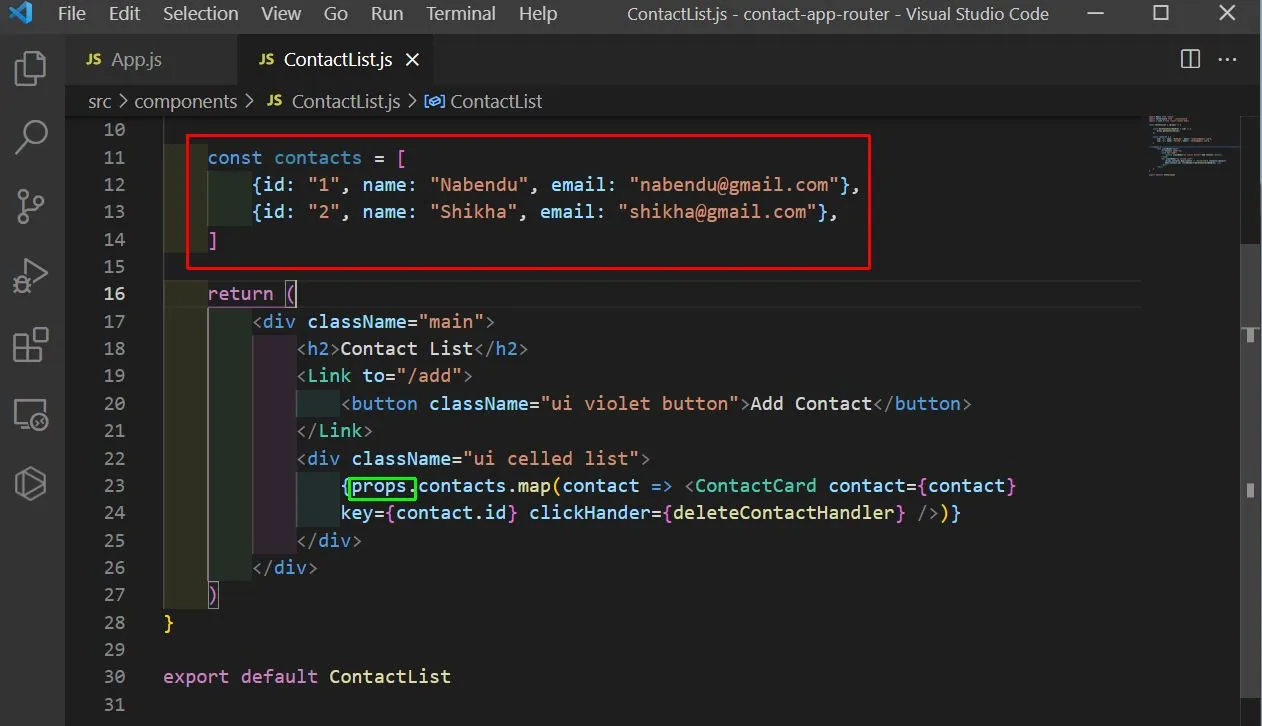
Now, also need to do some changes in the ContactList.js file temporarily because we are not passing any props now to it. So, we are creating a temporary contacts array and looping through it. Also, adding some additional divs to it.
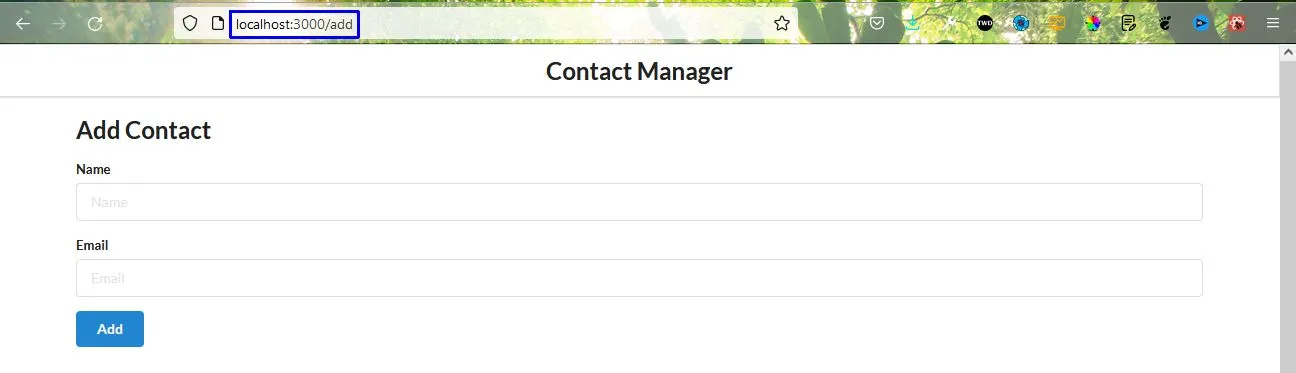
Now, if we go to the http://localhost:3000/add we will see the AddContact component.
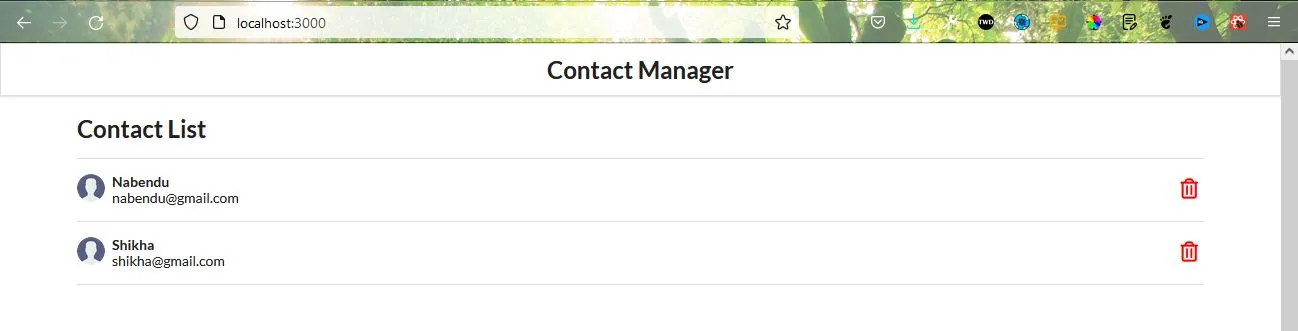
And if we go to http://localhost:3000/ we will see the ContactList component.
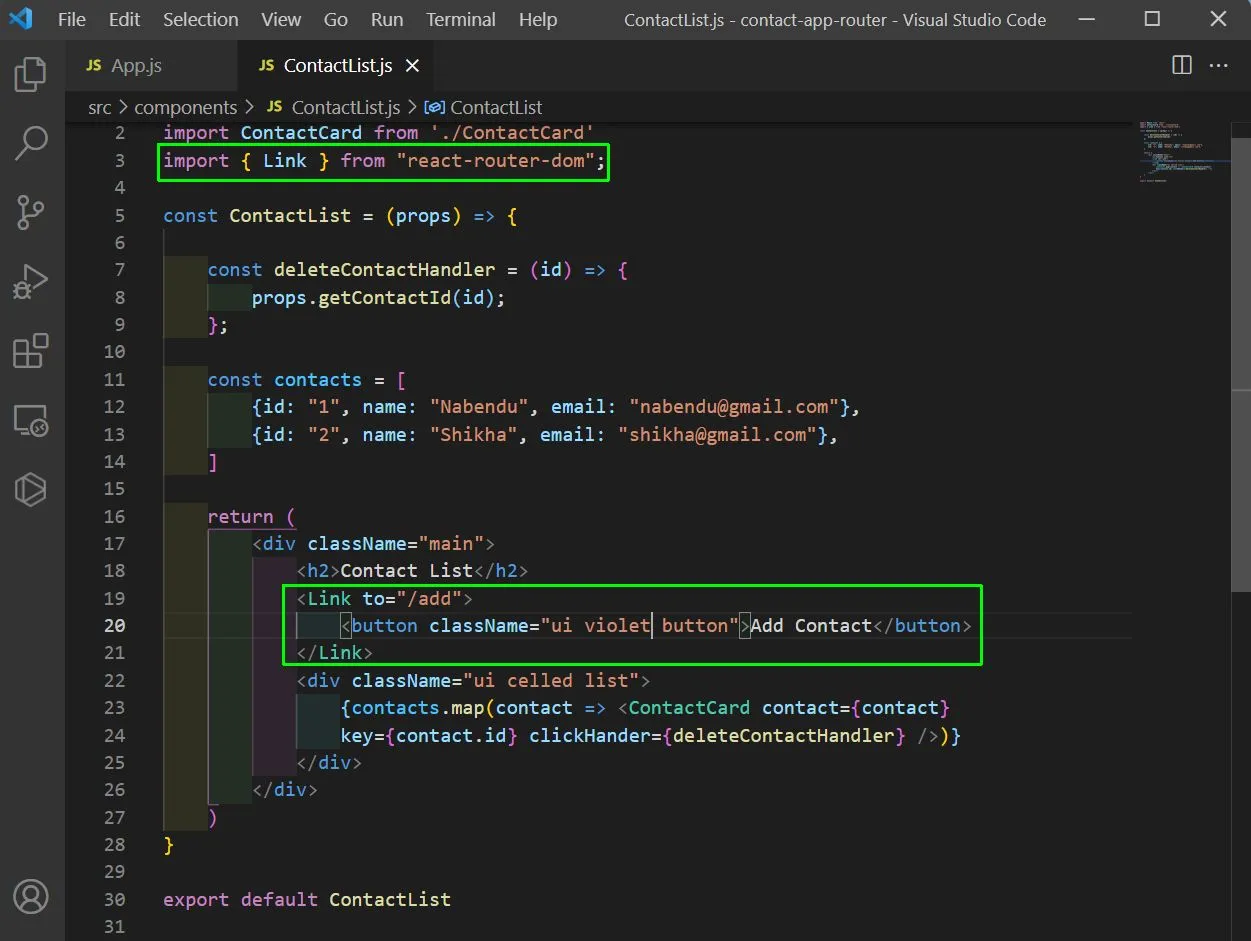
We are going to the routes manually, so we will add a button Add Contact in the ContactList.js file, wrapped in a Link tag, which will take us to the route.
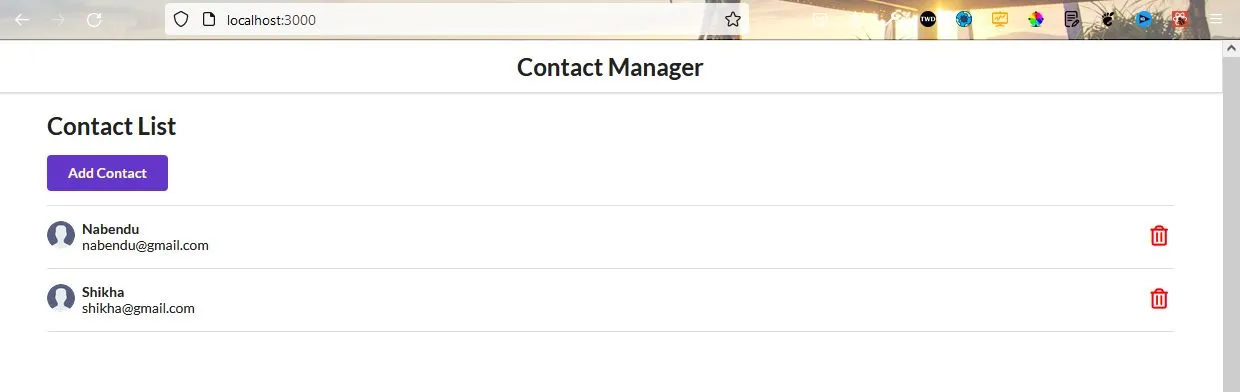
Now, we will have this button on localhost and clicking on it will take us to the about page.
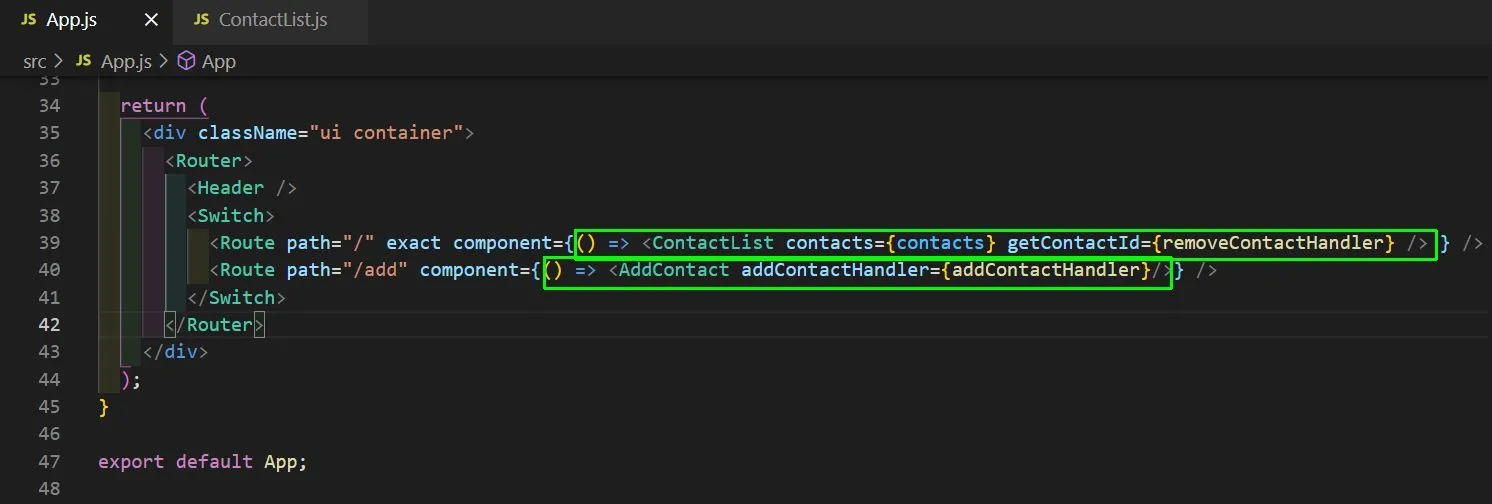
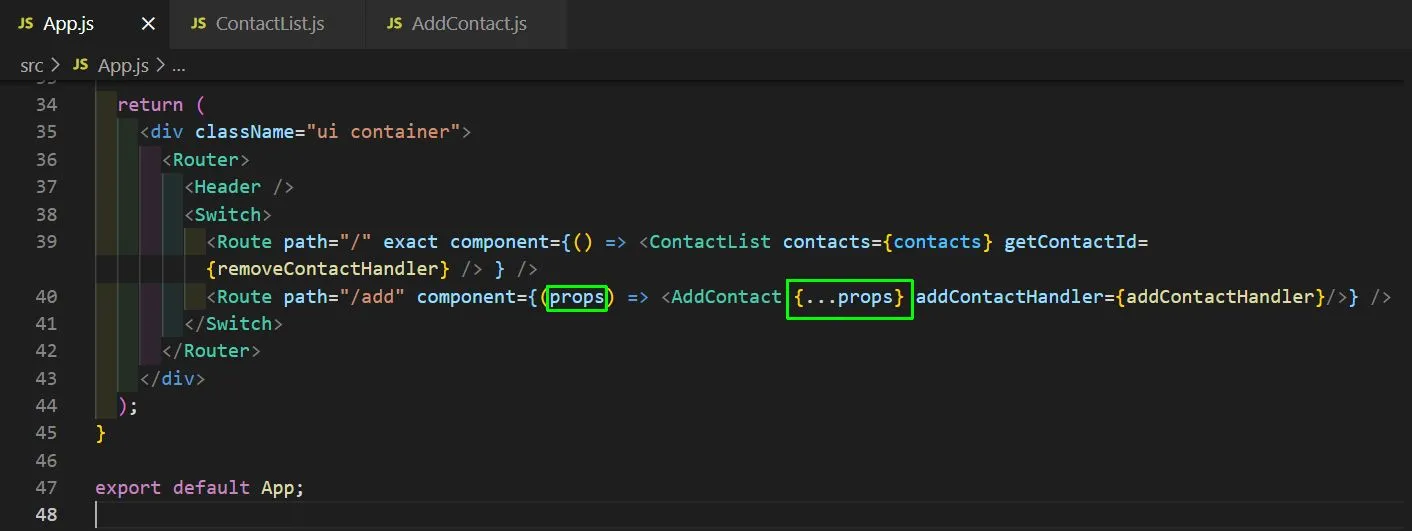
Now, as per our earlier code we have props also been passed in our components. So, to do that we will use arrow function in App.js inside Route to pass the props.
Back in our ContactList.js file, we will remove the hard-coded contacts array and also add the props back.
Now, we are able to add Contacts easily but we need to navigate back to http://localhost:3000/ each time after adding a contact in http://localhost:3000/add. So, we will add route programmatically in AddContact.js file

But, we also need to pass these additional props in from our App.js file.
Now, our adding functionality is working correctly in localhost.

Next, we will implement the logic of clicking on a particular contact and getting to the detail page of that contact. So, we will add a Link to the ContactCard.js file which will take us to the /contact/id for every id.
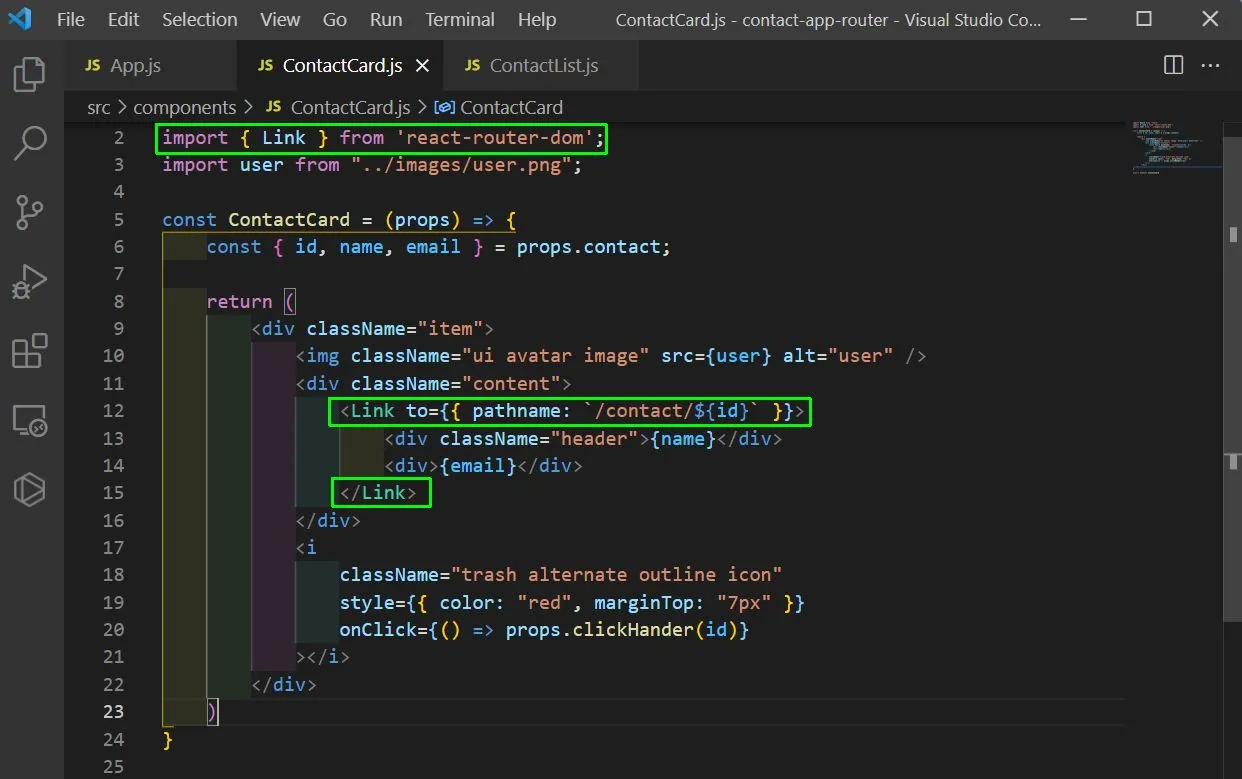
Now, clicking on any contact will take us to the /contact/id with a different id for each contact.

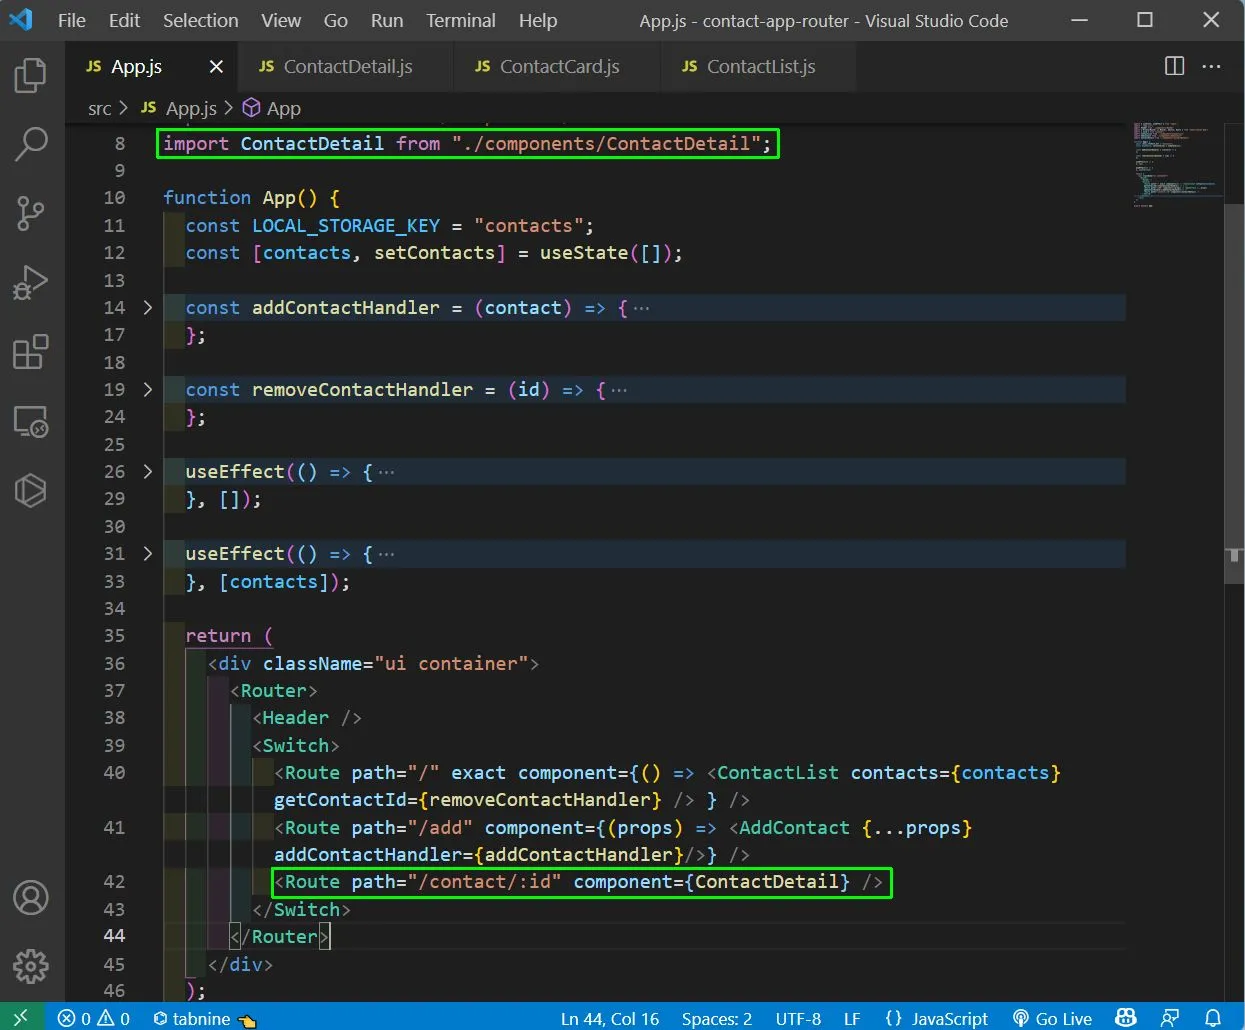
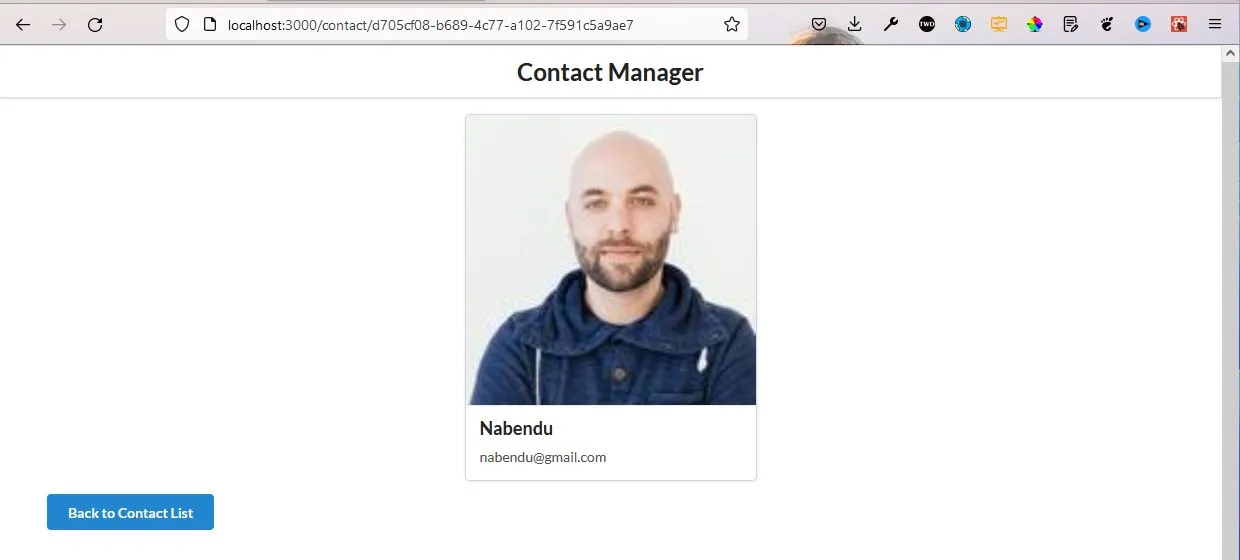
Next, create ContactDetail.js file in the components folder. Here, we are showing image from the randomuser api and for now static name and email.
We also have a button to go back to the home page.

Next, we will add the Route for ContactDetail in App.js file. Here, we are also using the wild character and adding the id.
Now, clicking on any contact will take us to the details, which is now showing same static data for all.
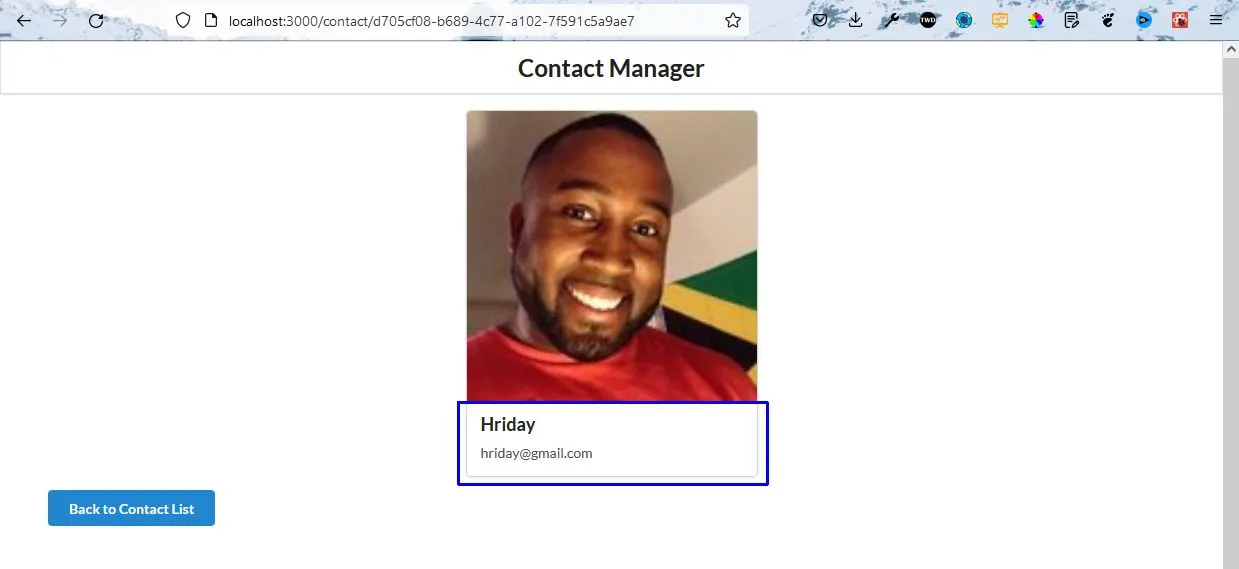
Now, we will show the data for each user. For this we are first declaring a local user state variable in ContactDetail.js file. After that we are using useParams to get the id out of the url.
After that we are using useEffect to get all the data from localStorage and then finding our user by using the find method.
We have also created a randomNumber generator to get random images of men from our API.

Now, our app is working fine and showing the correct data. You can find the code for the same in this github repo.
You can find this article in video format on my YouTube channel.