React Native Course - 1
React Native
In this post we will build a nice React Native app and doing it will learn React Native. This project and post have been inspired by this YouTube video.
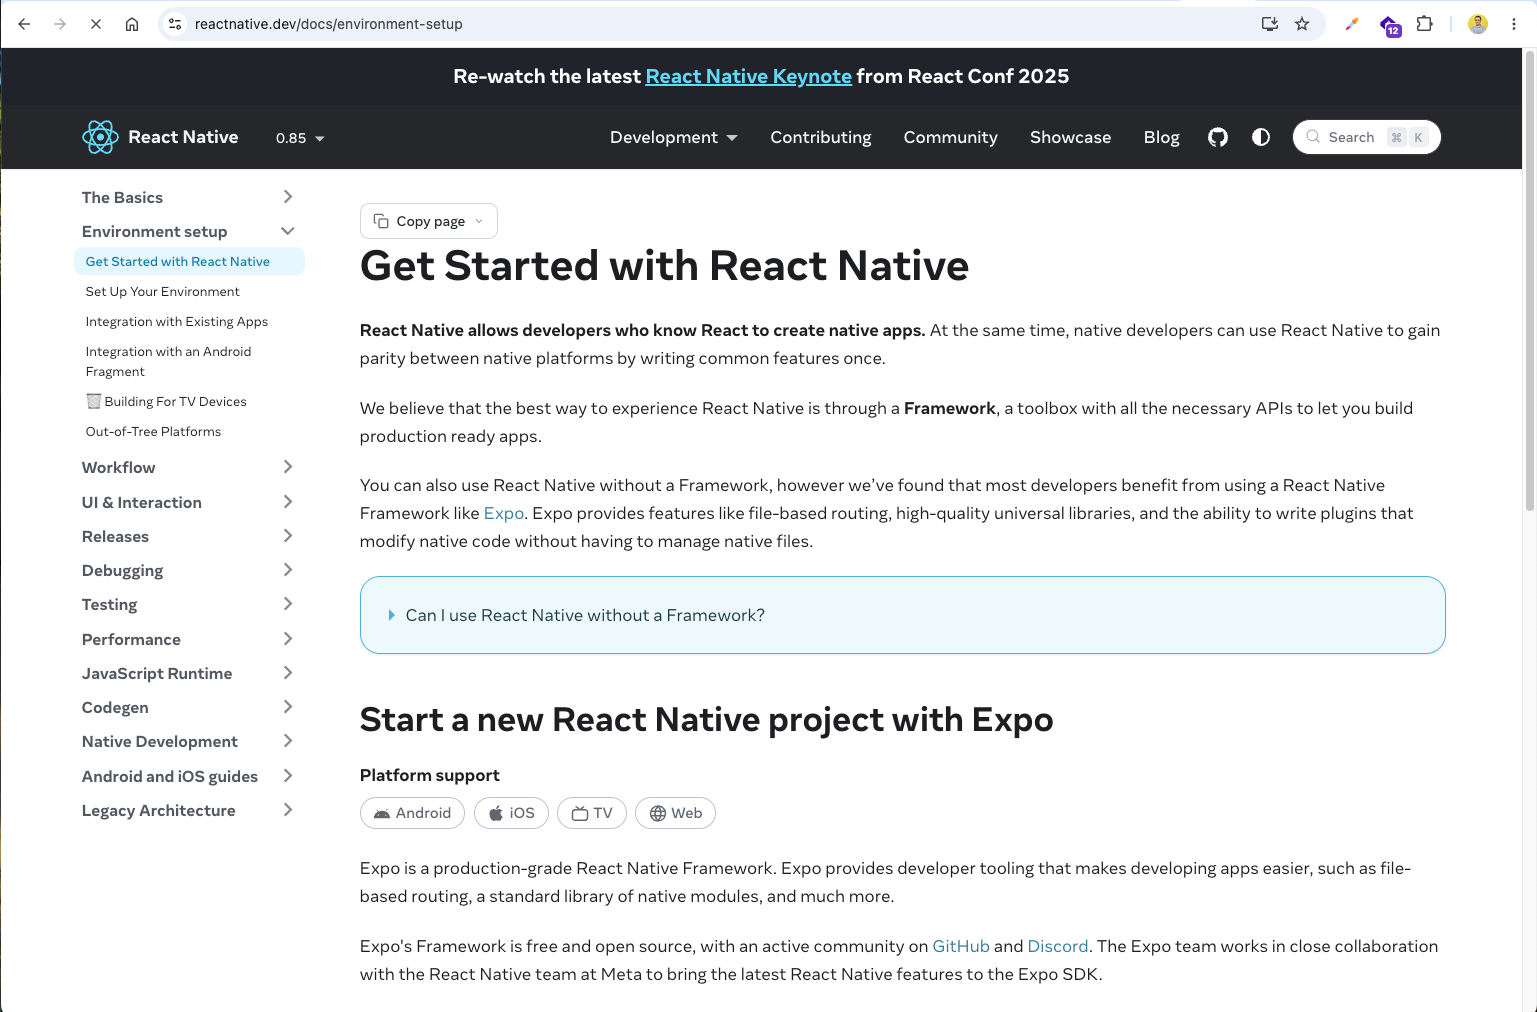
First, we need to set up a new React Native project using Expo. The expo documentation tells us all about it.
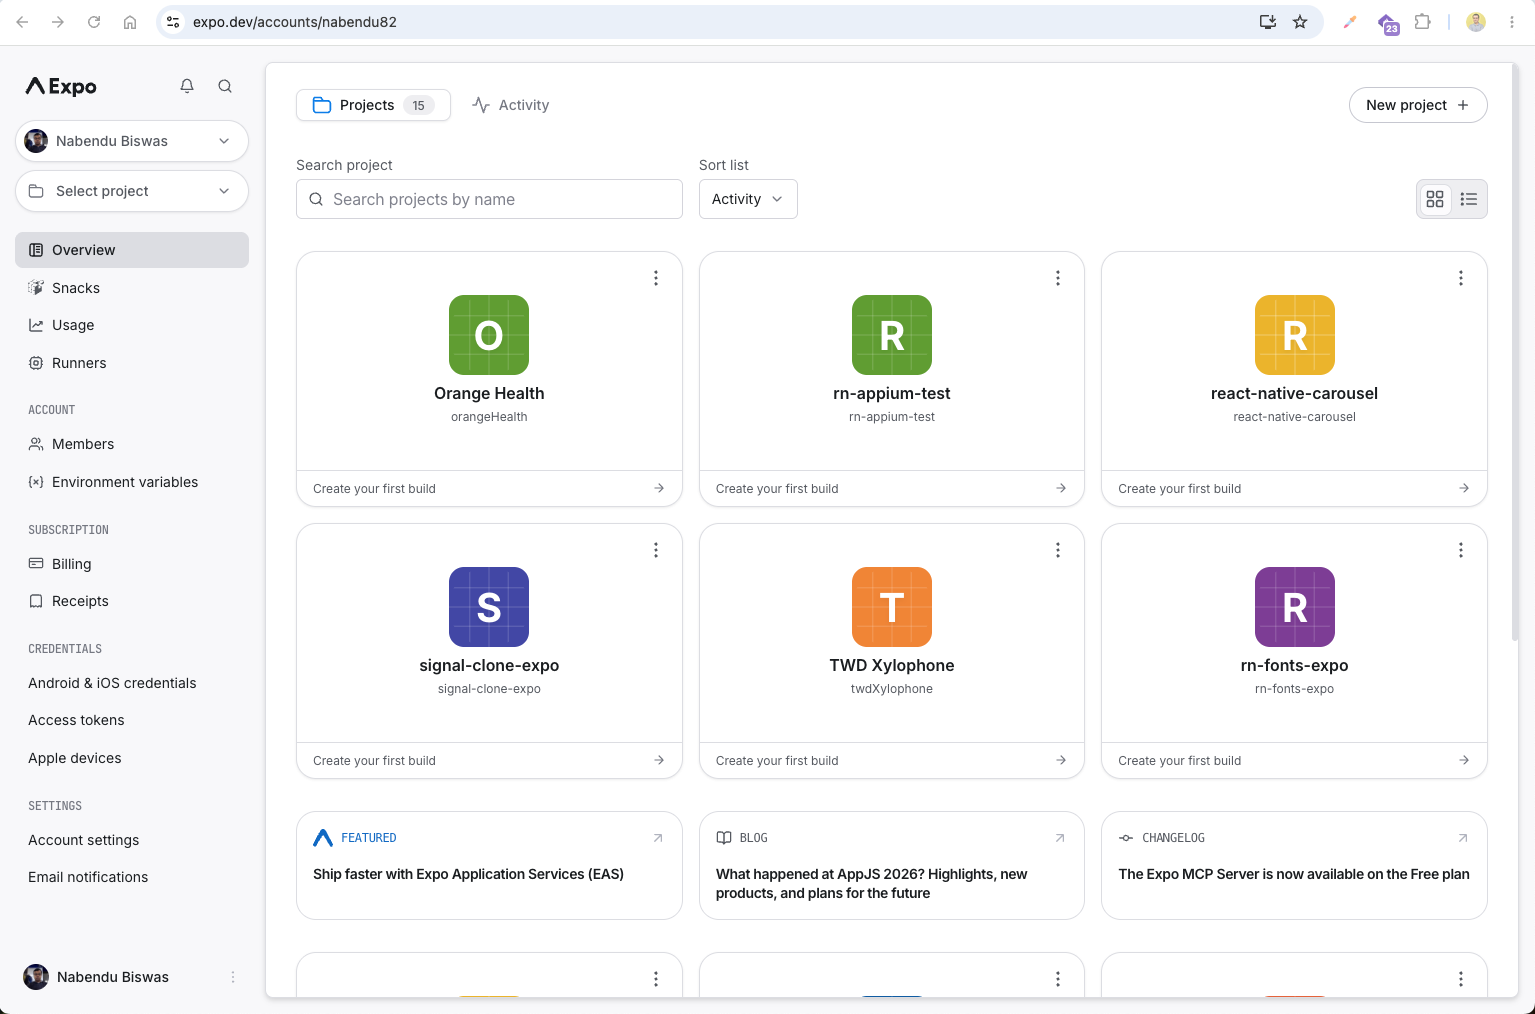
We have logged in to our account and it is showing us our earlier projects.
We have created a new folder rn-recurrly and inside it ran the command to create a new expo project.

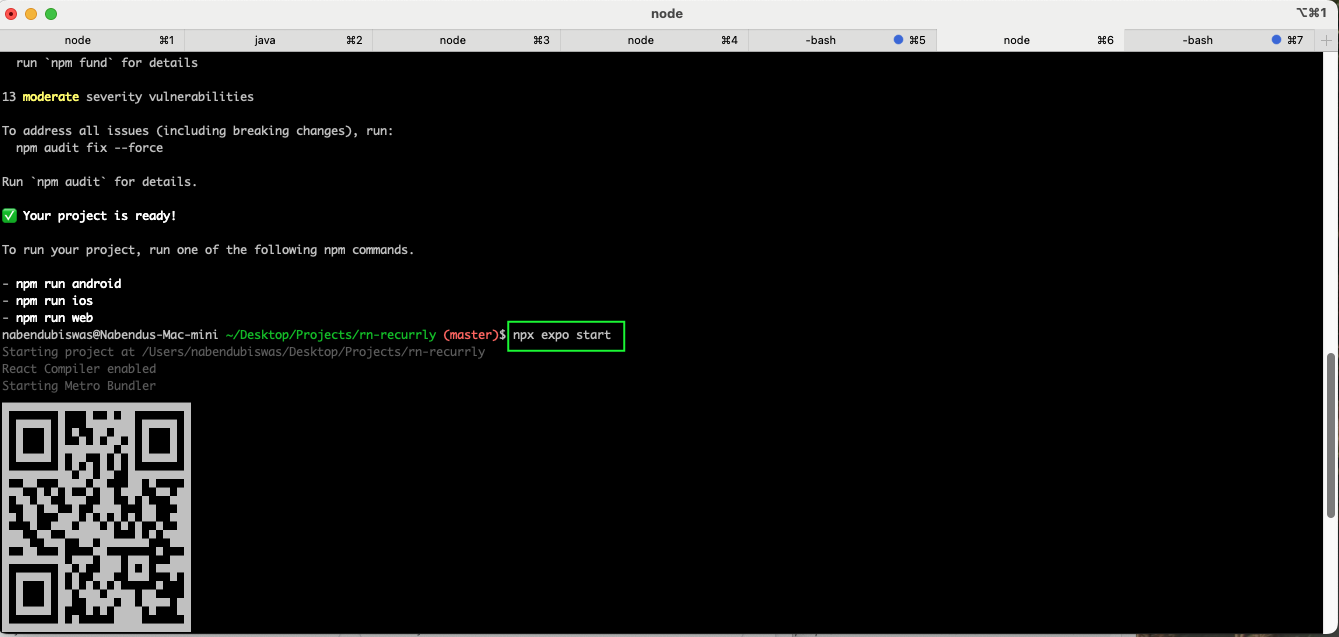
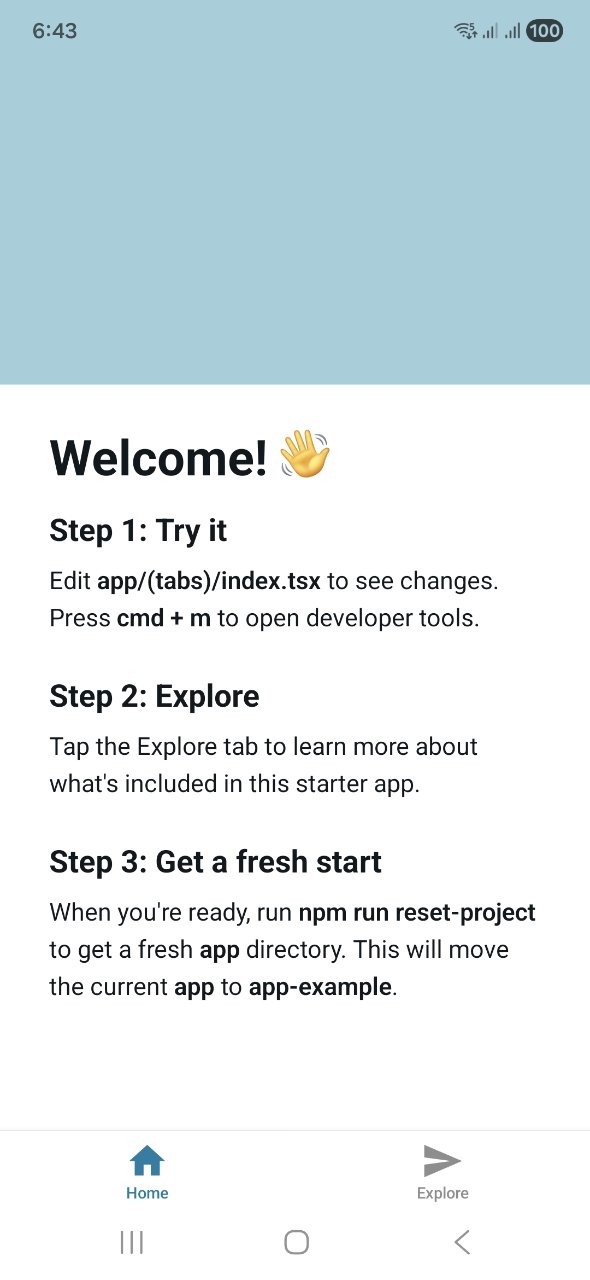
Now, we will start the project with npx expo start command.
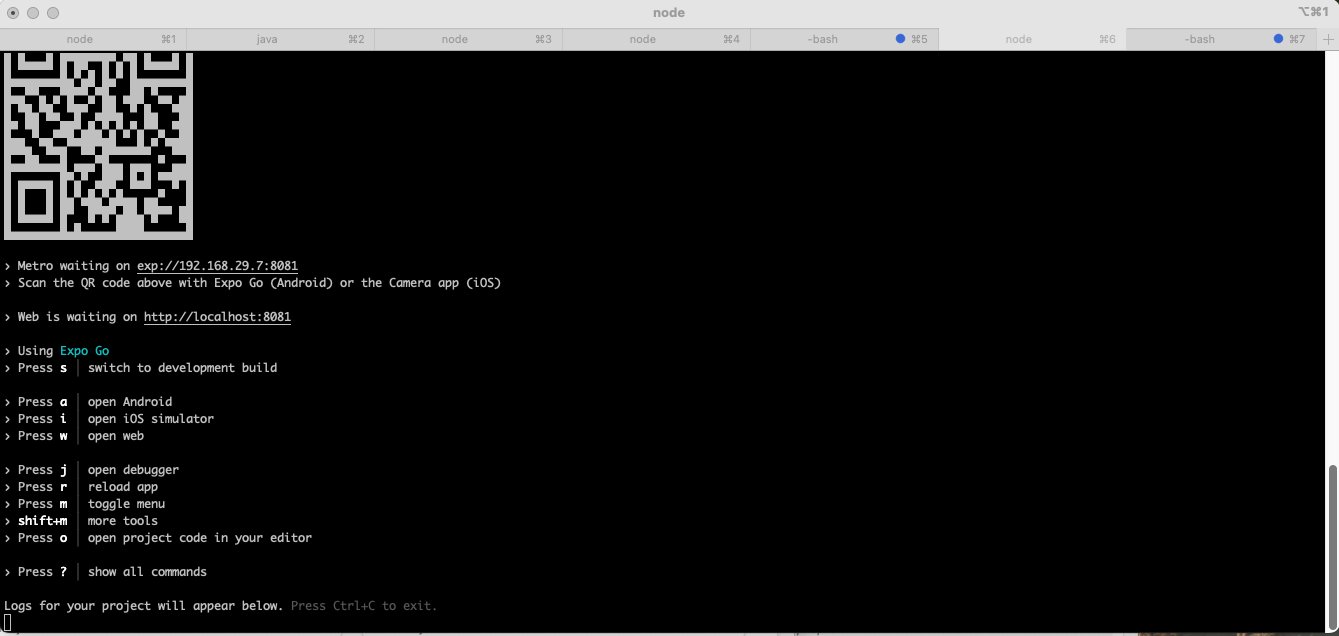
Here, you can see the different options which we can use with expo.
The app now runs on the iOS simulator. Here we can see the default Expo screen with the basic React Native setup running successfully.
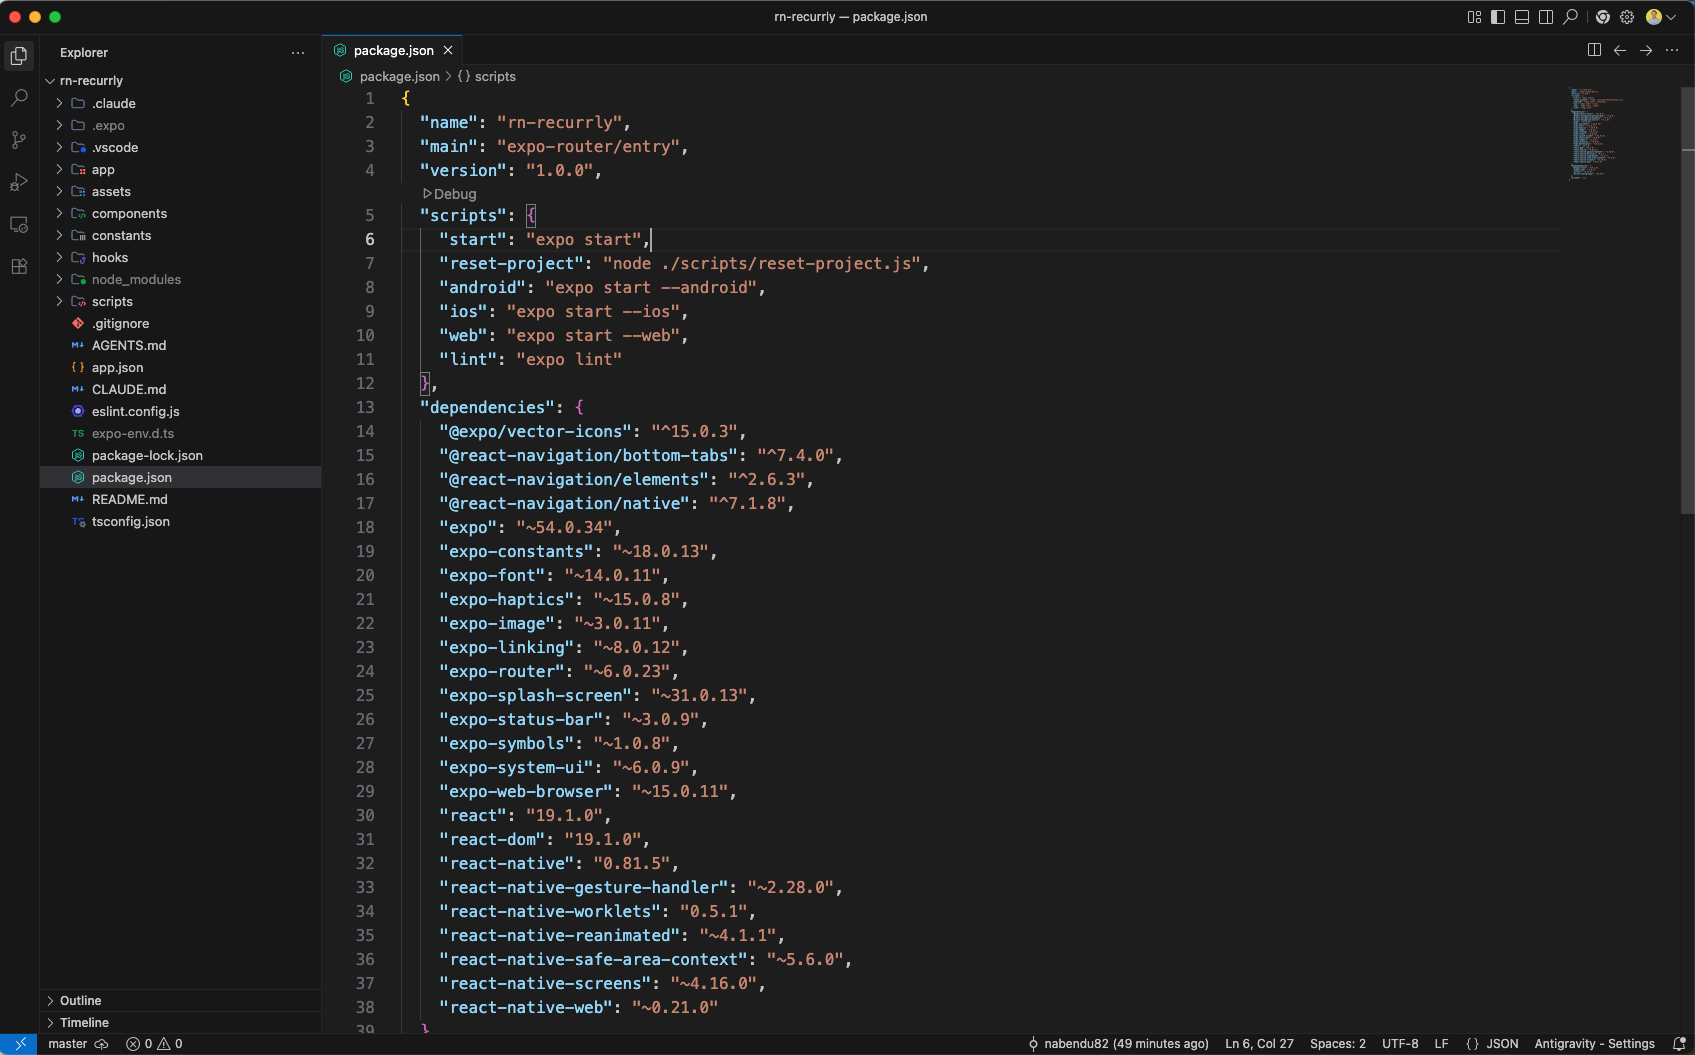
The package.json shows all of our dependencies in the project.
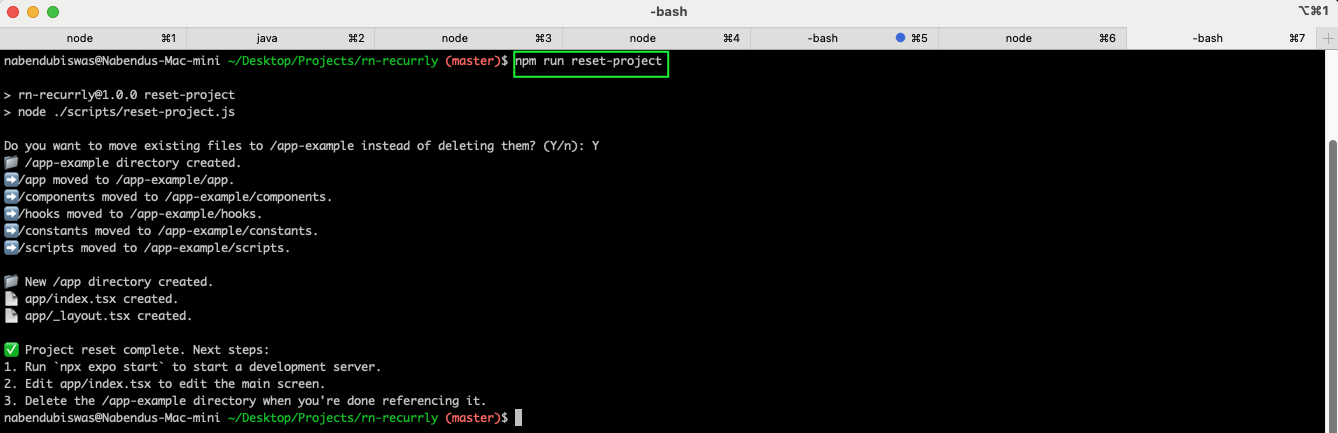
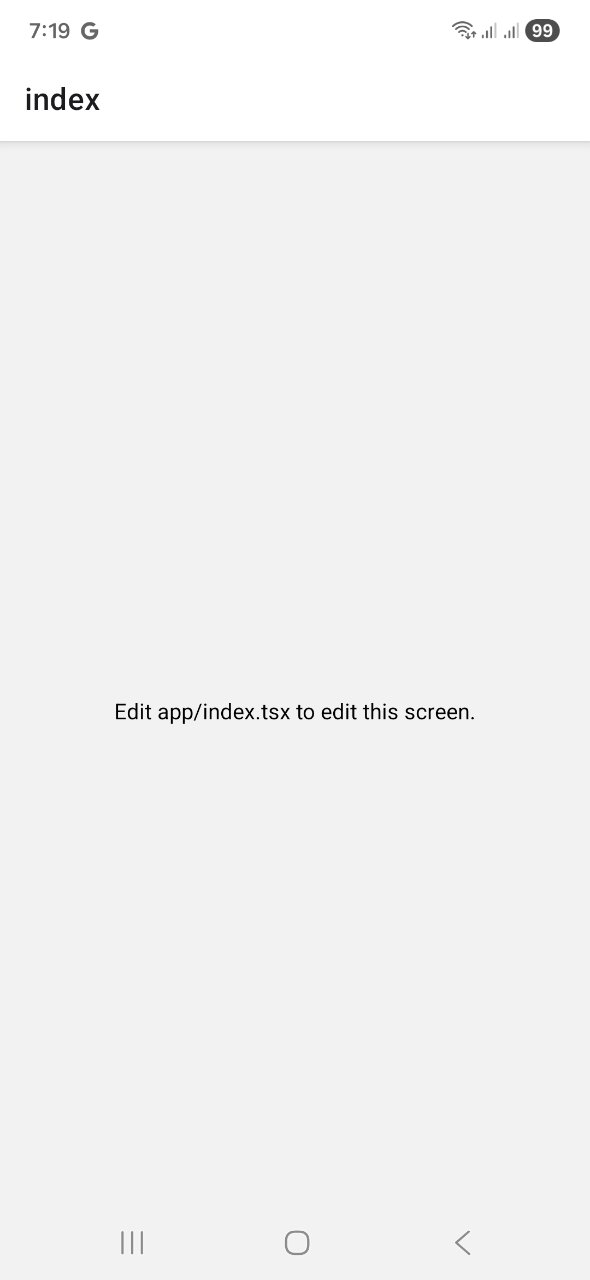
We will use the command npm run reset-project to reset the project.
After updating the code, the app on the simulator now reflects the changes with the new UI components and functionality.
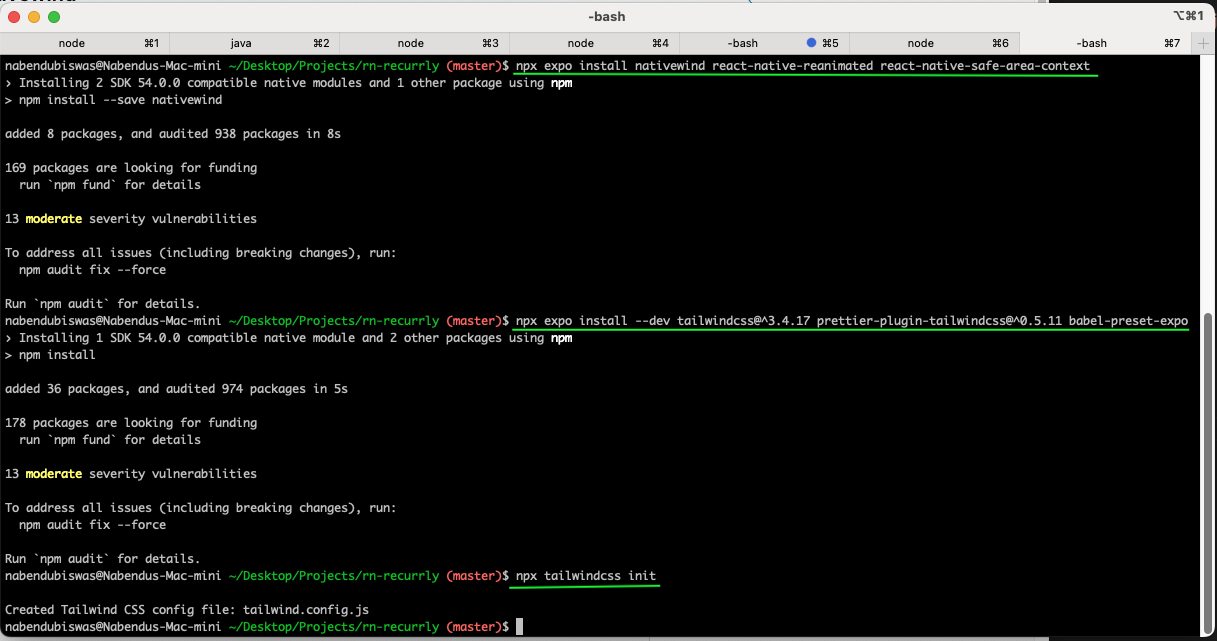
Back in the docs, we will copy the two commands required to install dependencies in expo.
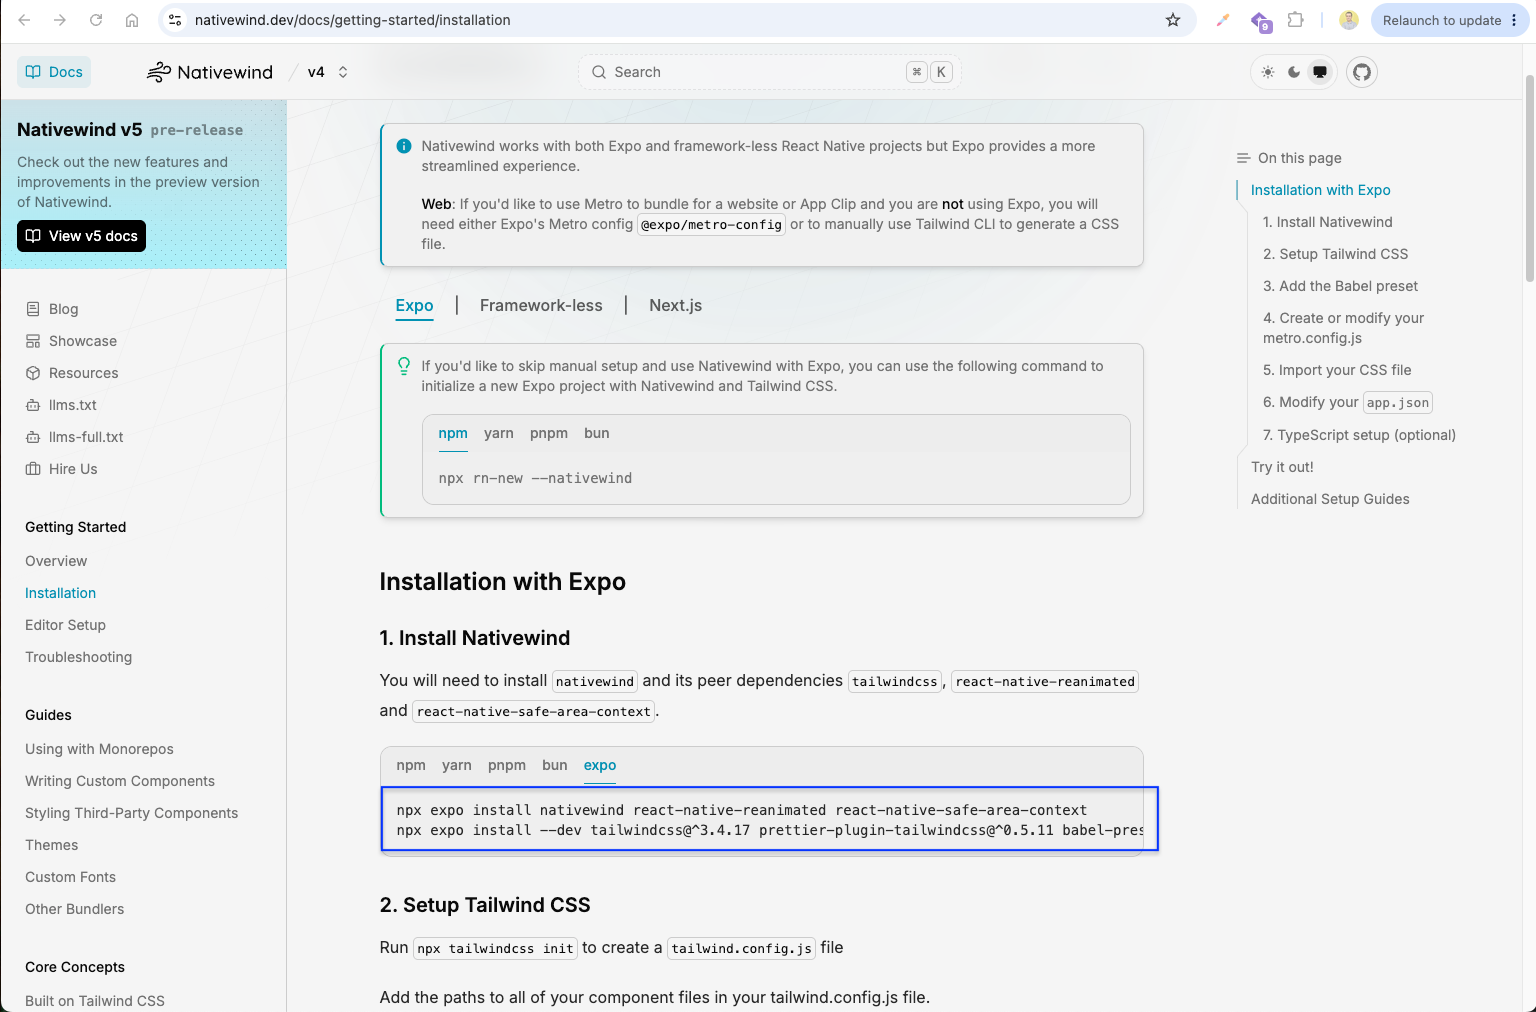
Now, we will run those commands in terminal.
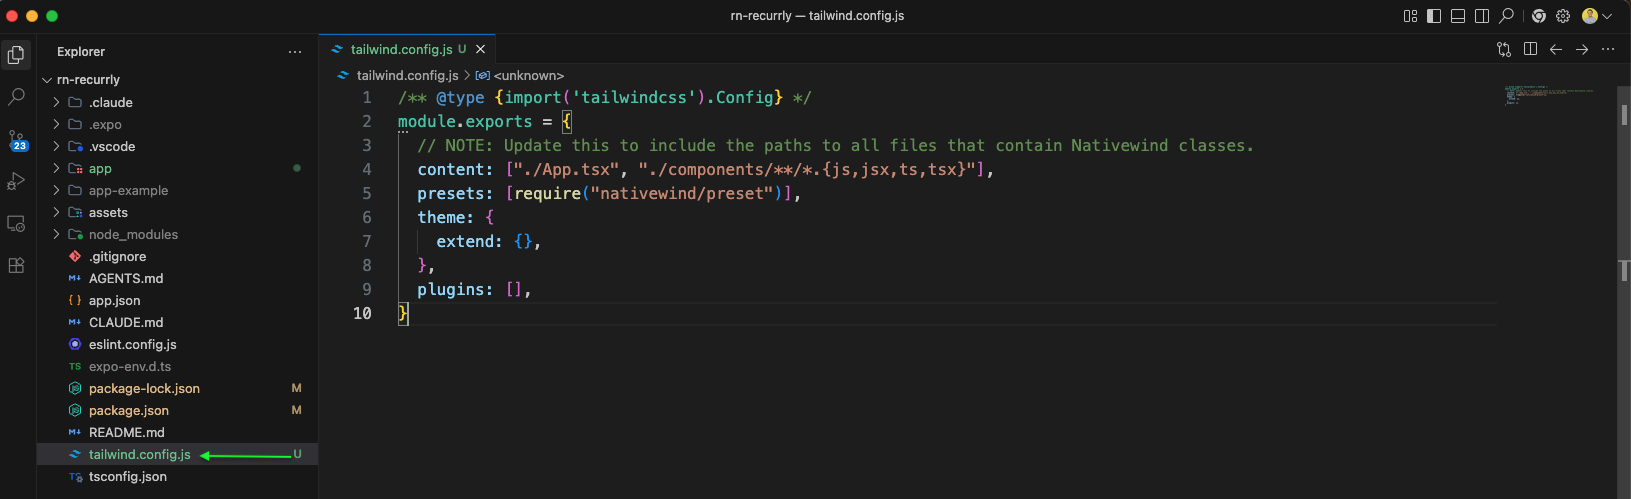
We have a new tailwind.config.js file created in our project.
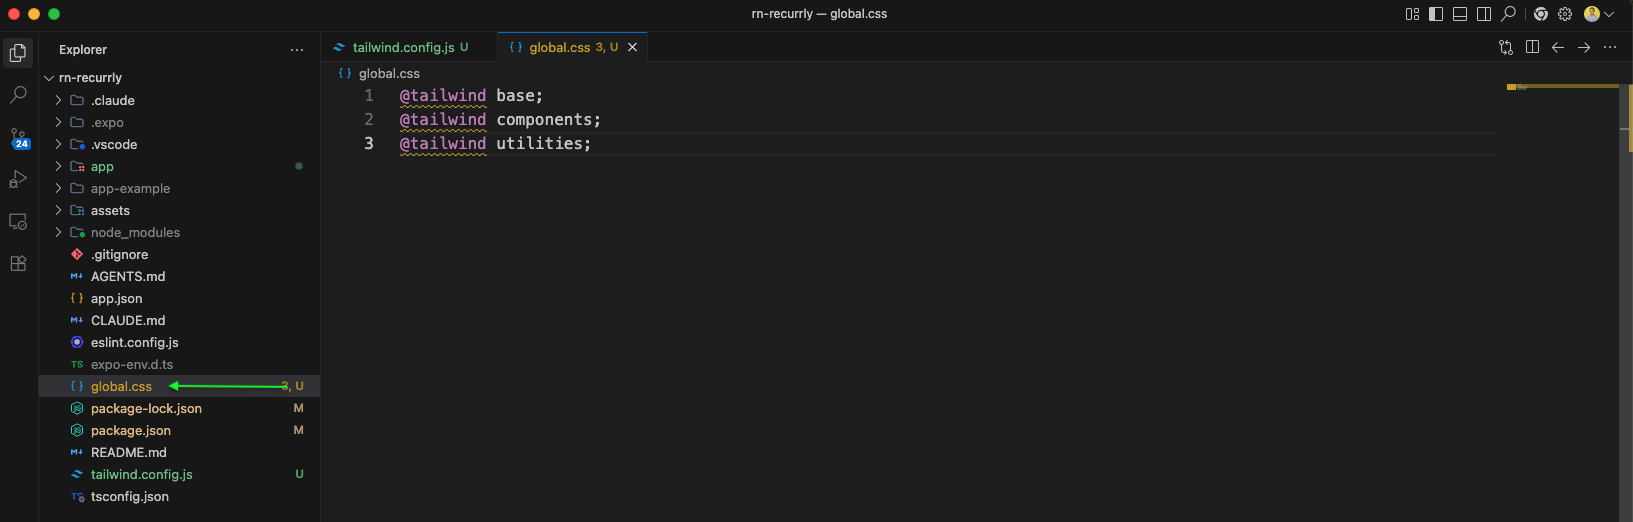
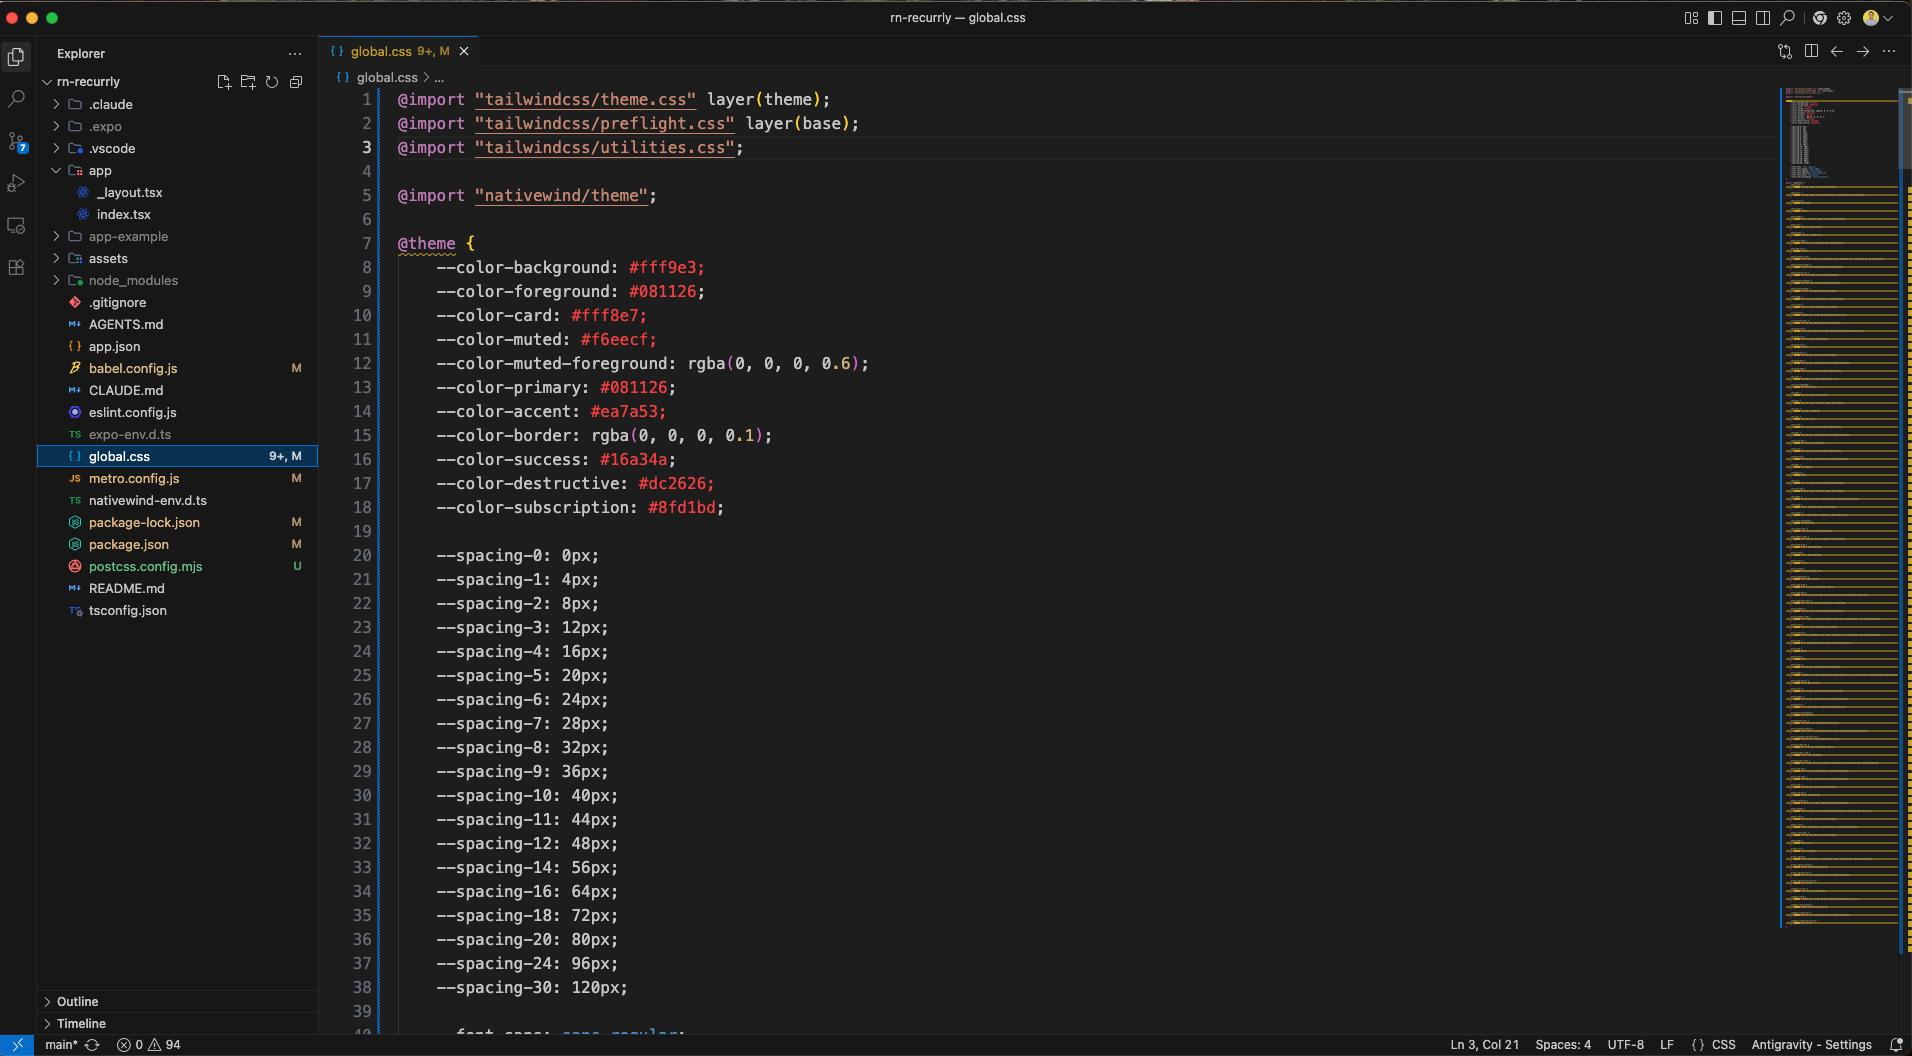
We will add a global.css file in our project with tailwind code.
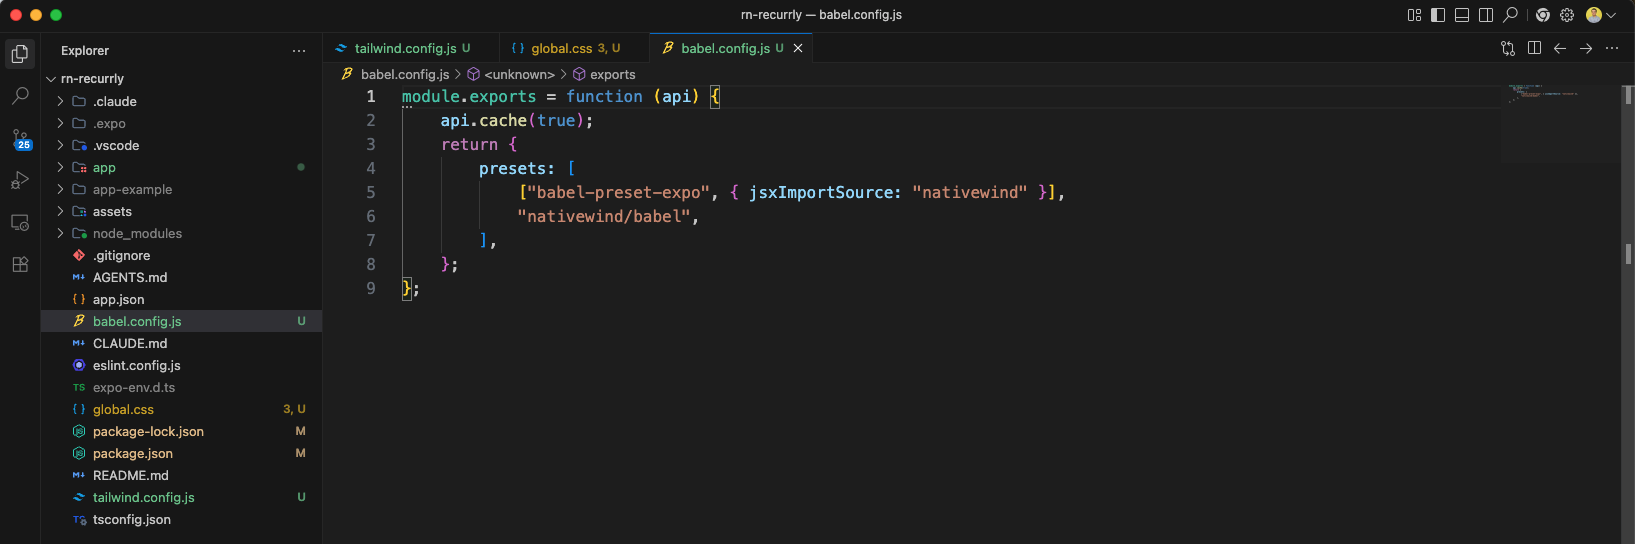
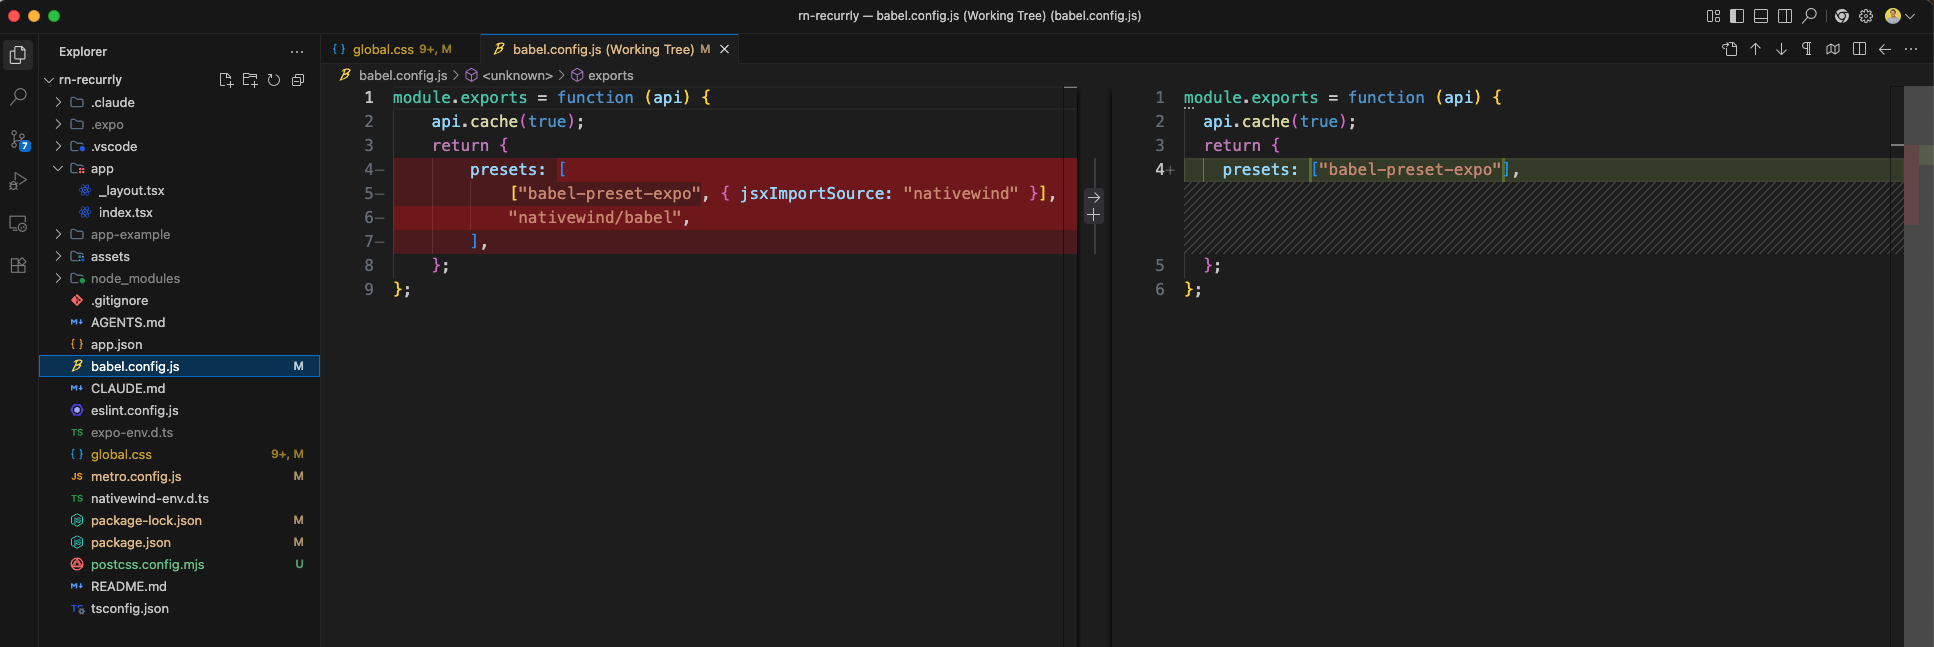
We will also add a babel.config.js file, which will also include nativewind.
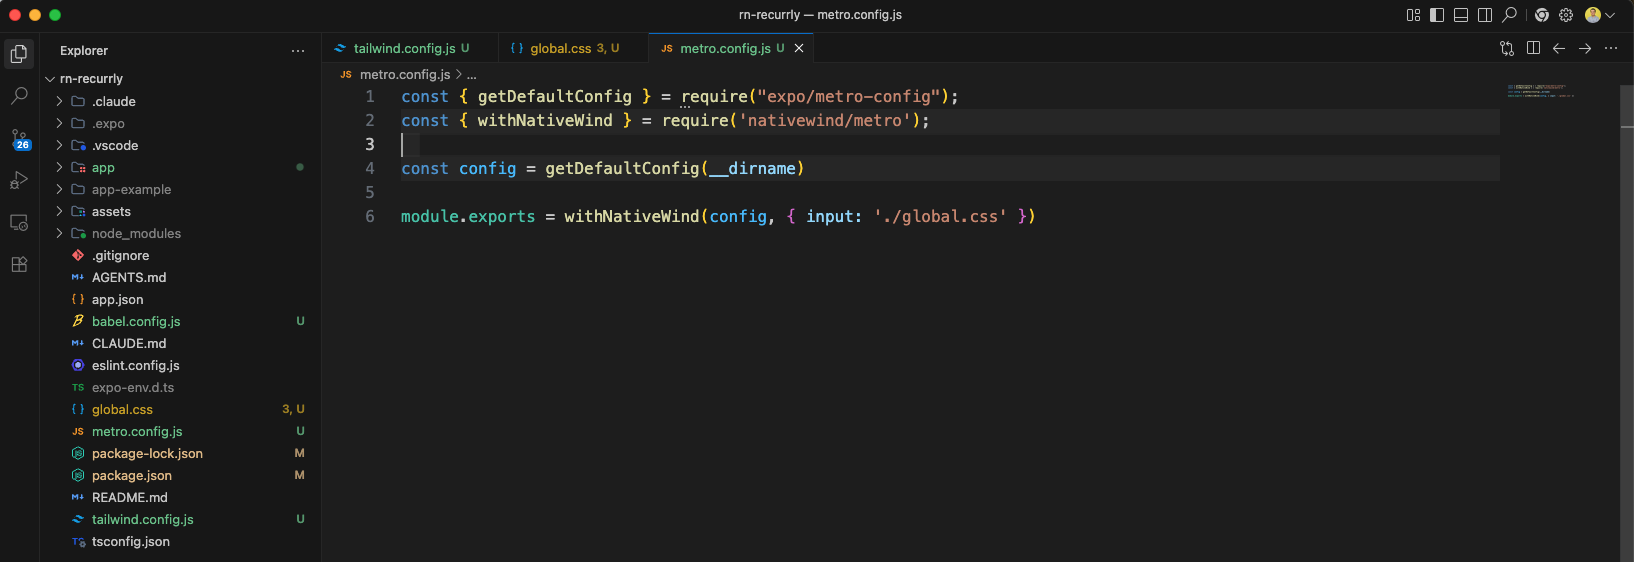
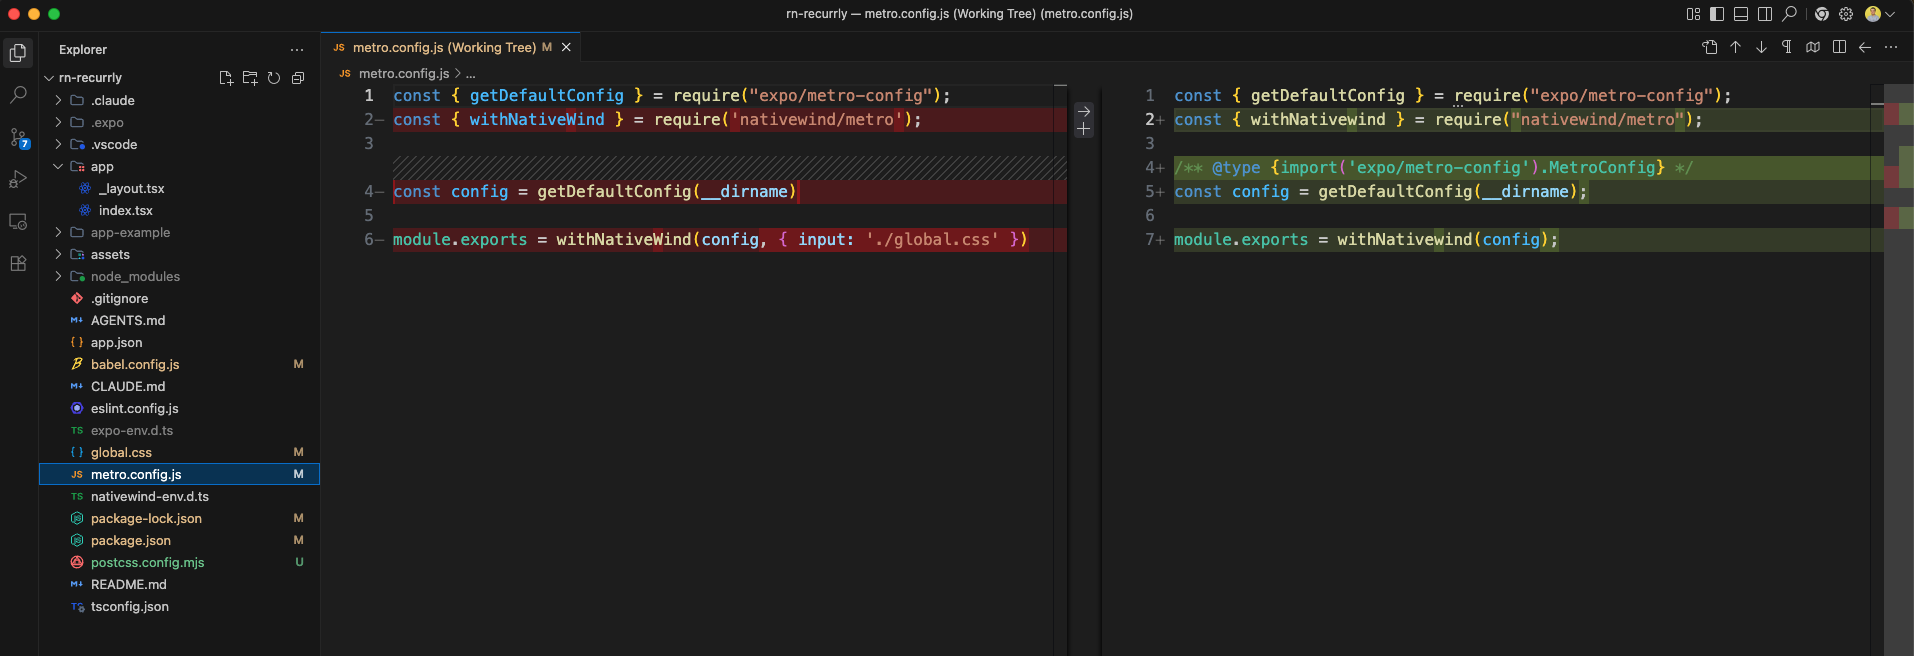
We will create a file metro.config.js and add the below content in it.
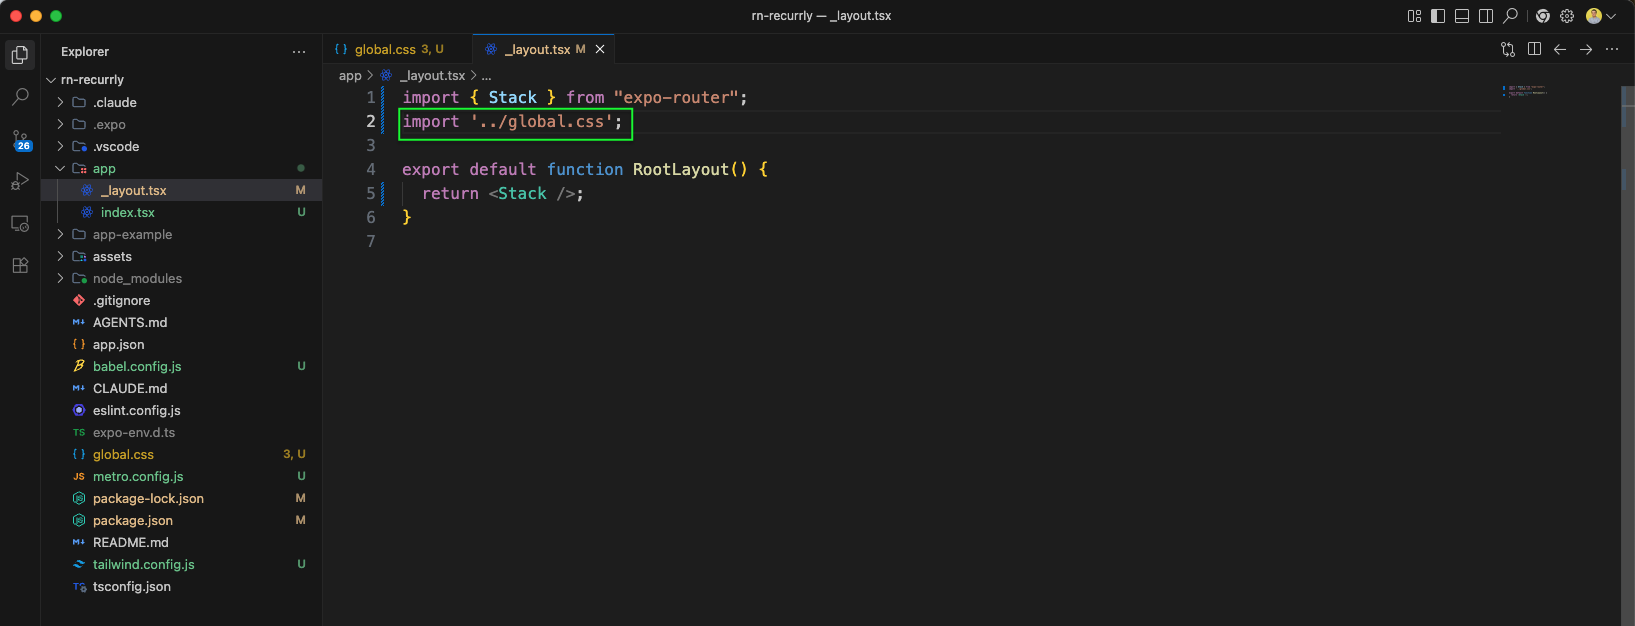
We add global.css in the _layout.tsx file.
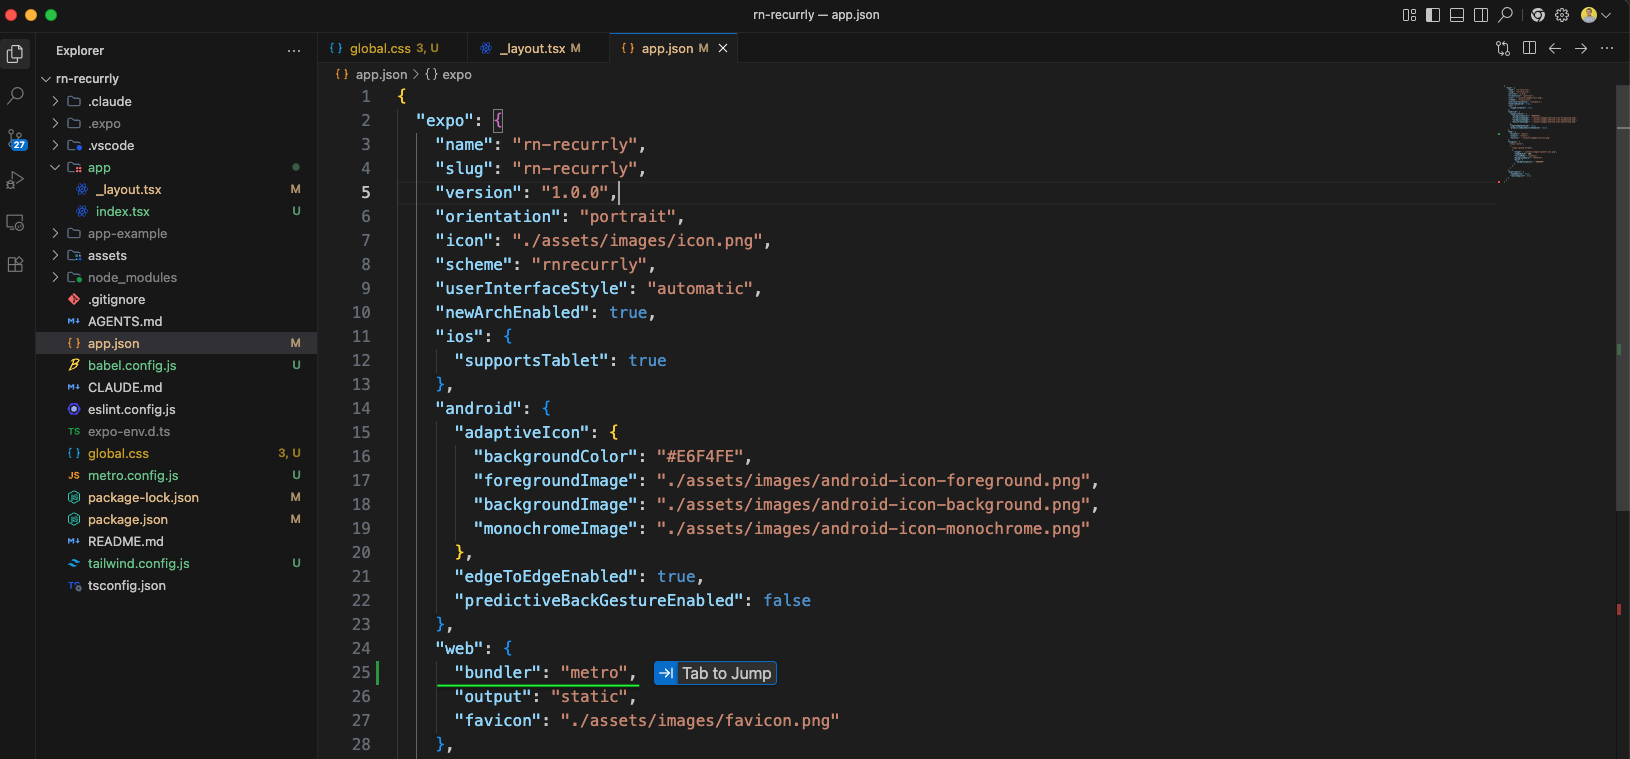
In the app.json file we will add the metro bundler.
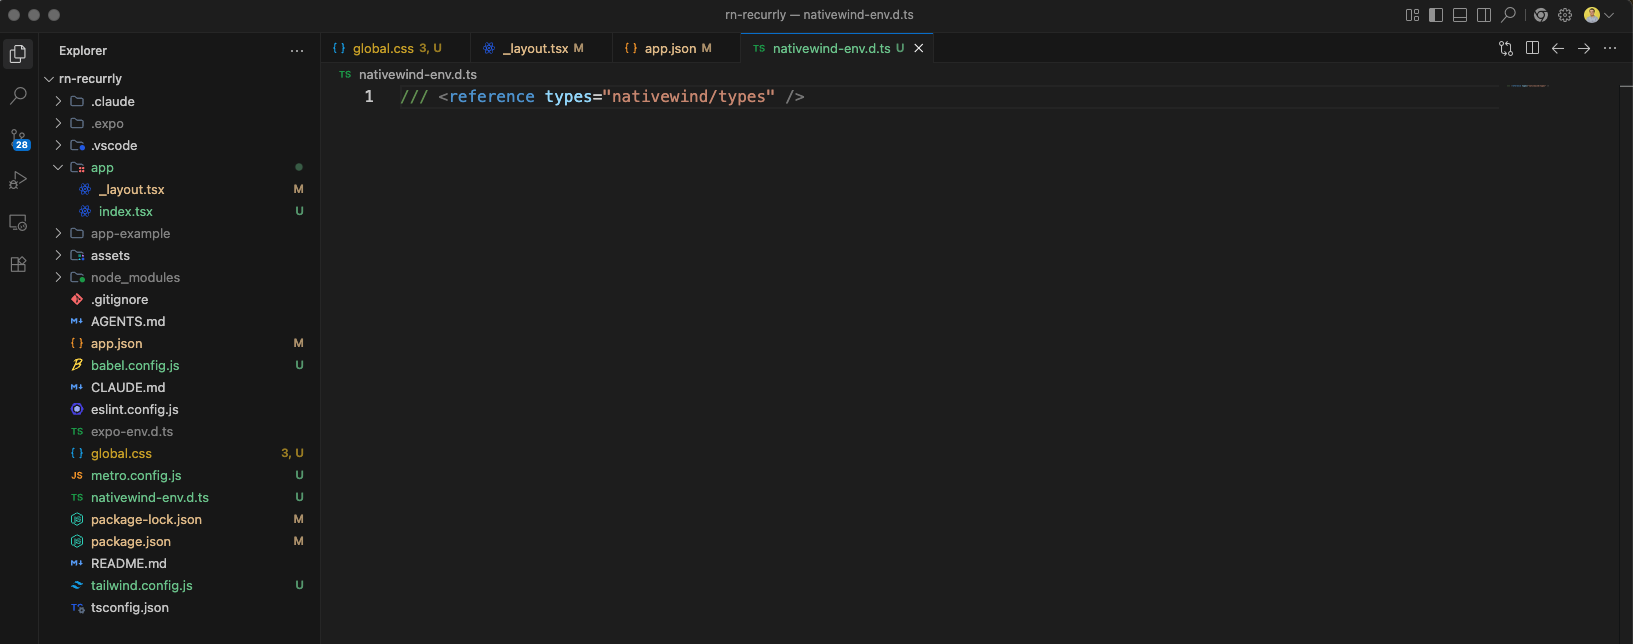
We will add a file nativewind-env.d.ts and add below content in it.
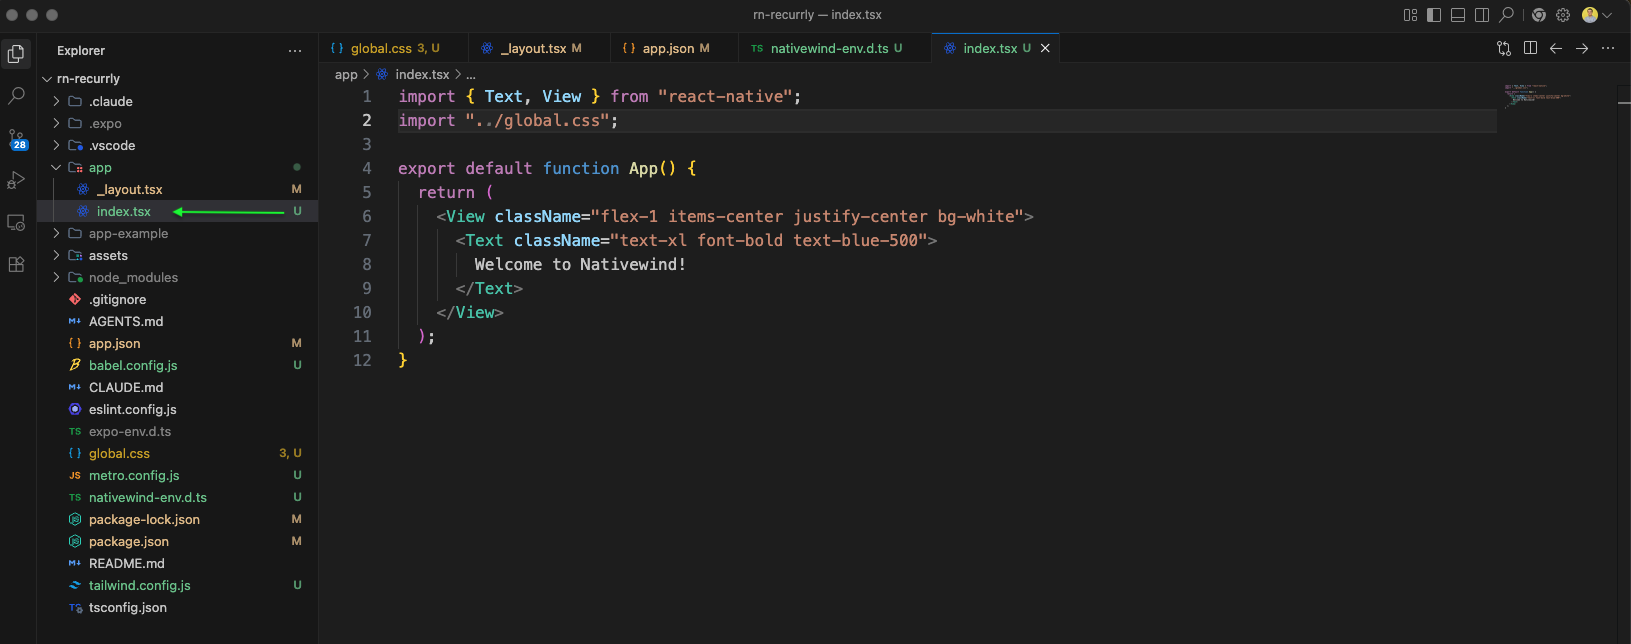
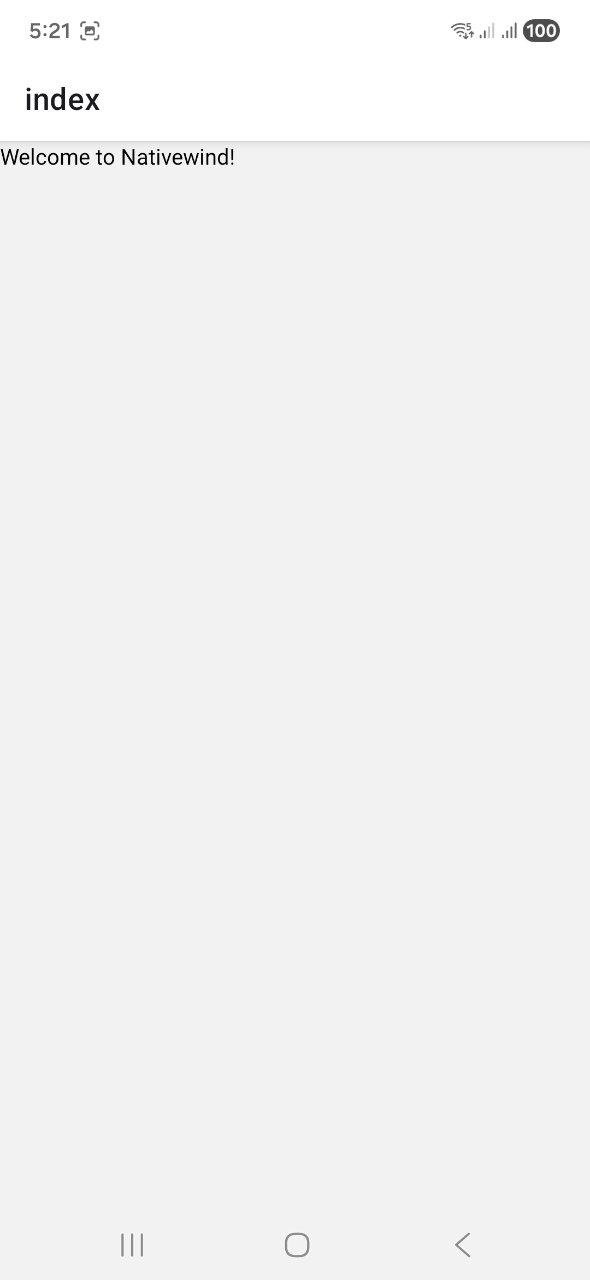
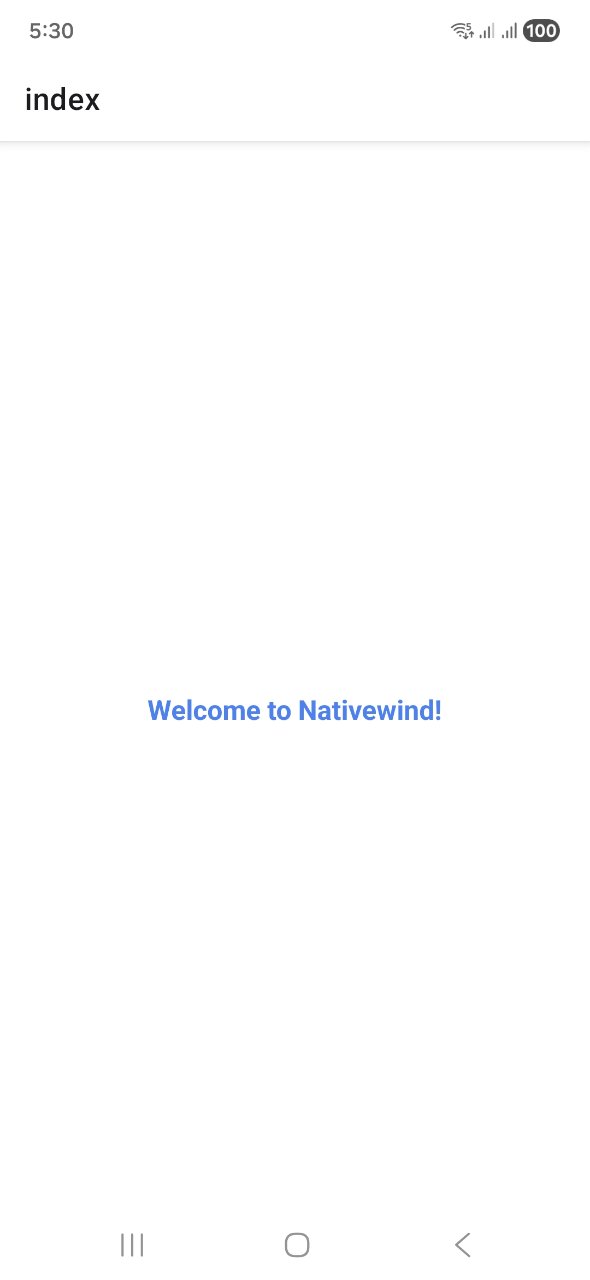
Now, we will add a file index.tsx inside the app folder and add a basic code will tailwind styles in it.
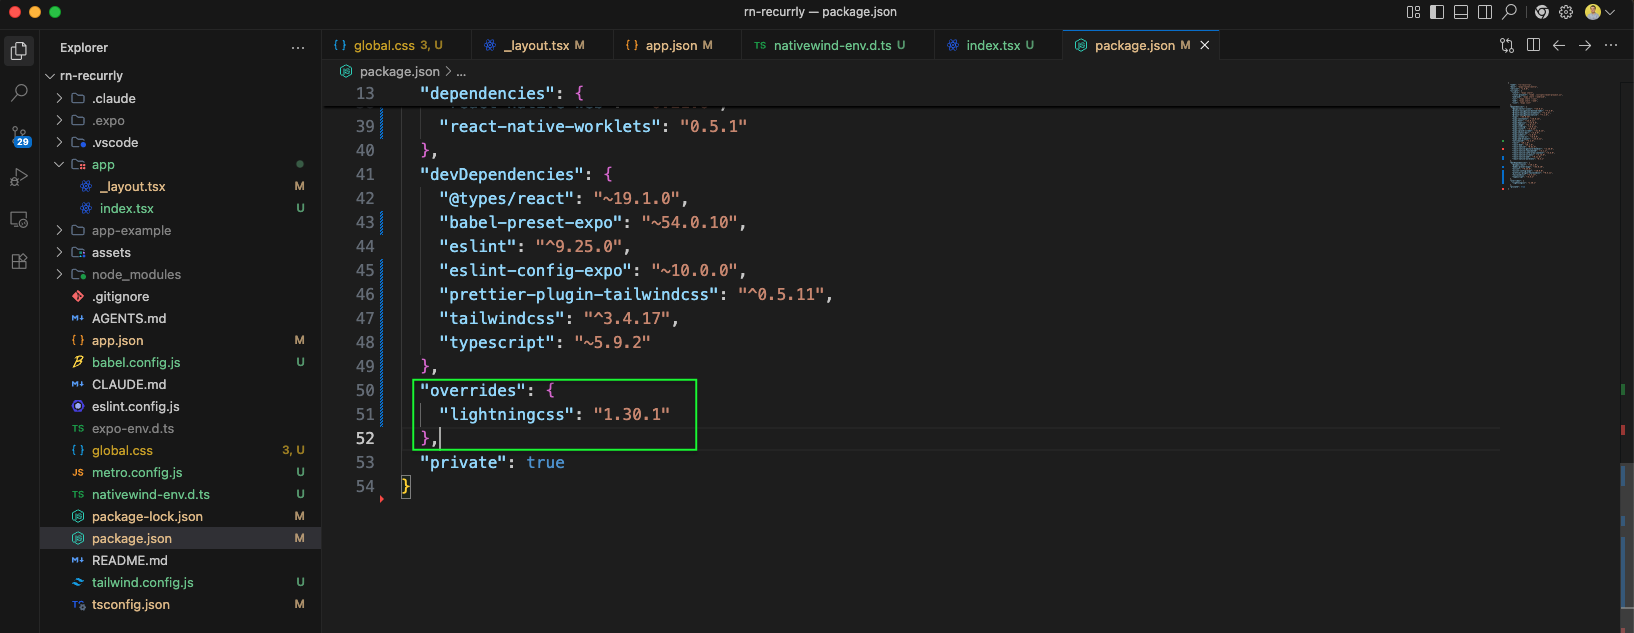
We have updated the package.json file to add lightningcss
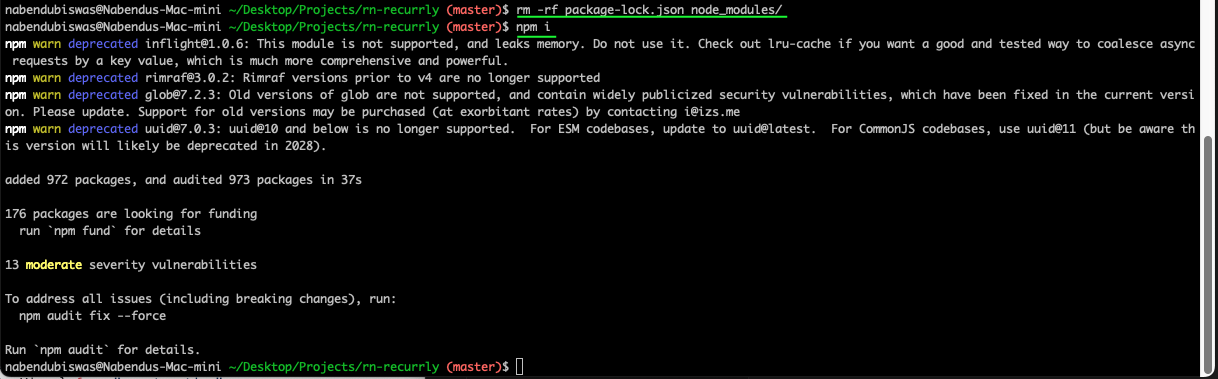
We will remove package-lock.json and node_modules. And also do npm i again.
The app now runs on the iOS simulator showing our progress so far.
Now, we will update our tailwind.config.js file as below.

The updated app now shows the new components we have added.

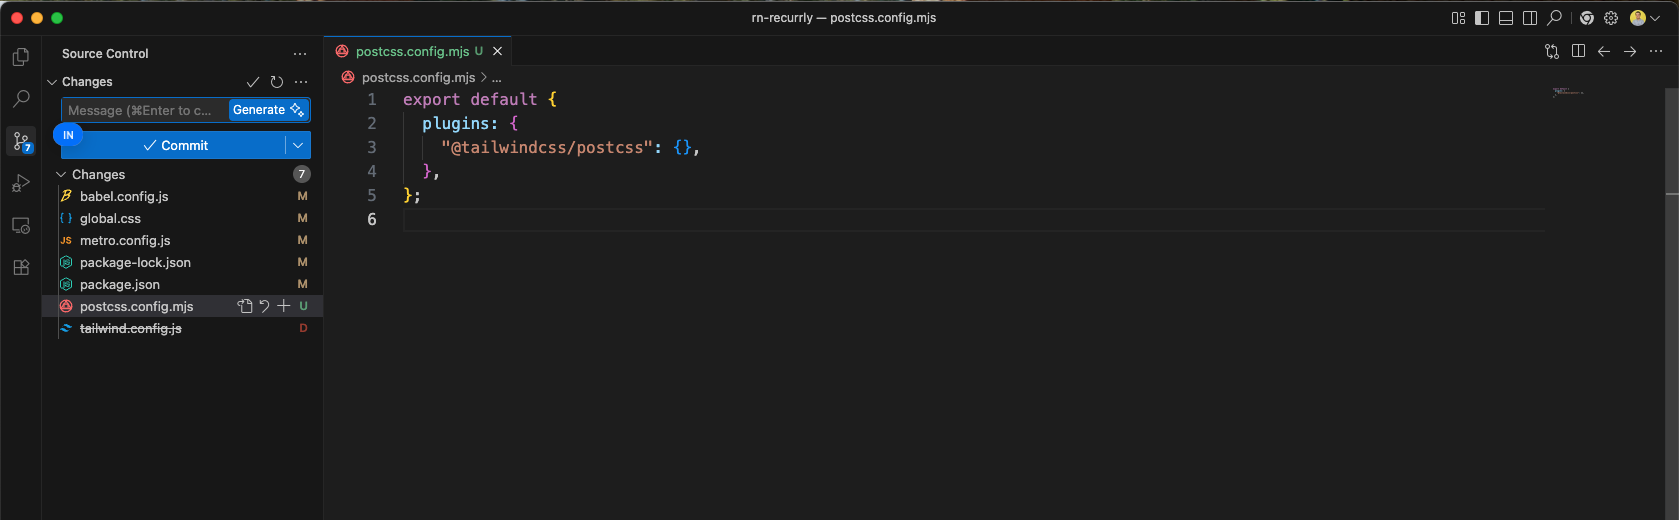
The new file of postcss.config.mjs is added.
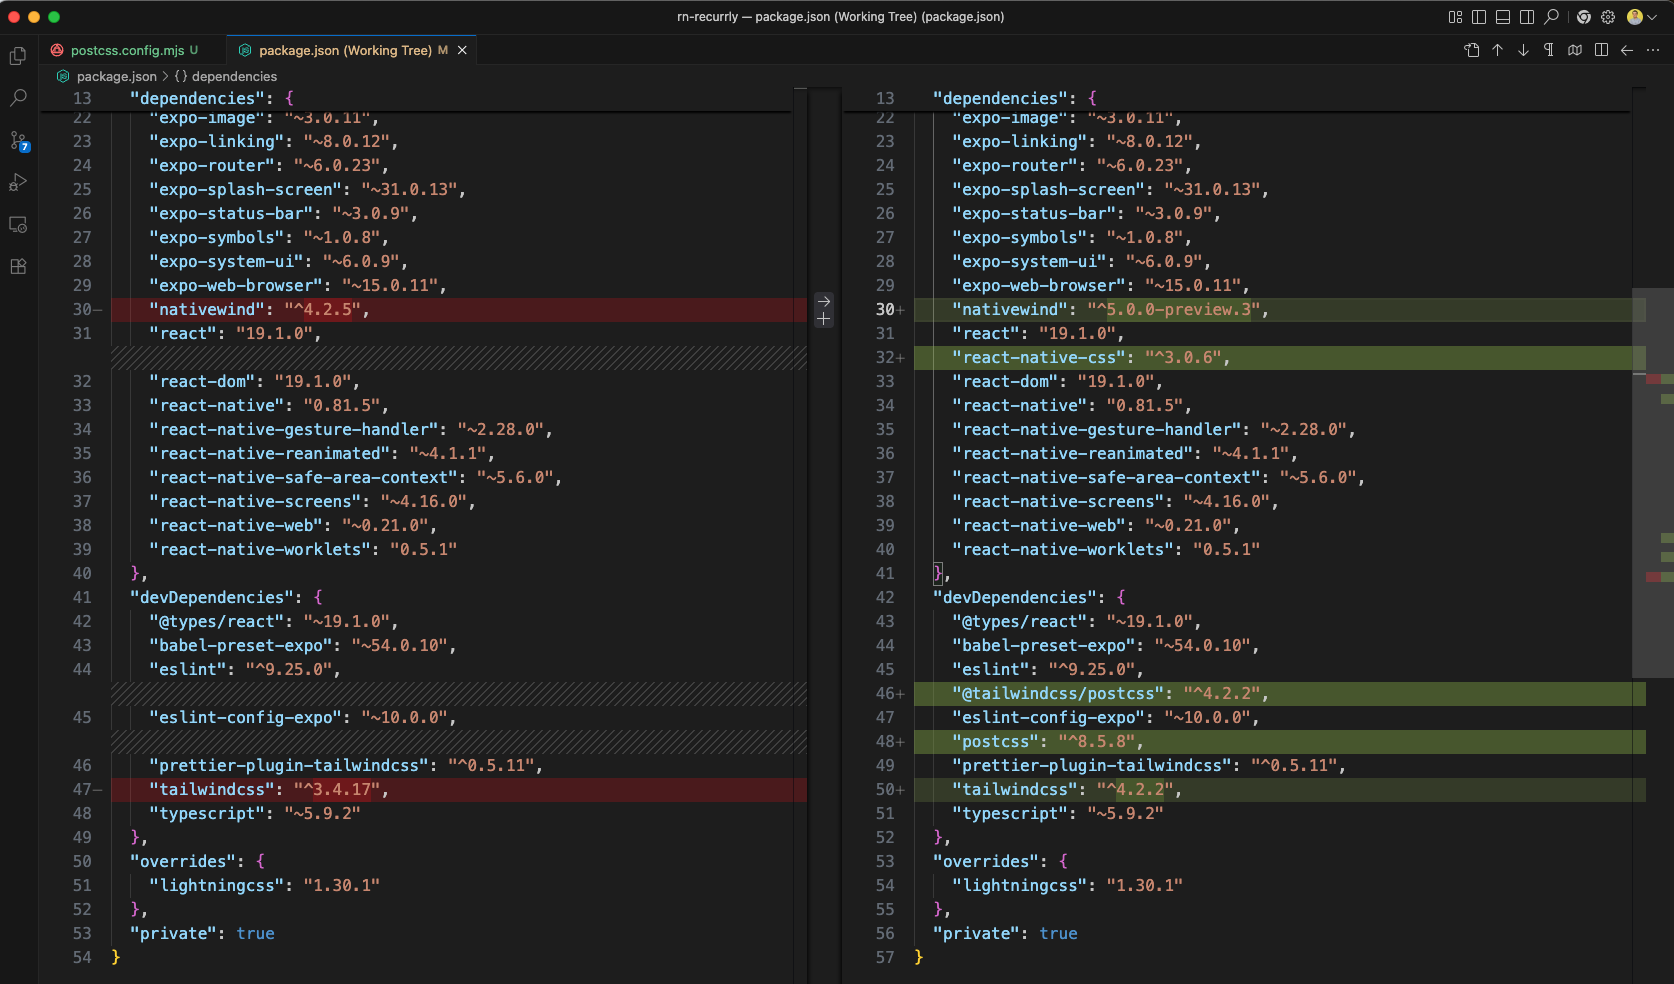
We have also updated the package.json file to use new versions.
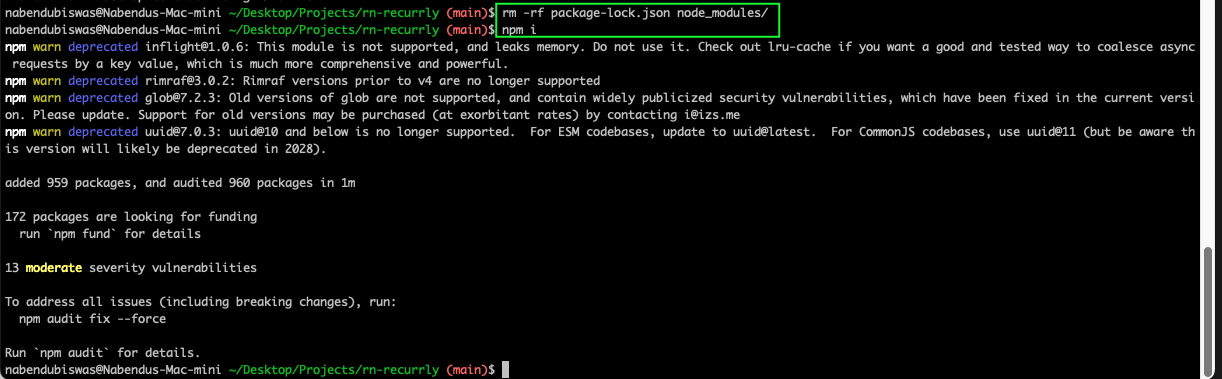
We will remove package-lock.json and node_modules. And also do npm i again.
We have updated the metro.config.js file to use correct format.
We have added more styles in the global.css file.
Also the babel.config.js file is updated.
The app now shows perfectly.
We have updated the index.tsx file with correct styles.

The background is now perfect in the app

We have added a new file onboarding.tsx with a basic View and Text.

Also, the index.tsx file is updated to call this file.

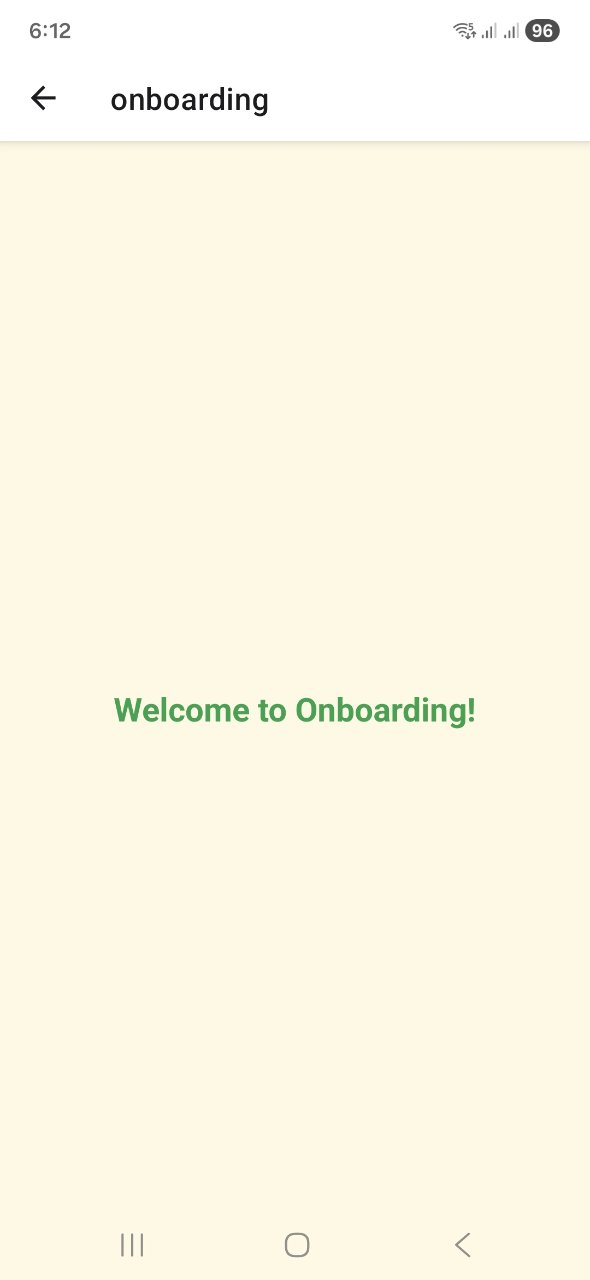
The app now shows the Home screen with the Go to onboarding button.
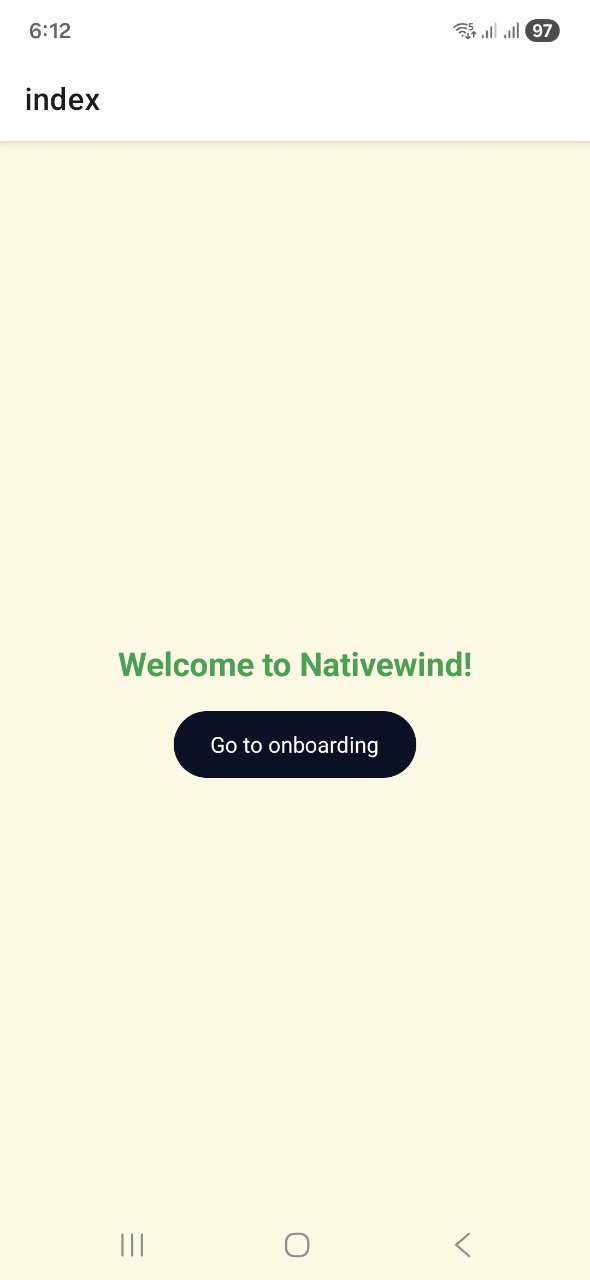
Now, clicking on the Go to onboarding button takes ot the onboarding page.
We will add a new file sign-up.tsx file with below content.

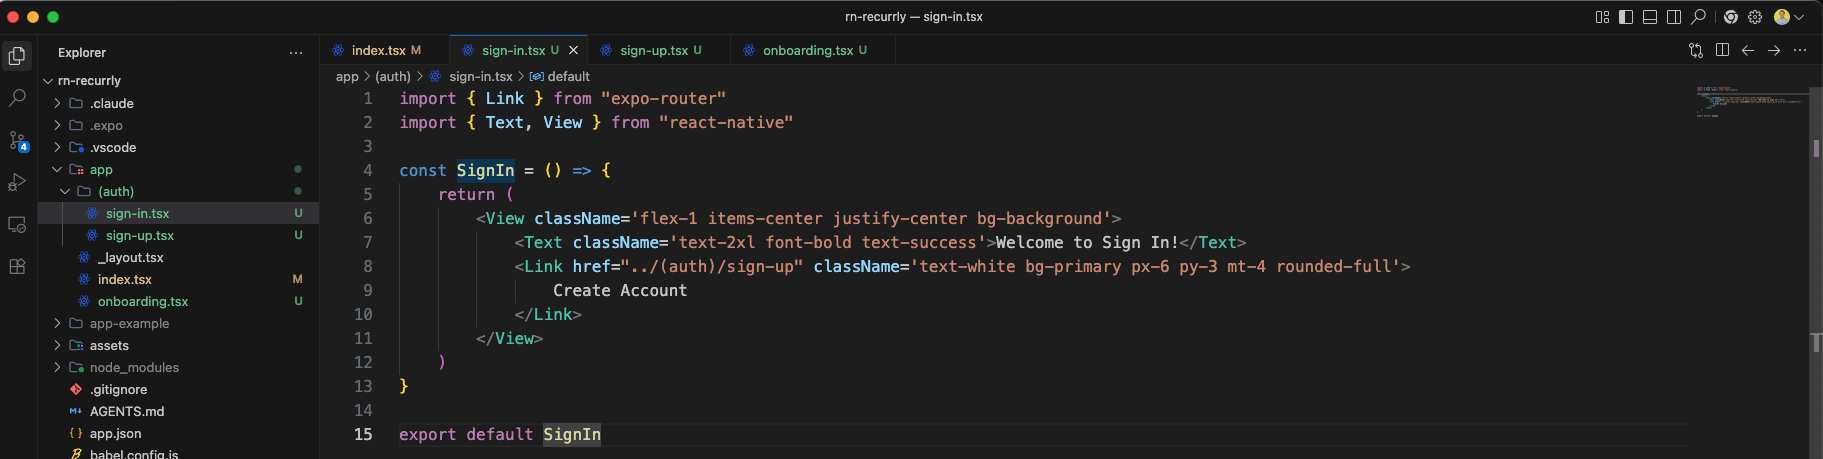
We will add a new file sign-in.tsx file with below content.
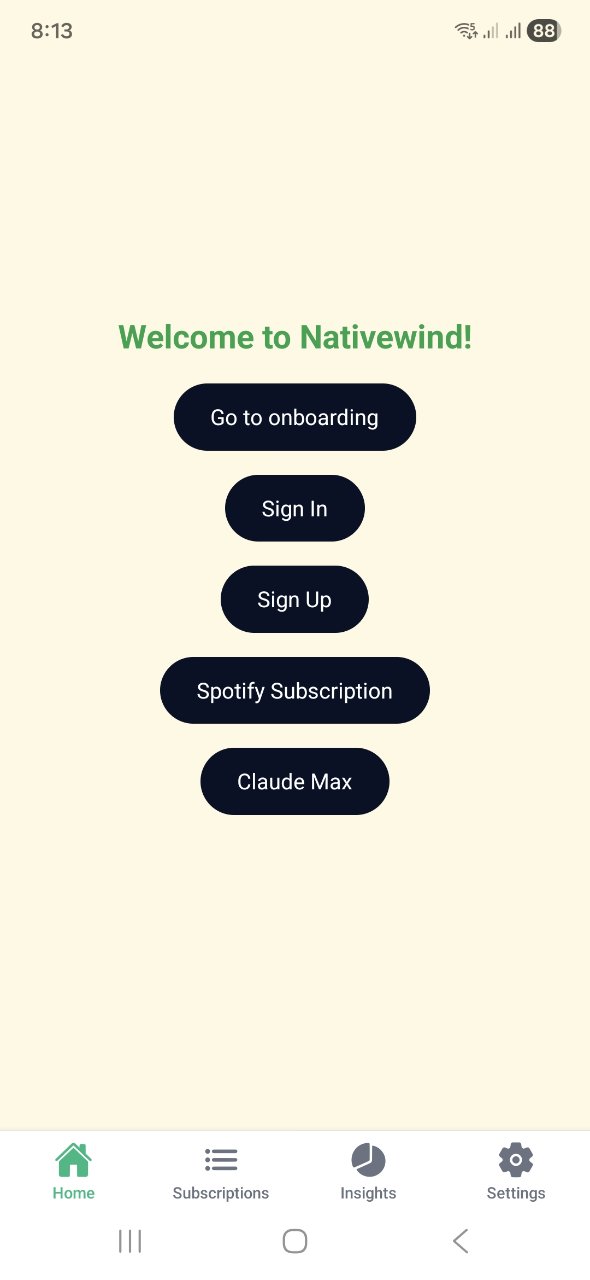
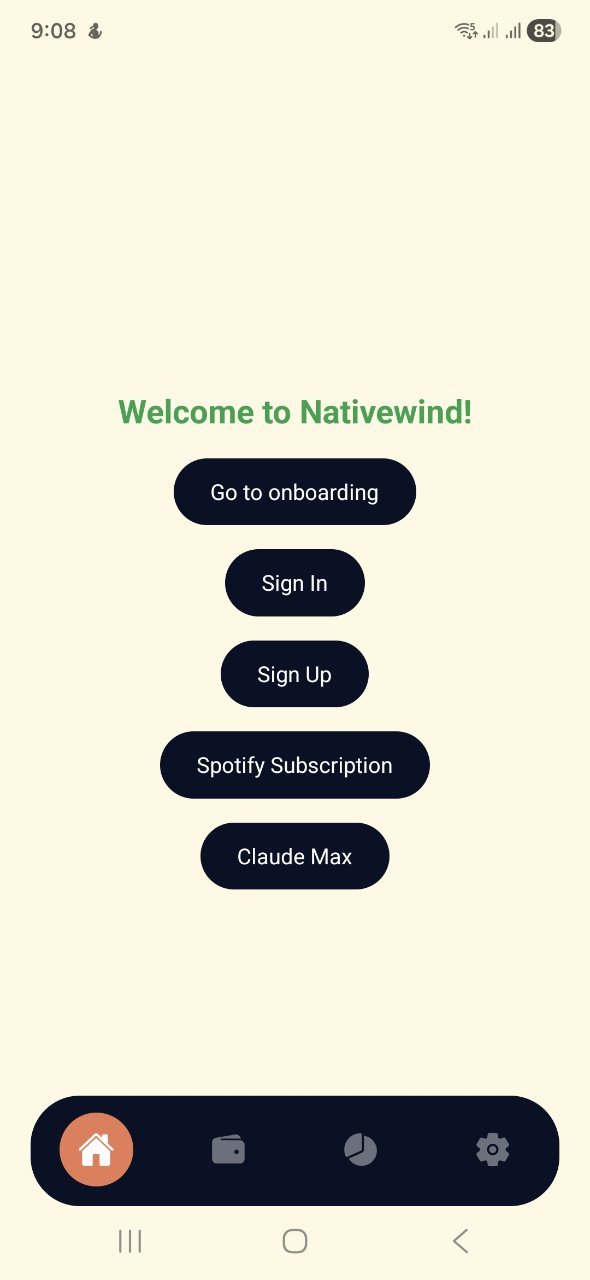
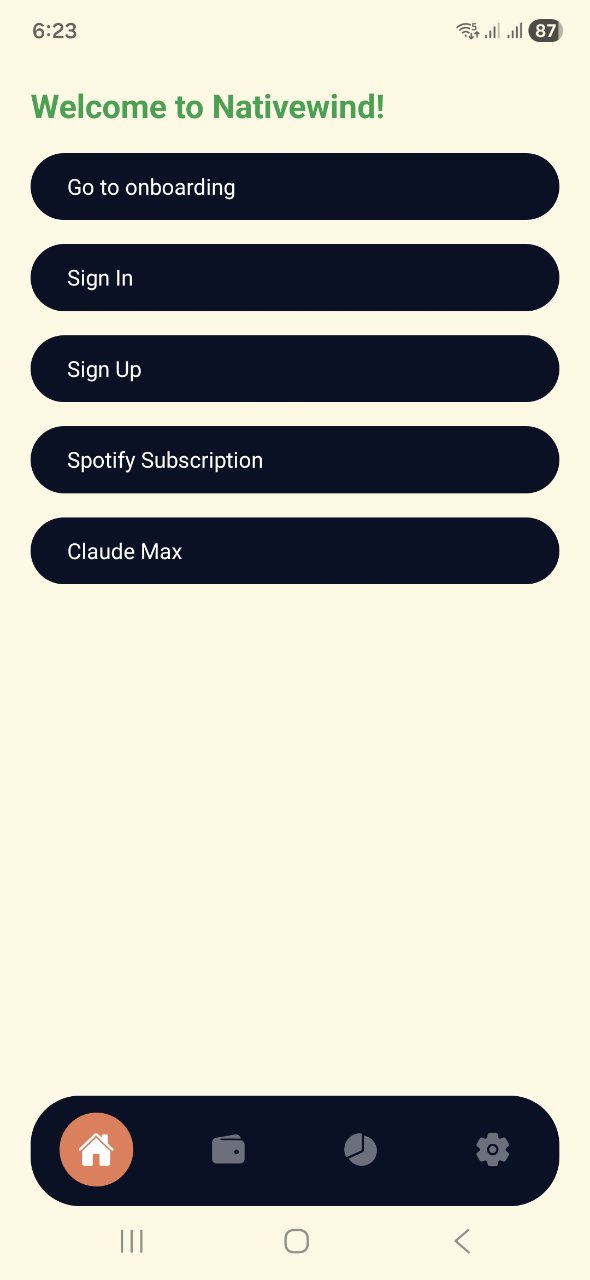
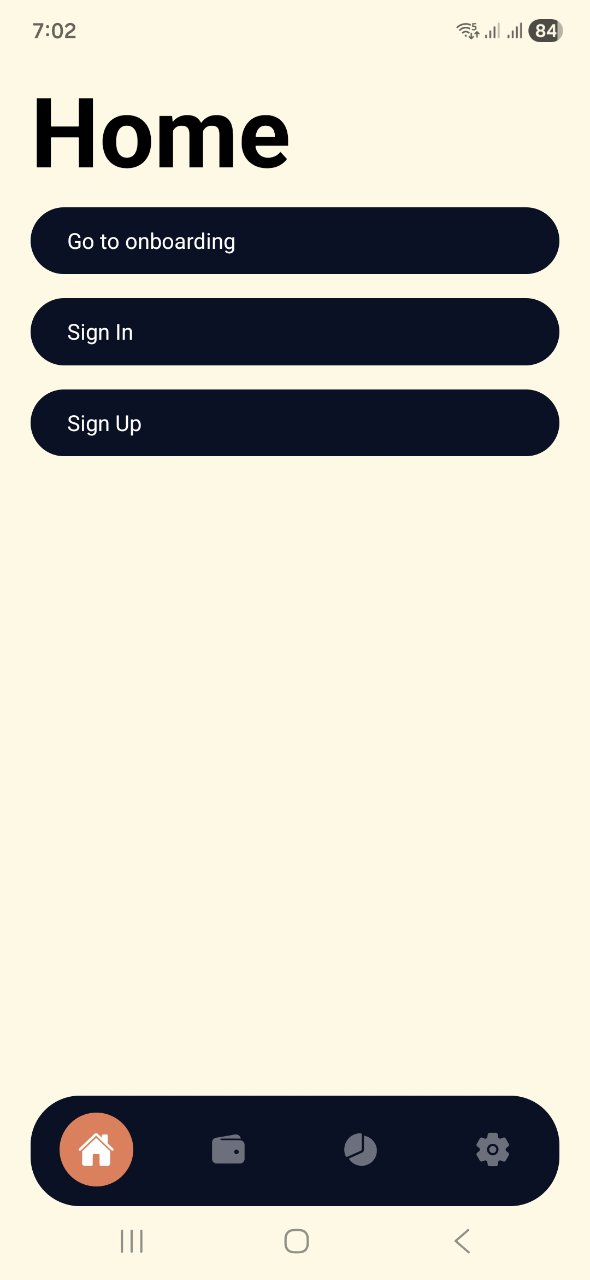
We have added more code to the index.tsx to complete the app UI with all the required elements.
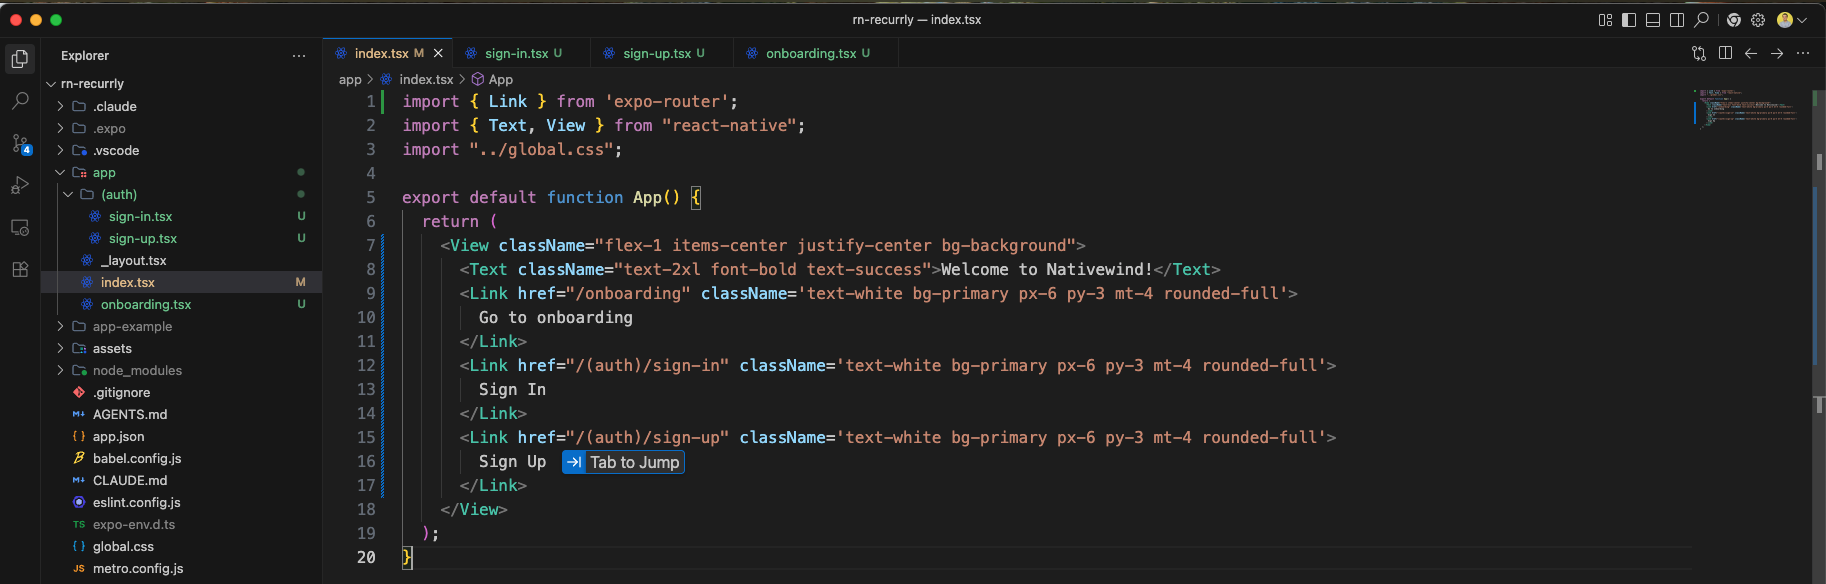
The app now displays the updated index screen with the Sign In and Sign Up buttons added alongside the onboarding option.

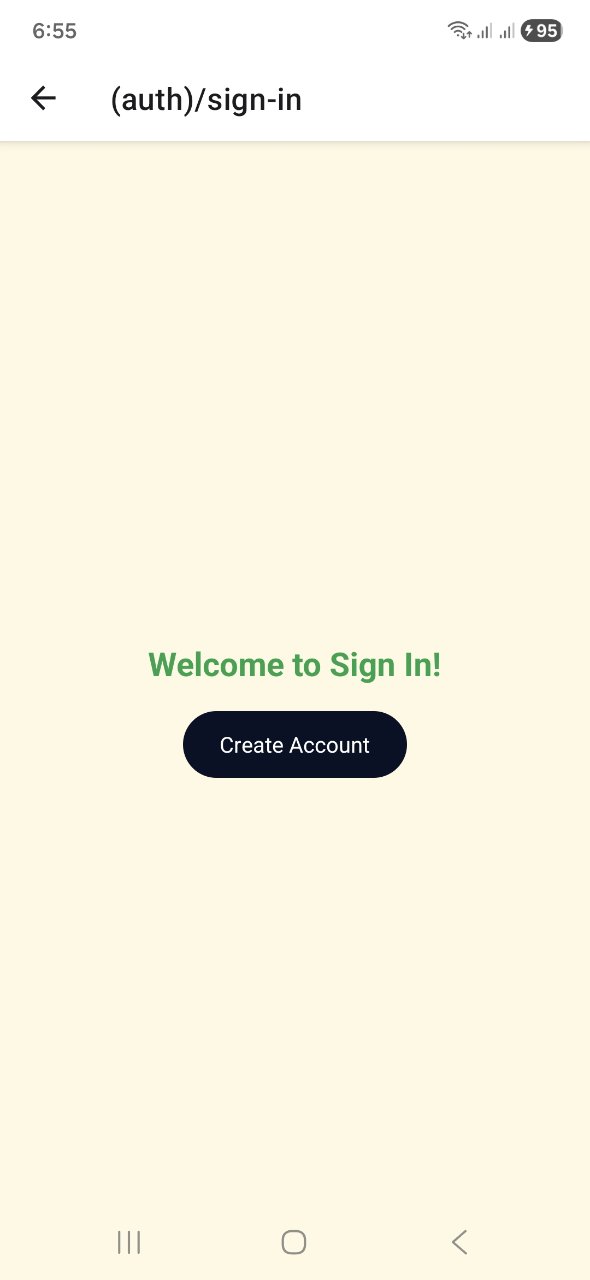
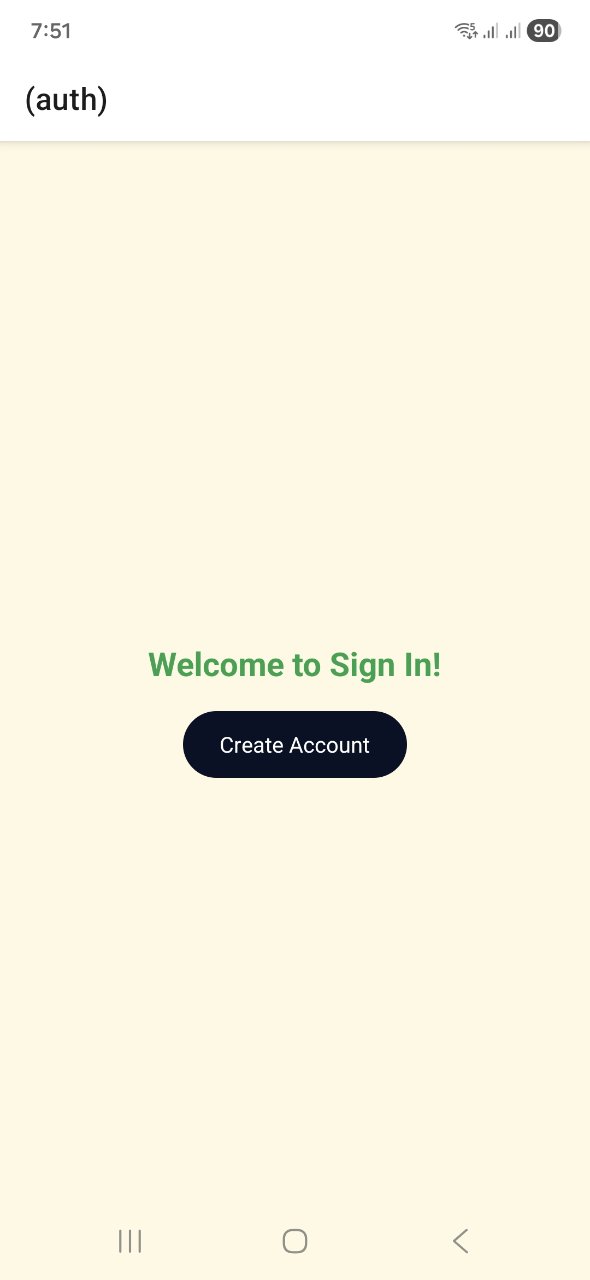
Now, clicking on the Sign In button redirects us to the sign-in page, but it shows the path (auth)/sign-in as the header.
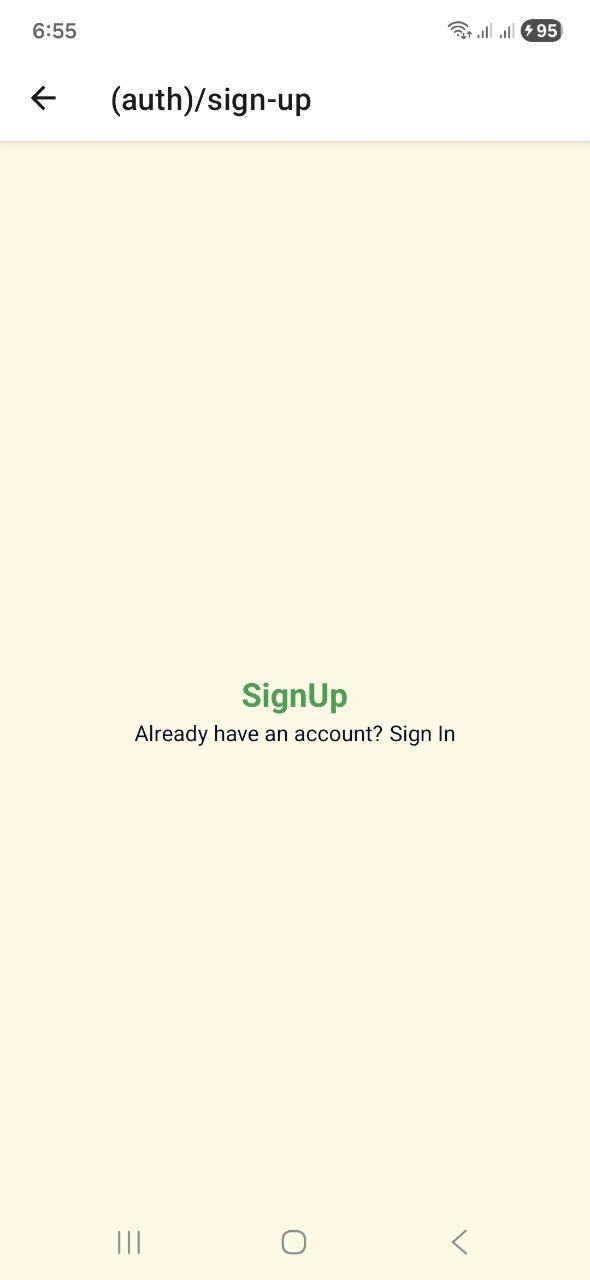
Similarly, clicking the Sign Up button takes us to the sign-up page, with the path (auth)/sign-up shown in the header.
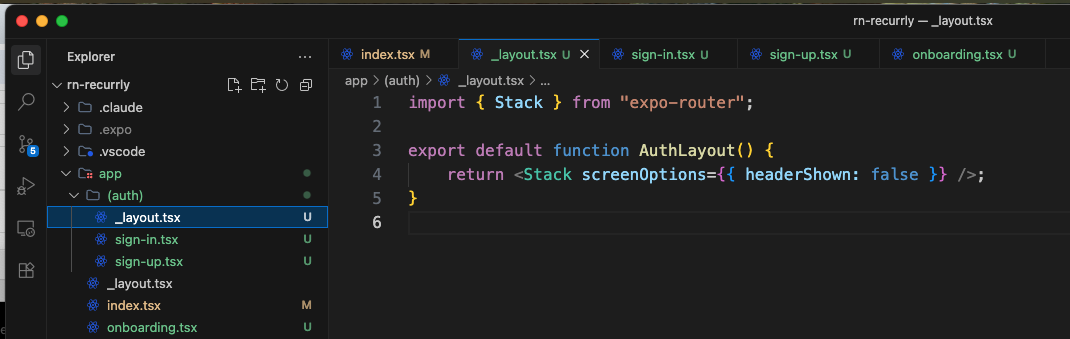
To custom configure headers for our authentication flow, we will add a new _layout.tsx file inside the (auth) directory.
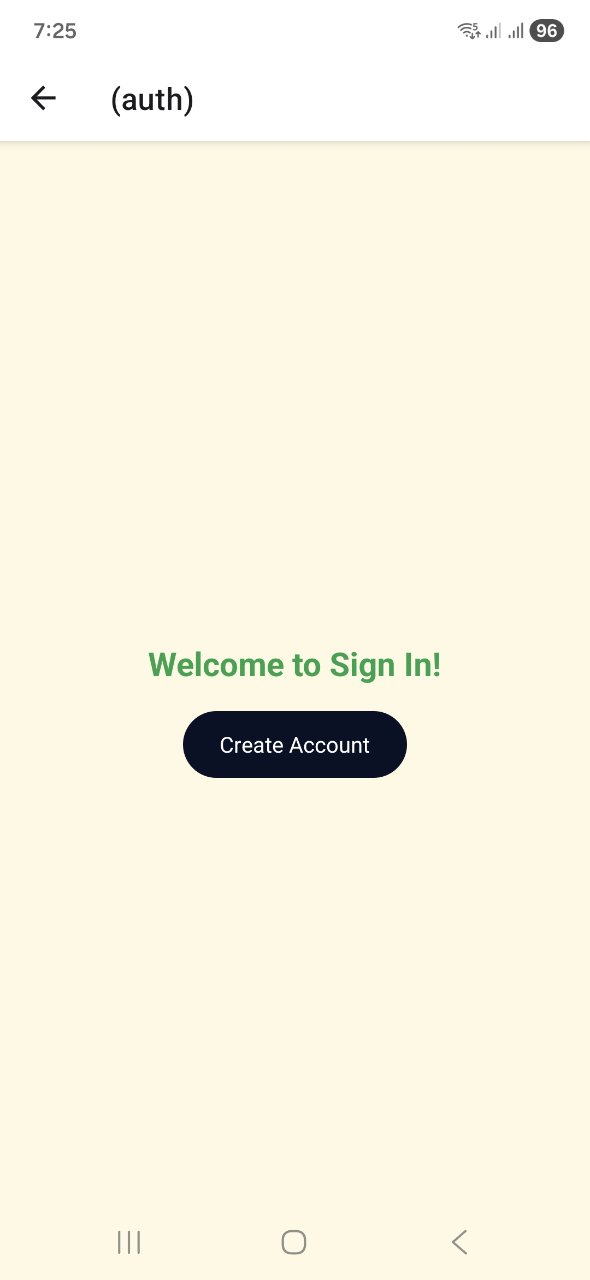
Now, when we navigate to the sign-in page, the header only shows (auth) instead of the full path.
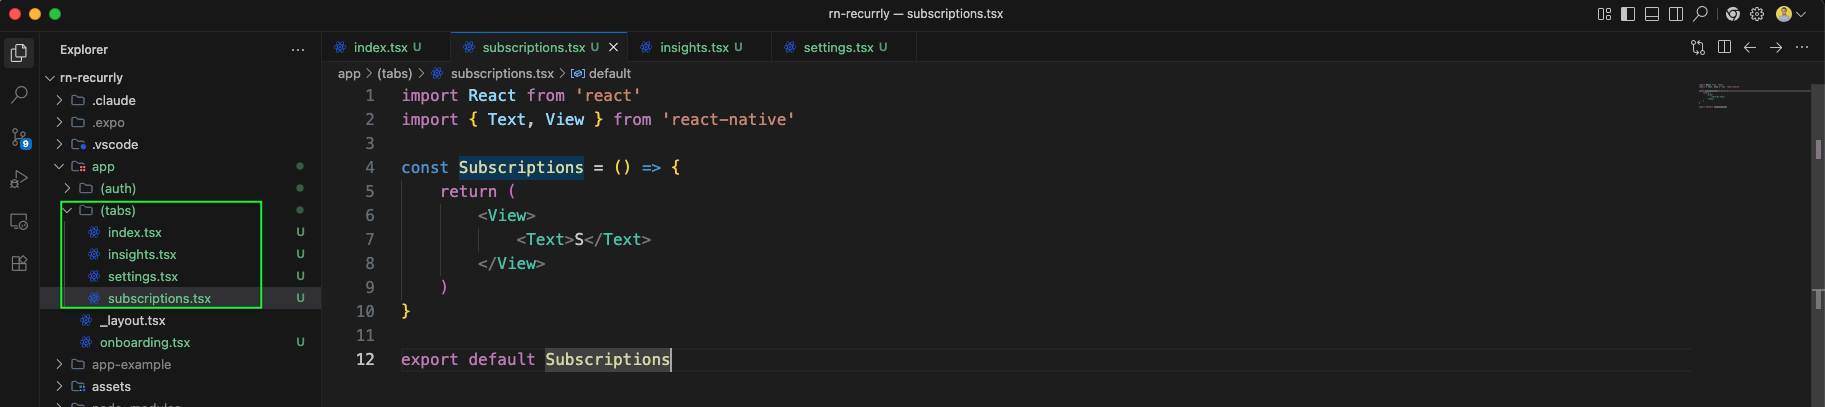
Next, we will create a (tabs) directory under app to set up tab navigation. Inside it, we will add a new file subscriptions.tsx with the following basic component.
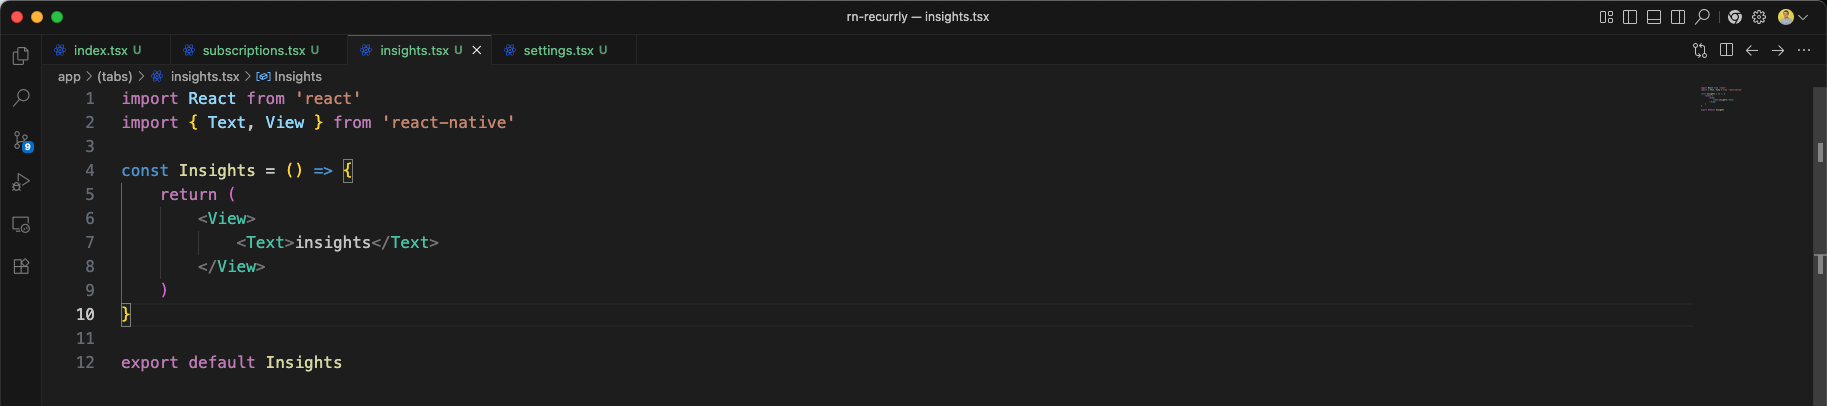
We will also add an insights.tsx file inside the (tabs) folder with the below content.
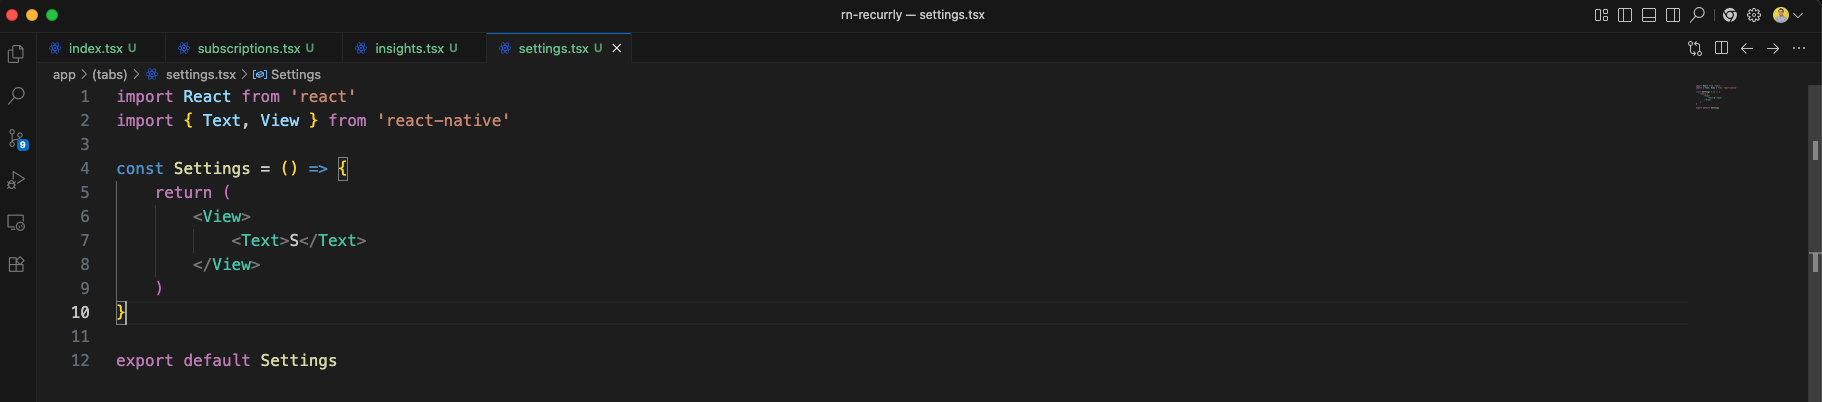
Next, we will create a settings.tsx file inside the same (tabs) folder.
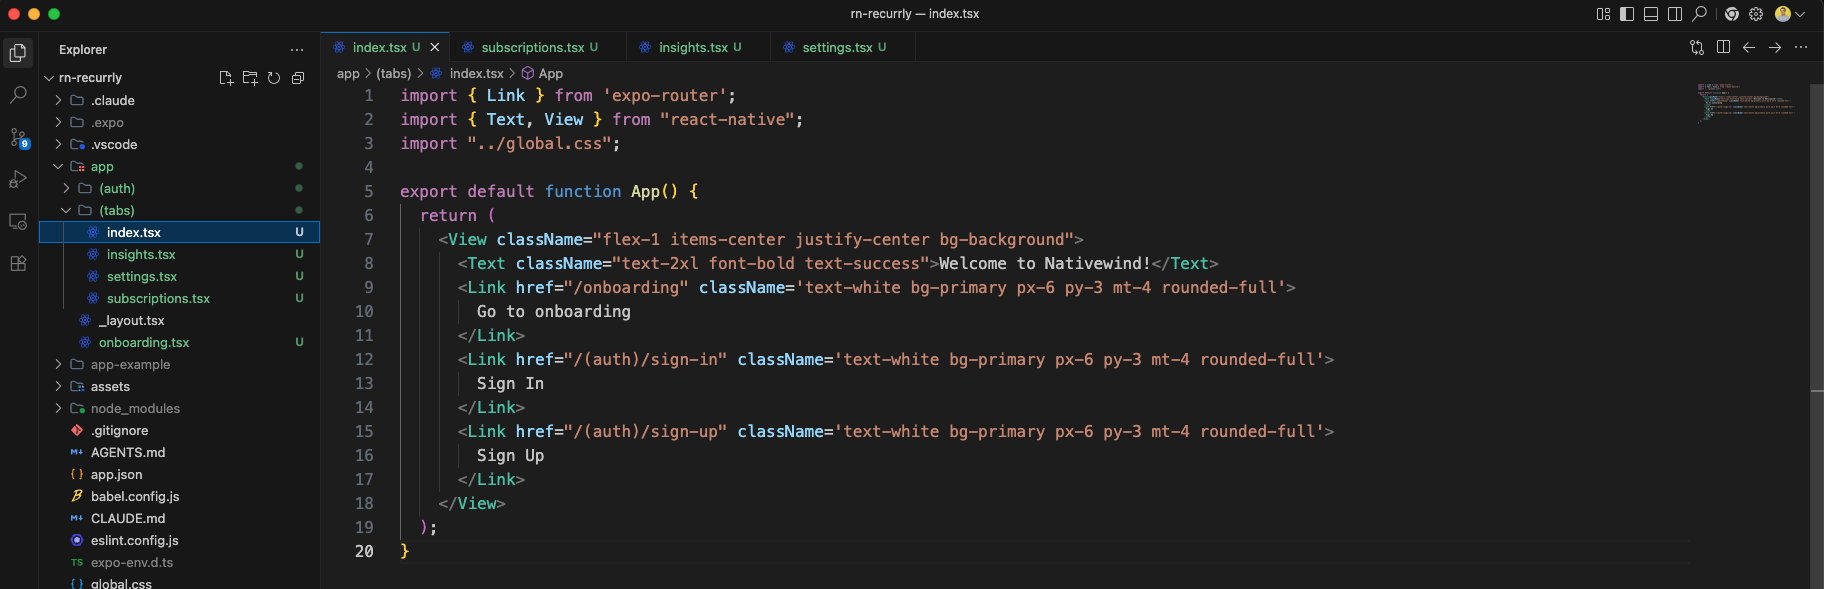
Now, we will move or recreate the index.tsx file inside the (tabs) directory and keep the existing structure for navigation.
After restructuring our directories, we can verify that navigation to the sign-in page still works perfectly.
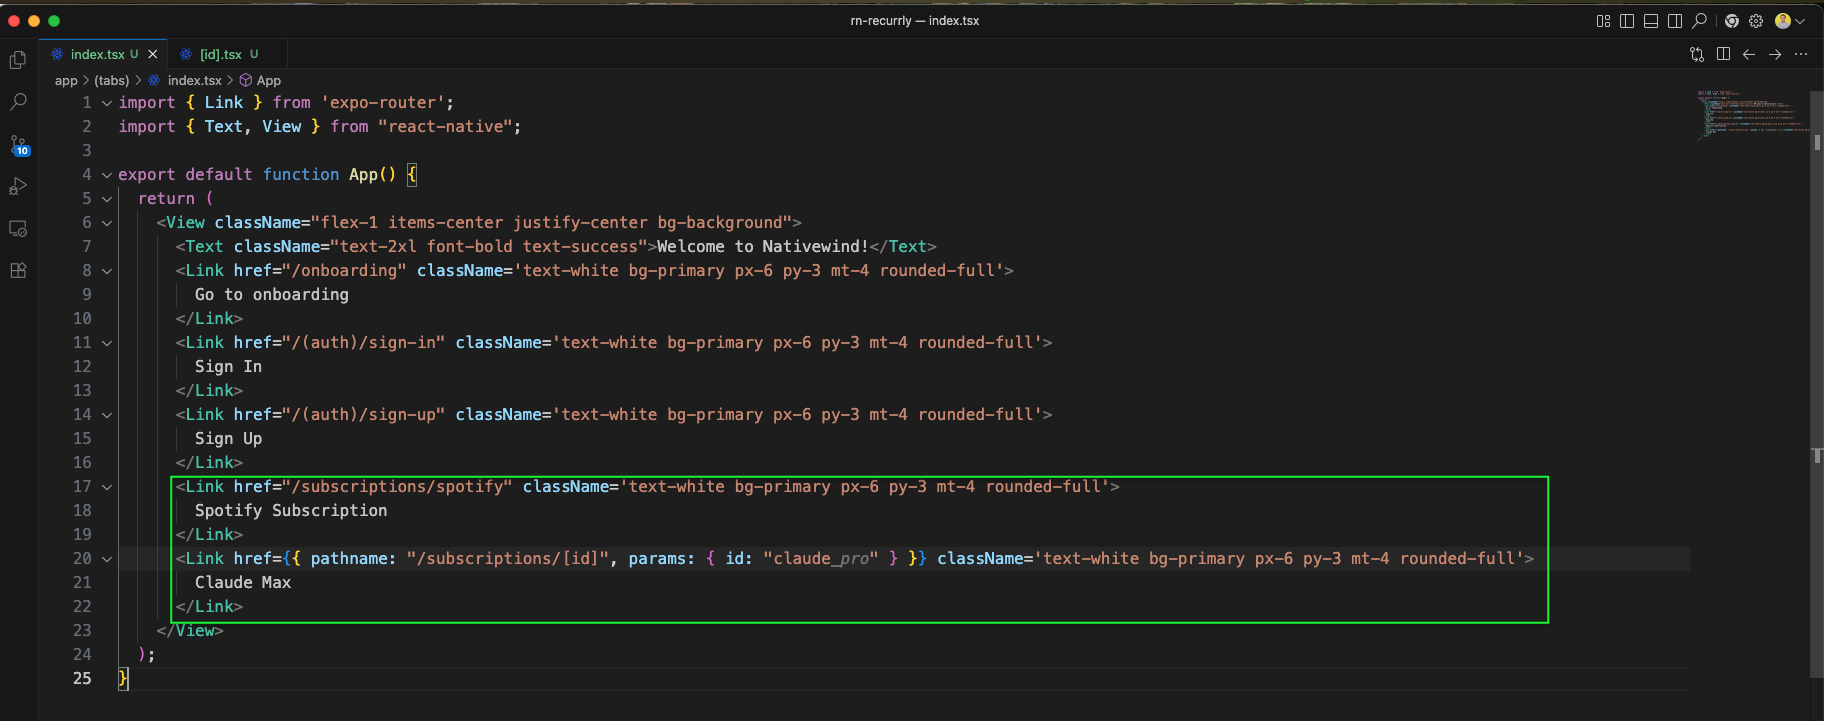
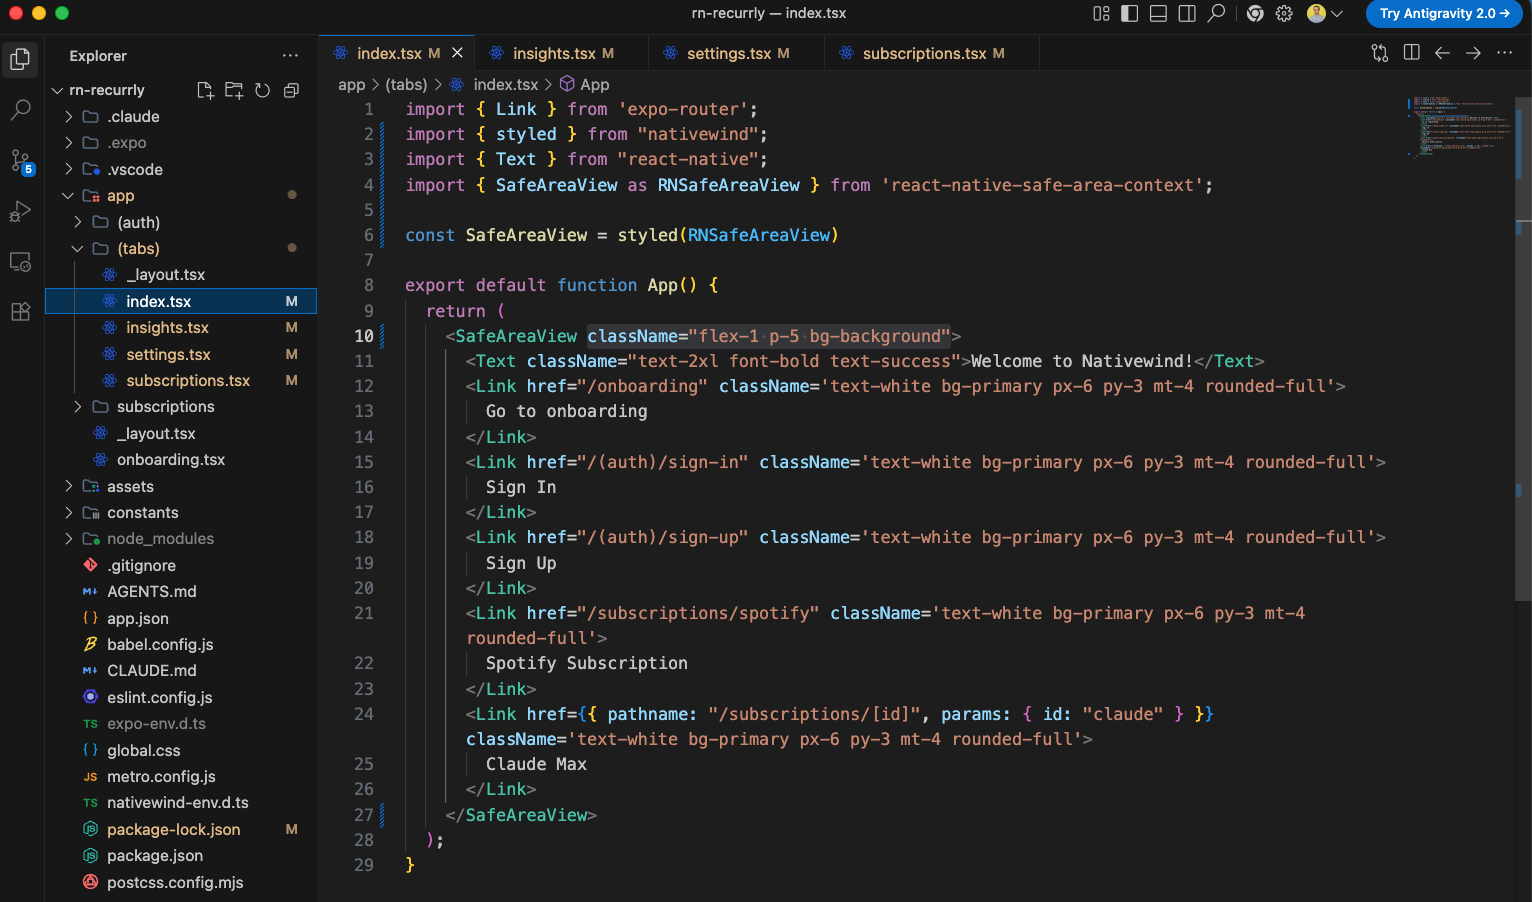
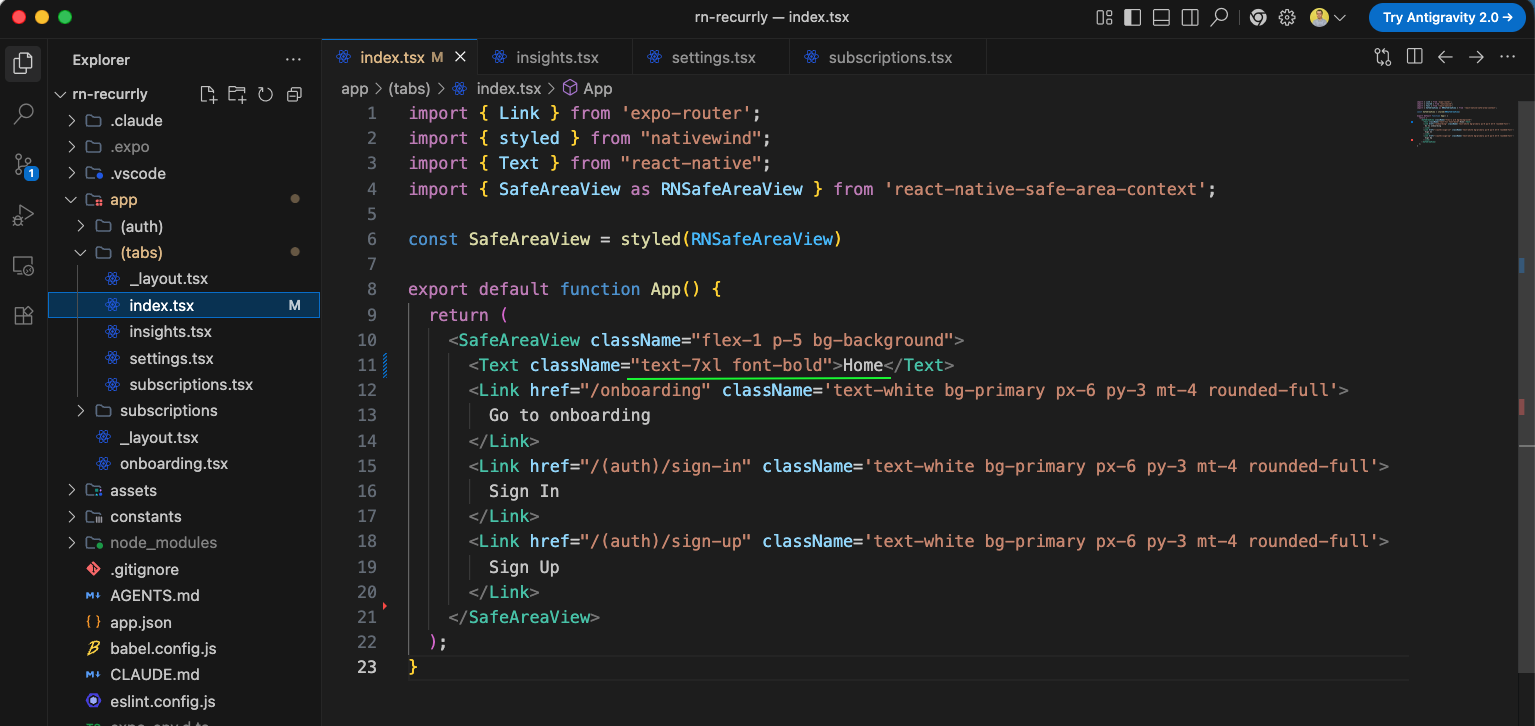
Next, we will update the index.tsx file inside the (tabs) directory to add links for our dynamic routes: Spotify Subscription and Claude Max.
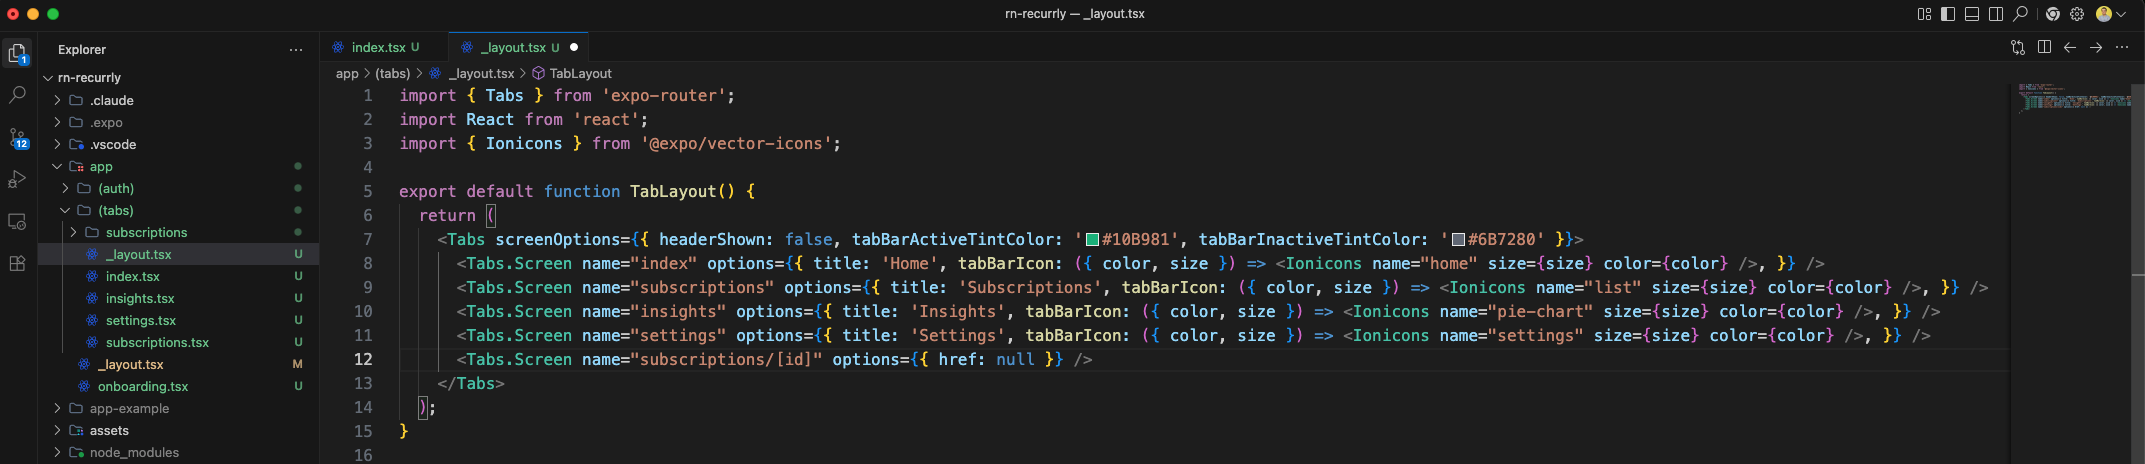
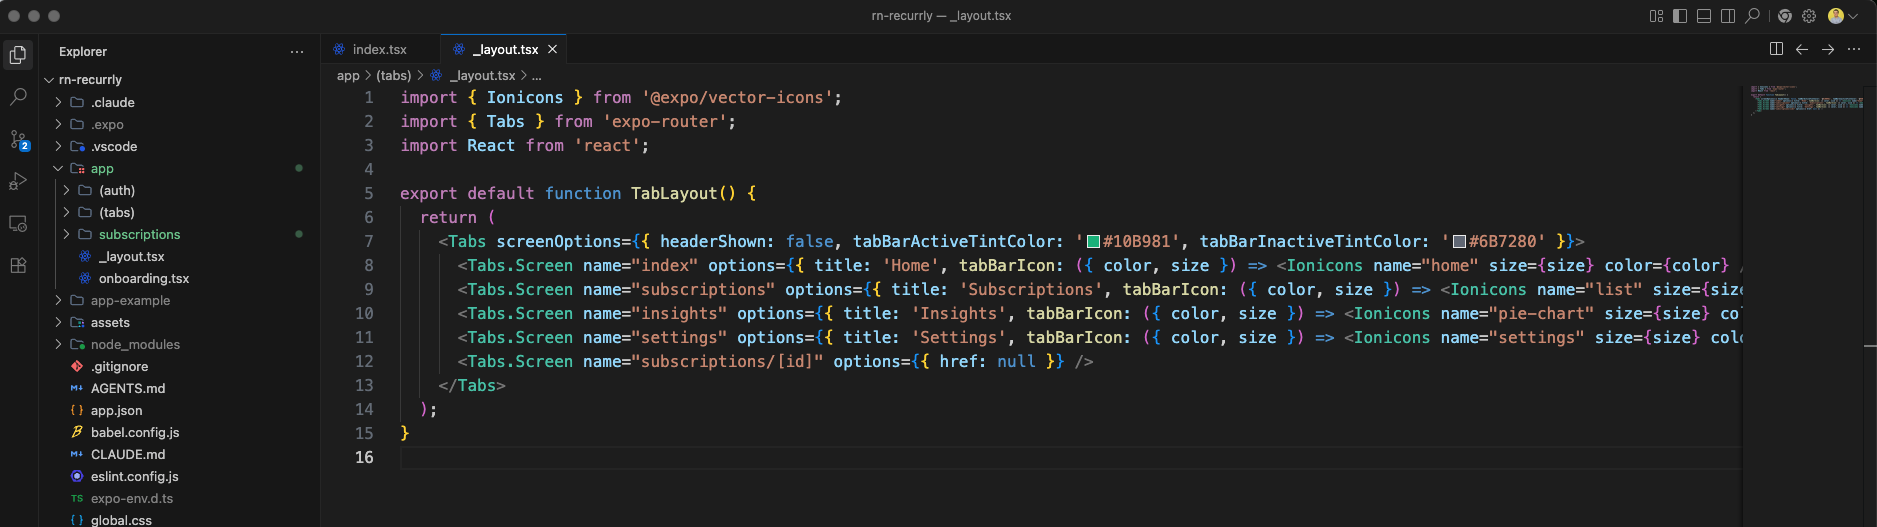
We will then create a new _layout.tsx file inside the (tabs) directory to configure the tab bar navigator, icons, and tab labels.
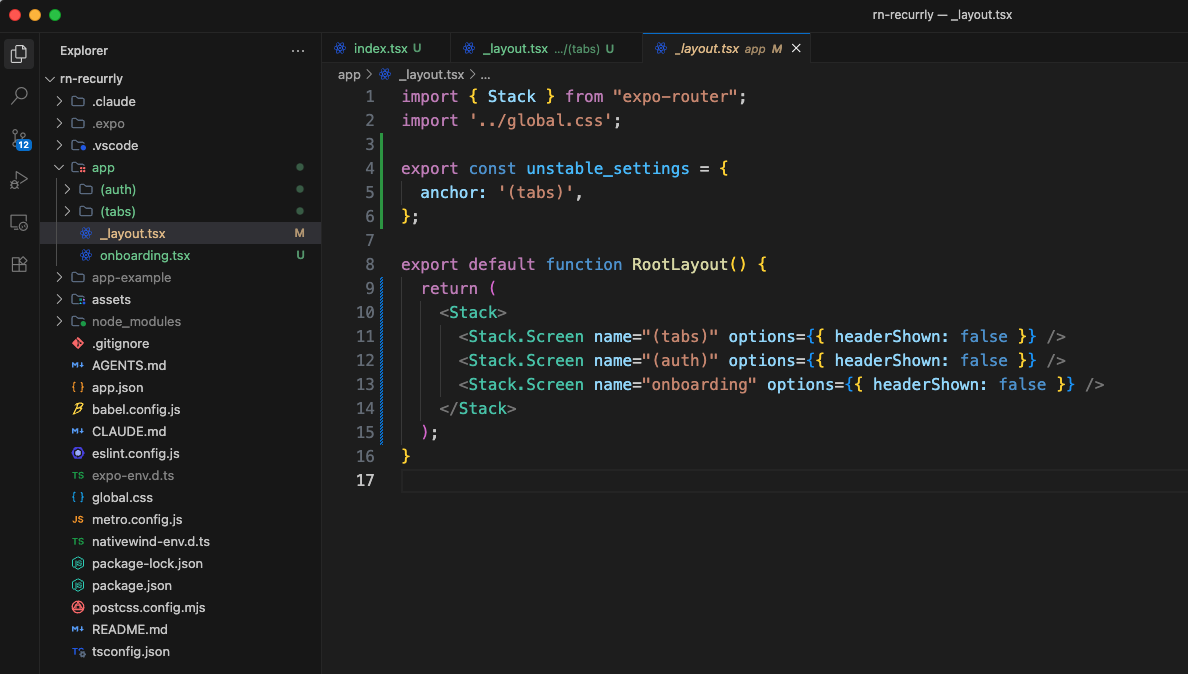
We also need to update the root _layout.tsx to define our main stack navigation and hide the headers for the (tabs), (auth), and onboarding screens.
The app now successfully displays the tab bar navigator at the bottom, and the top headers are hidden.
We will make a minor adjustment to the import statements in _layout.tsx under the (tabs) directory to keep the imports organized.
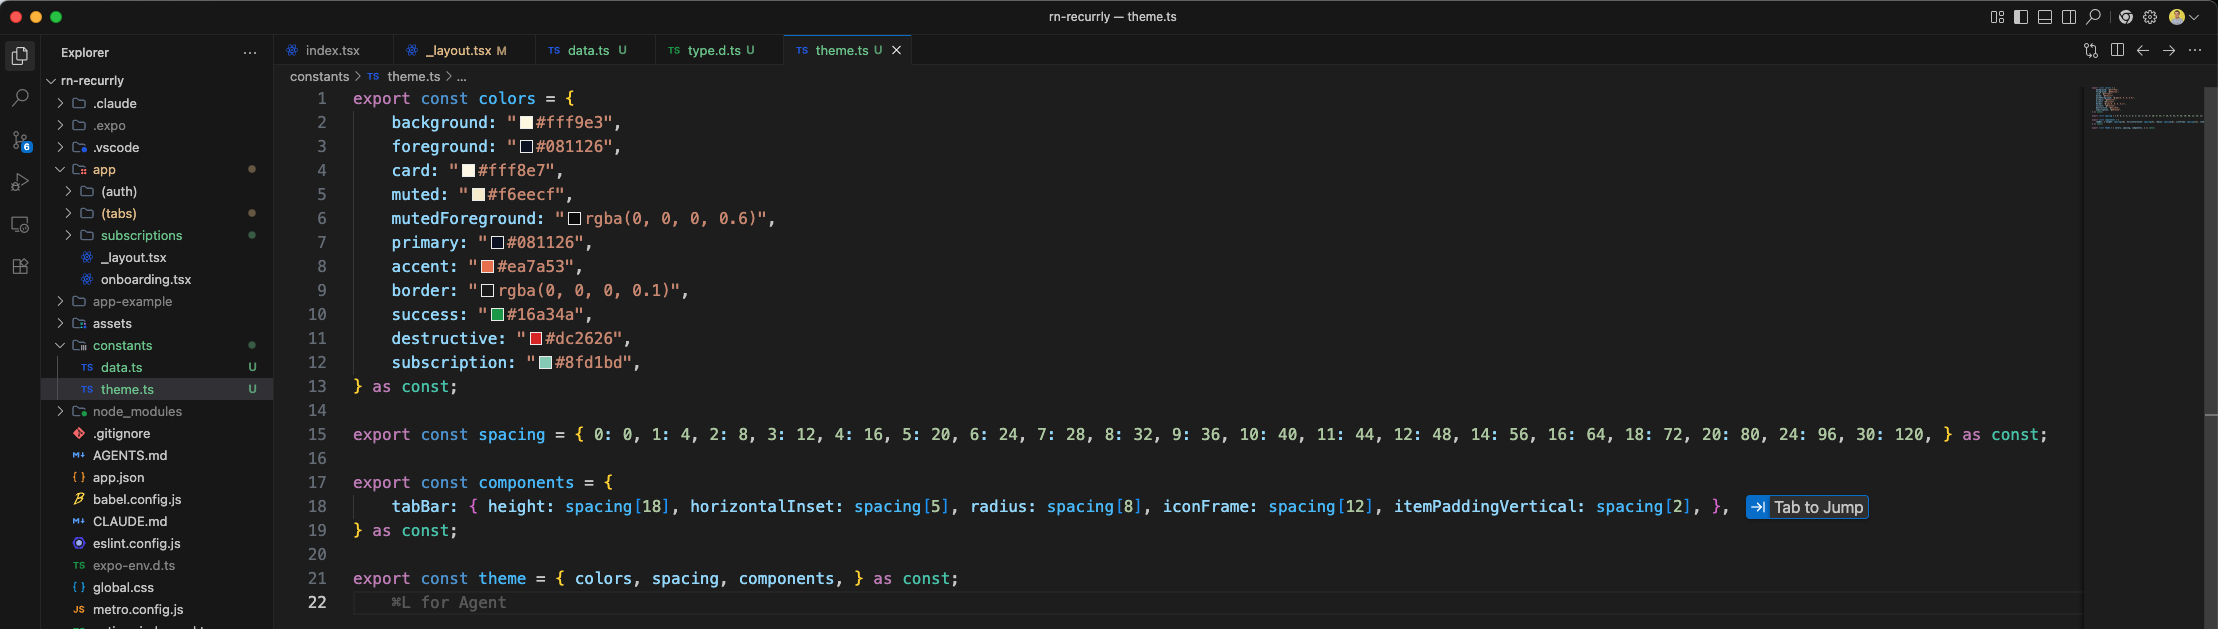
Now, we will create a constants folder and define a theme.ts file to store our color palette, spacing tokens, and component styles for the project.
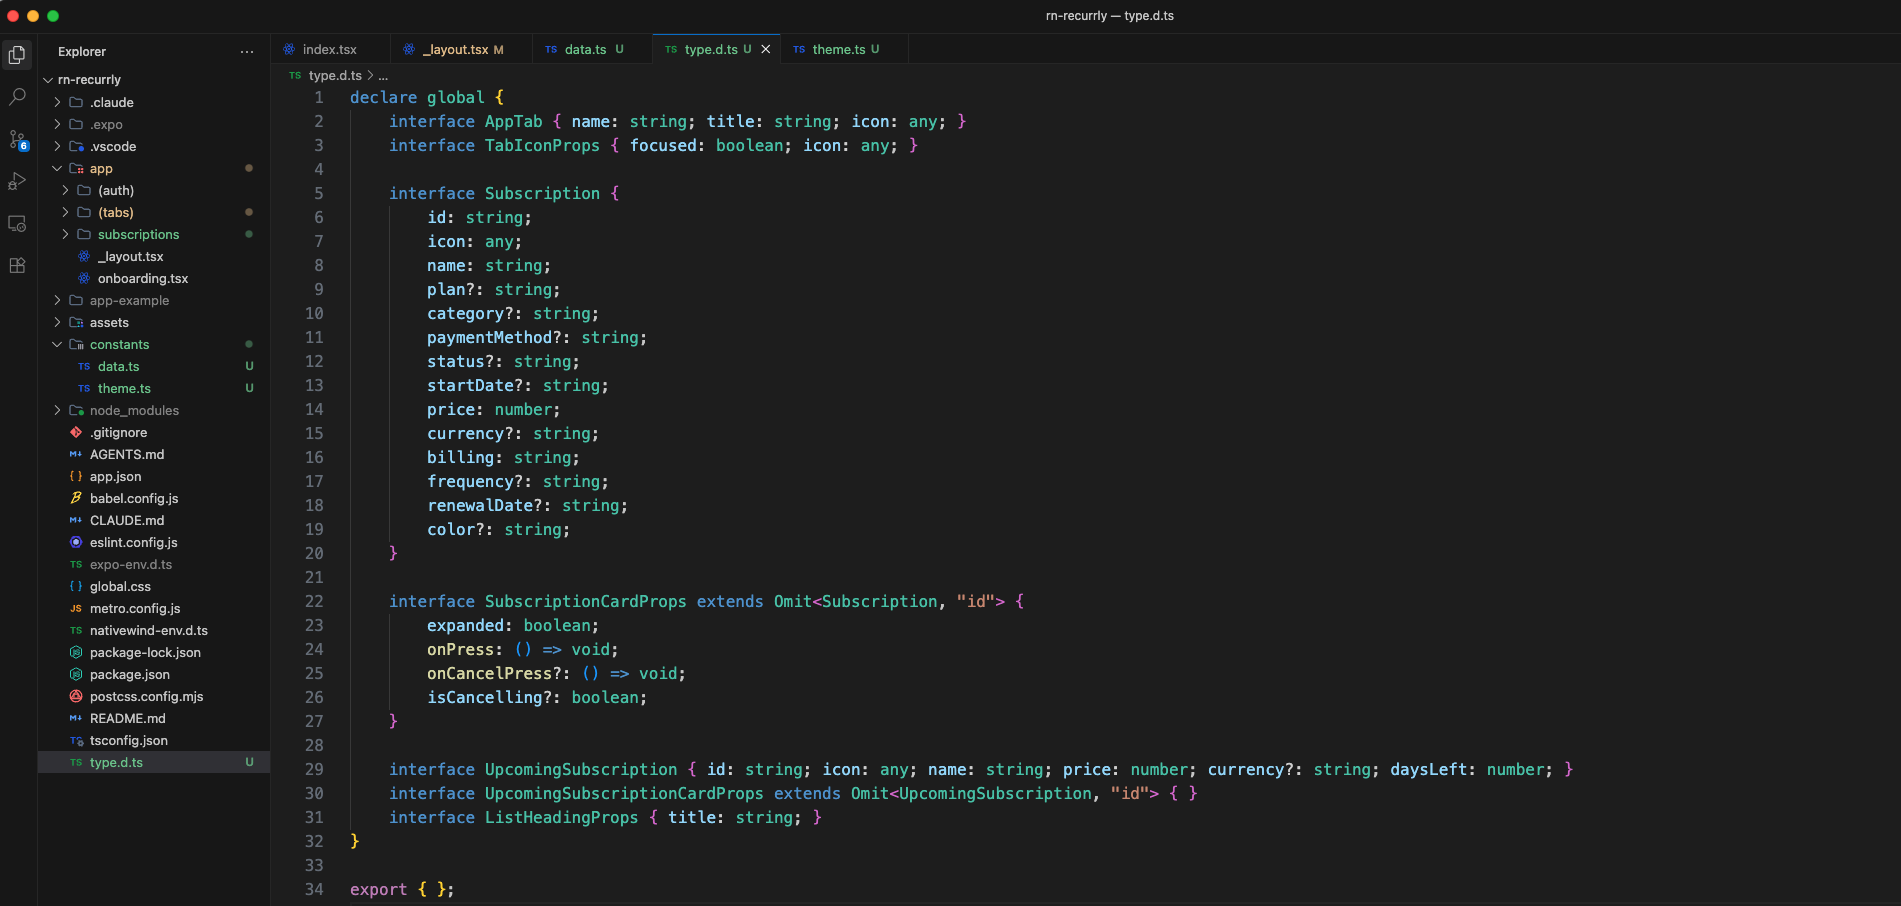
We will also add a global TypeScript declaration file type.d.ts at the root directory to define types and interfaces used throughout the app.
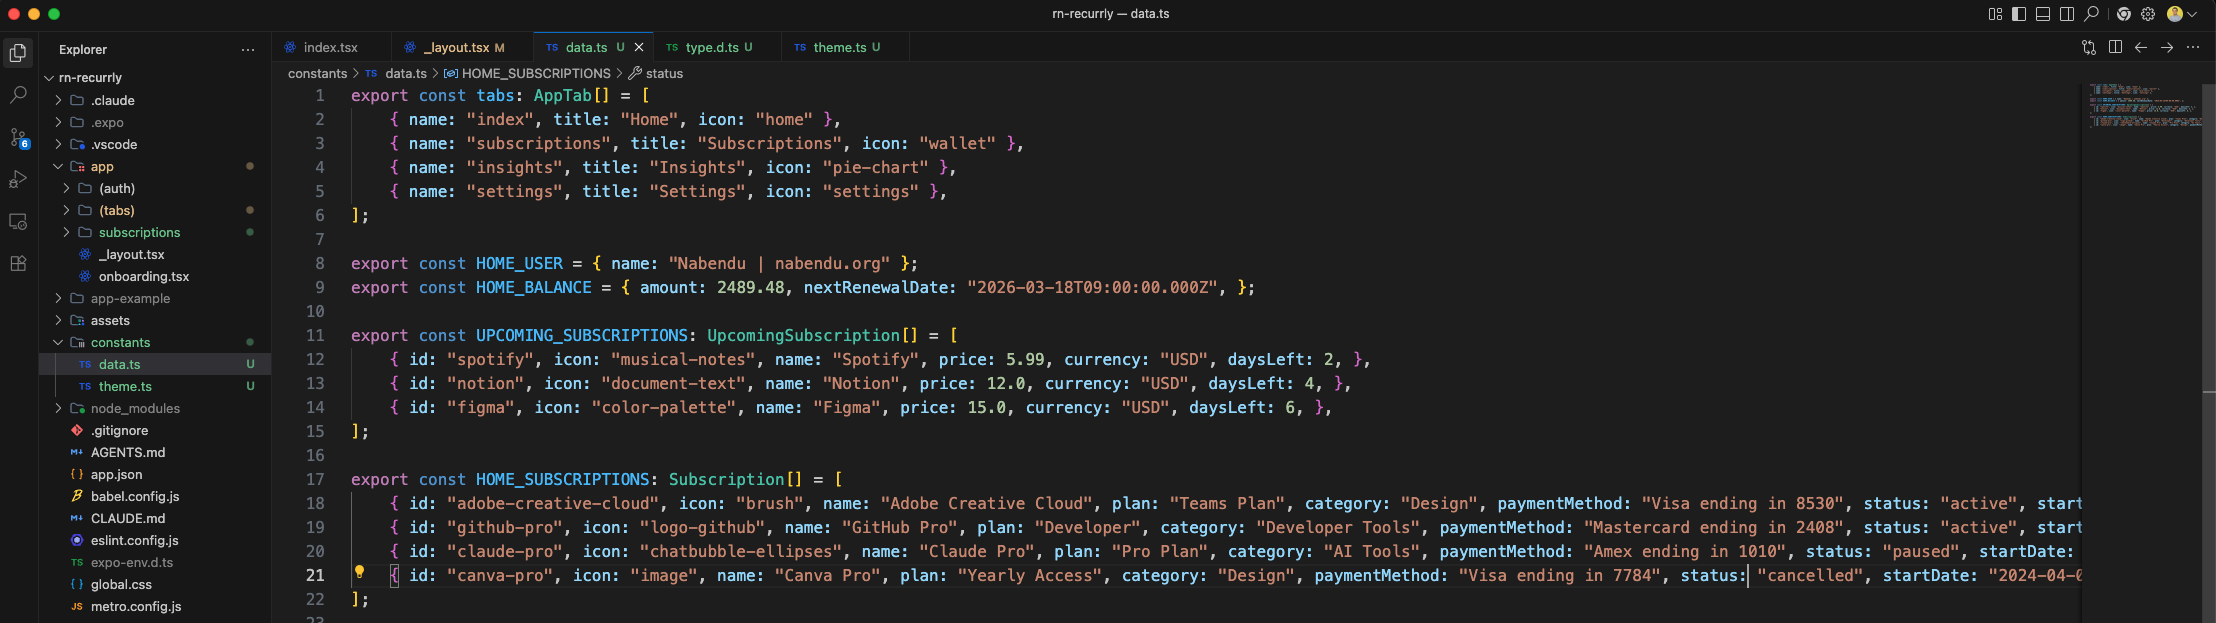
Next, we will create a data.ts file inside the constants folder to hold mock data for our tabs, home screen user info, and subscriptions.
After styling the navigation tabs, our tab bar now has a customized dark floating layout with custom active icons.
Clicking on the Subscriptions tab navigates us to the Subscriptions screen showing the custom layout.

To handle safe area boundaries properly on different devices, we will update the index.tsx file in (tabs) using NativeWind's styled wrapper around SafeAreaView.
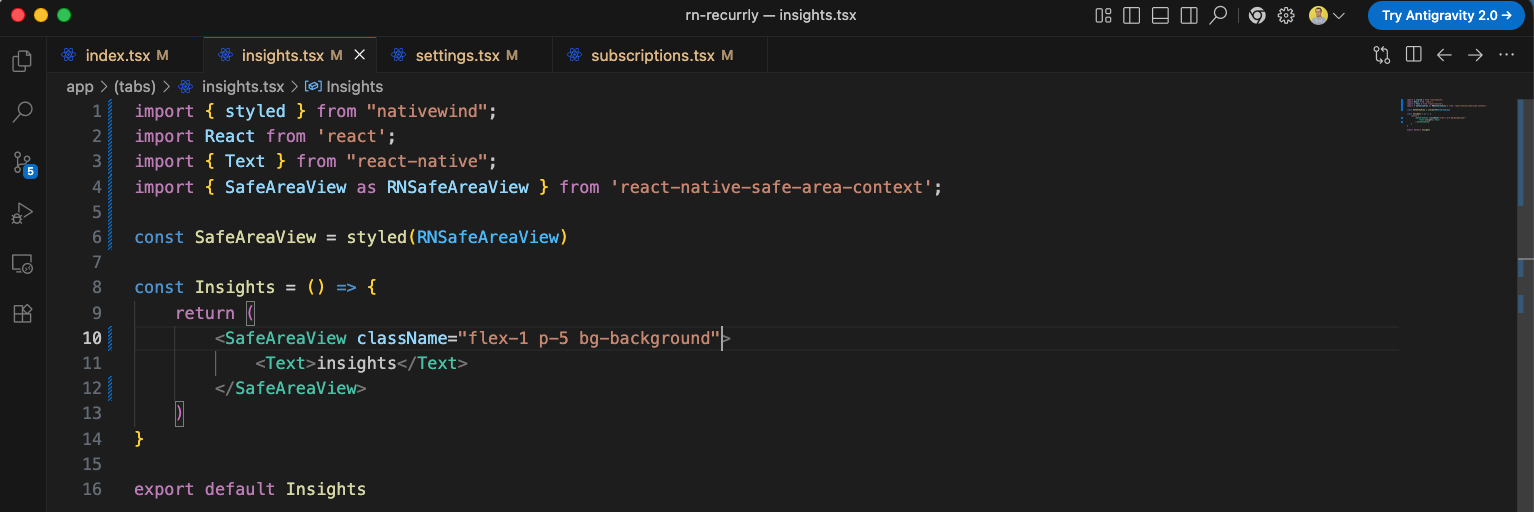
We will also update the insights.tsx component to use the styled SafeAreaView wrapper.
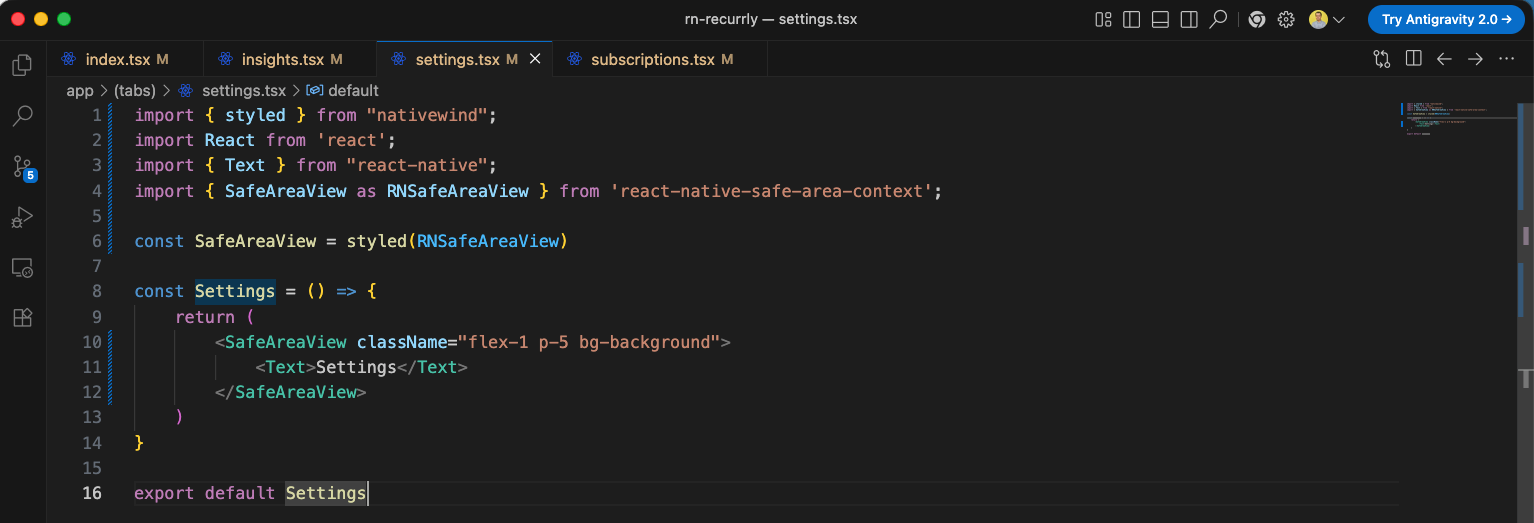
Similarly, we will update the settings.tsx file to wrap its content in the styled SafeAreaView.
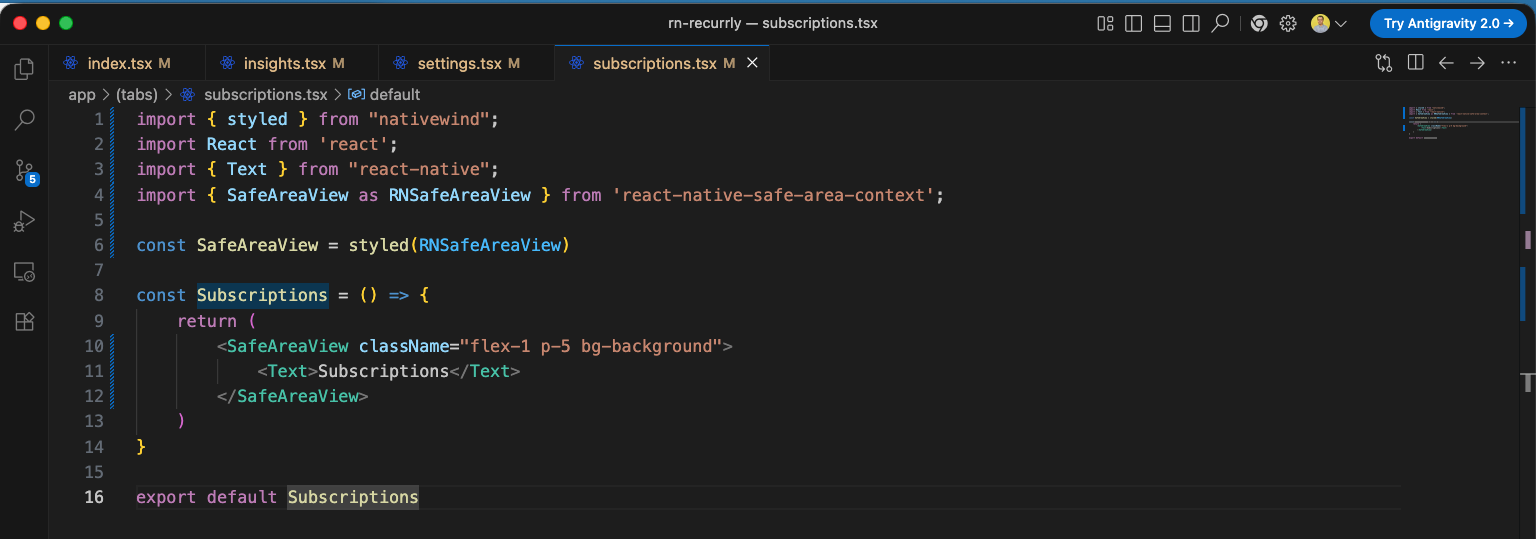
Finally, we will update the subscriptions.tsx file to use the styled SafeAreaView as well.
Now, our screens have safe area padding applied, preventing the content from overlapping with the system status bar.
We can also verify that the Subscriptions screen is properly aligned and padded using the SafeAreaView wrapper.

Next, we will clean up the Home screen code in index.tsx by replacing the welcome header with a large bold Home heading and removing the temporary navigation links.
The Home screen now displays the updated clean layout with the bold Home header.
This complete the first part of the blog. You can find the code here